How to Write Website Content using Craftify AI
Web Page Content Writer Tutorial
Welcome to the Craftify Web Page Creator Tutorial. This comprehensive guide will demonstrate how to utilize artificial intelligence to generate content for your website!
Step 1:
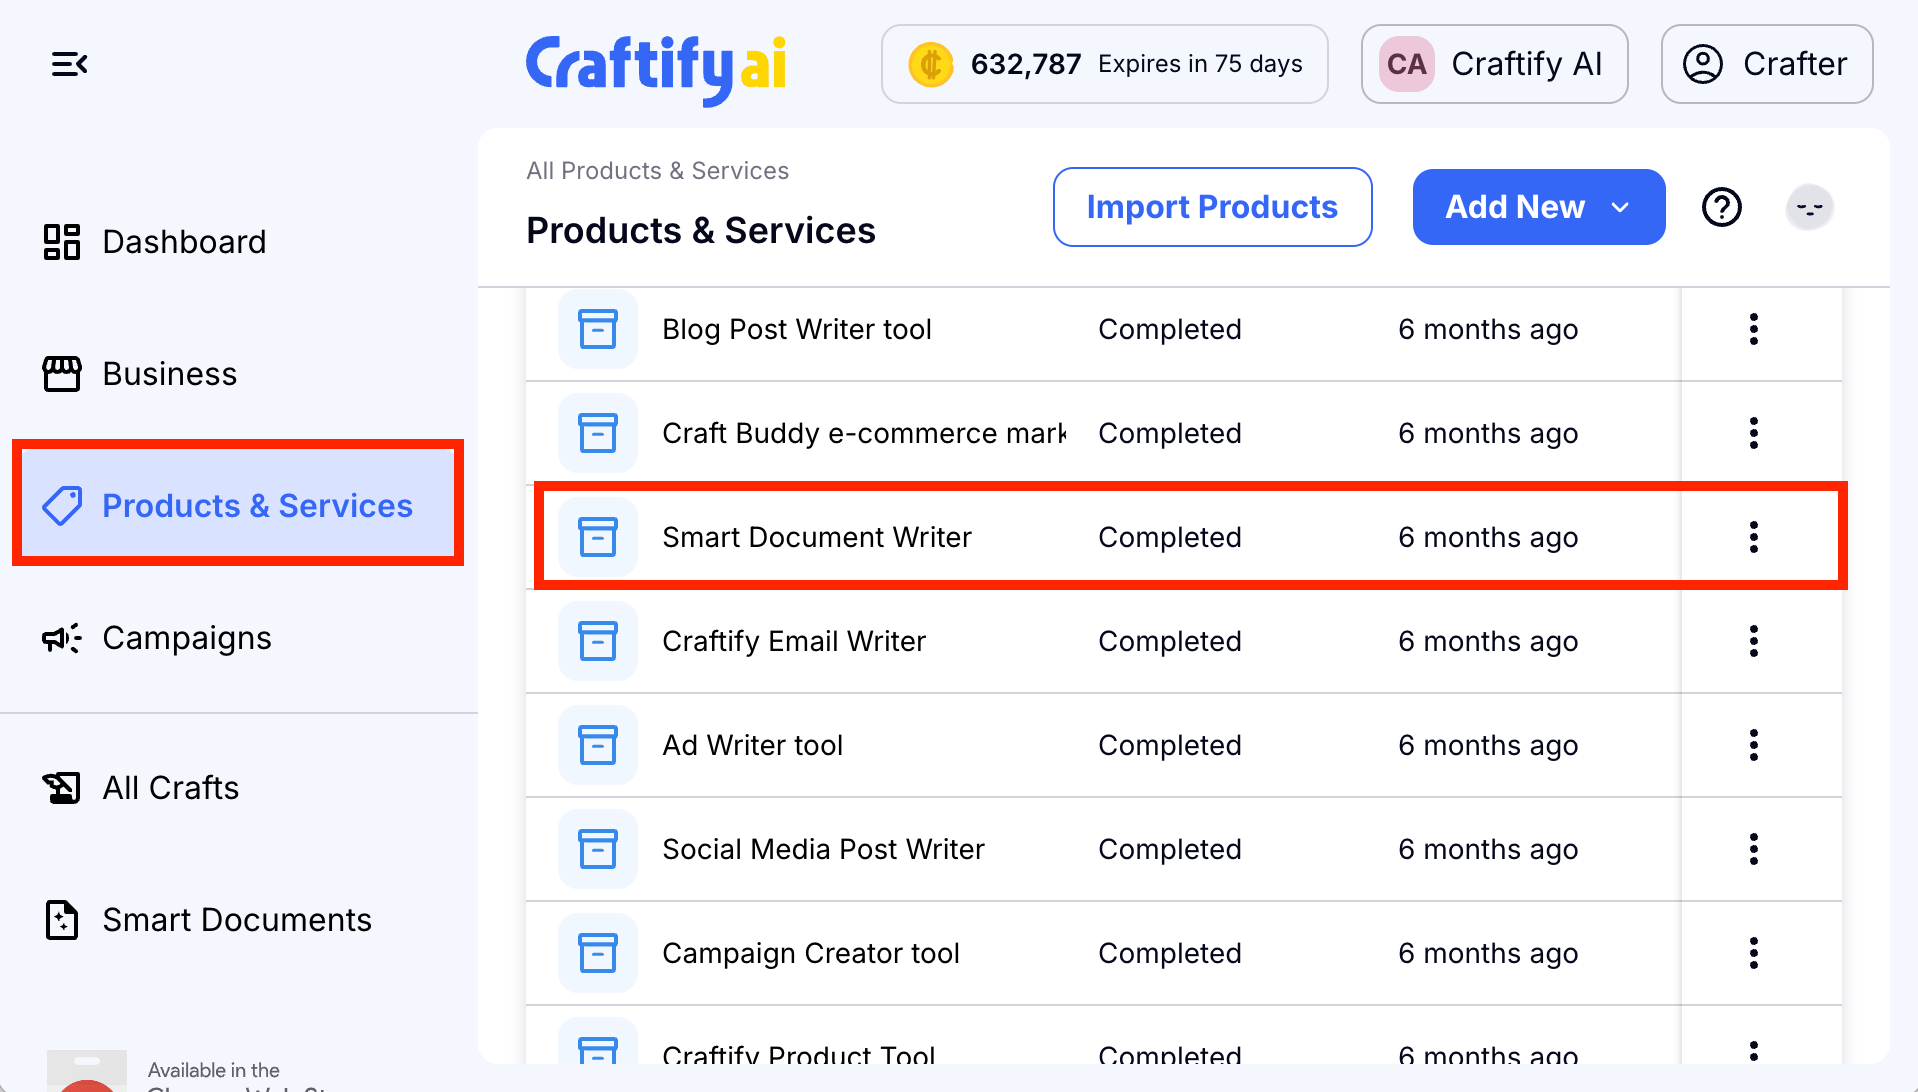
Begin by navigating to either the 'Products & Services' tab or the 'Campaigns' tab located on the left-hand side of your screen. While you have the option to select 'All Crafts', we strongly suggest beginning the process with the other tabs. This way, your crafts will be directly associated with a specific product, service or campaign.
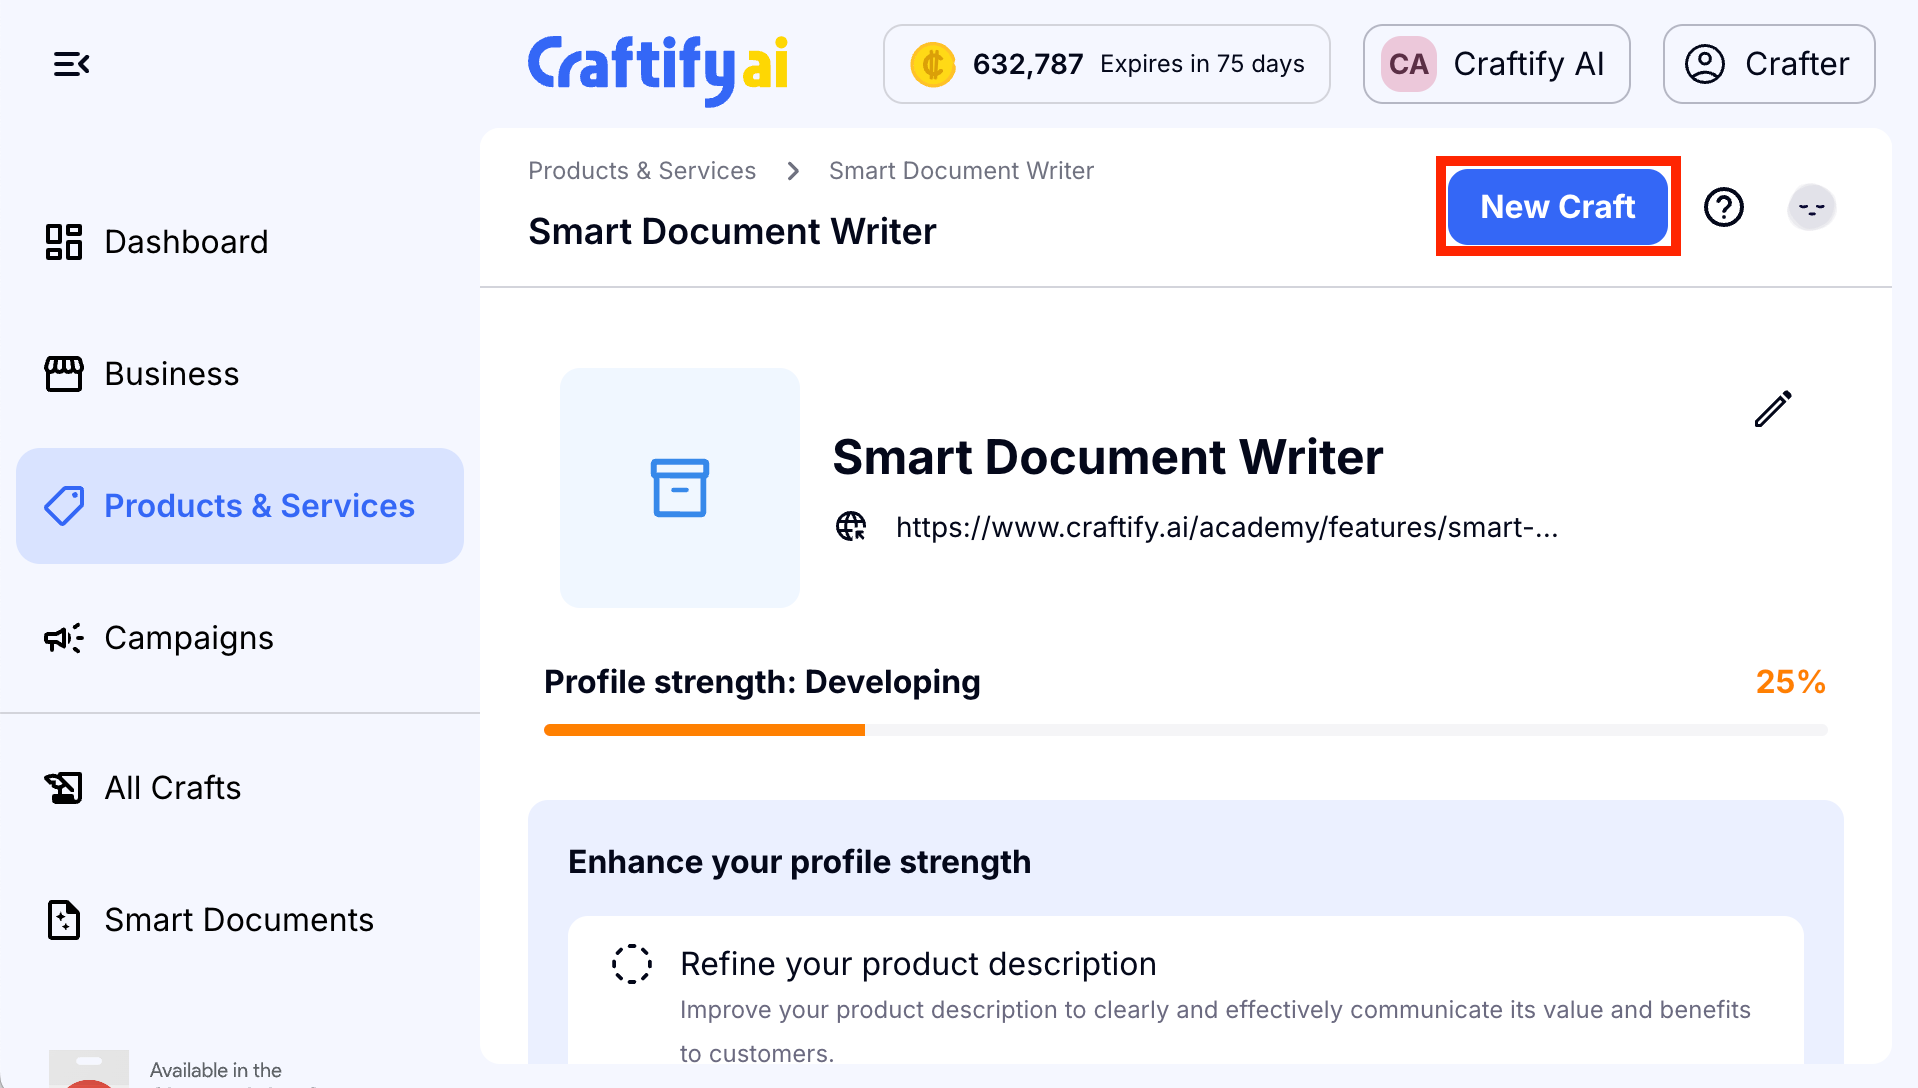
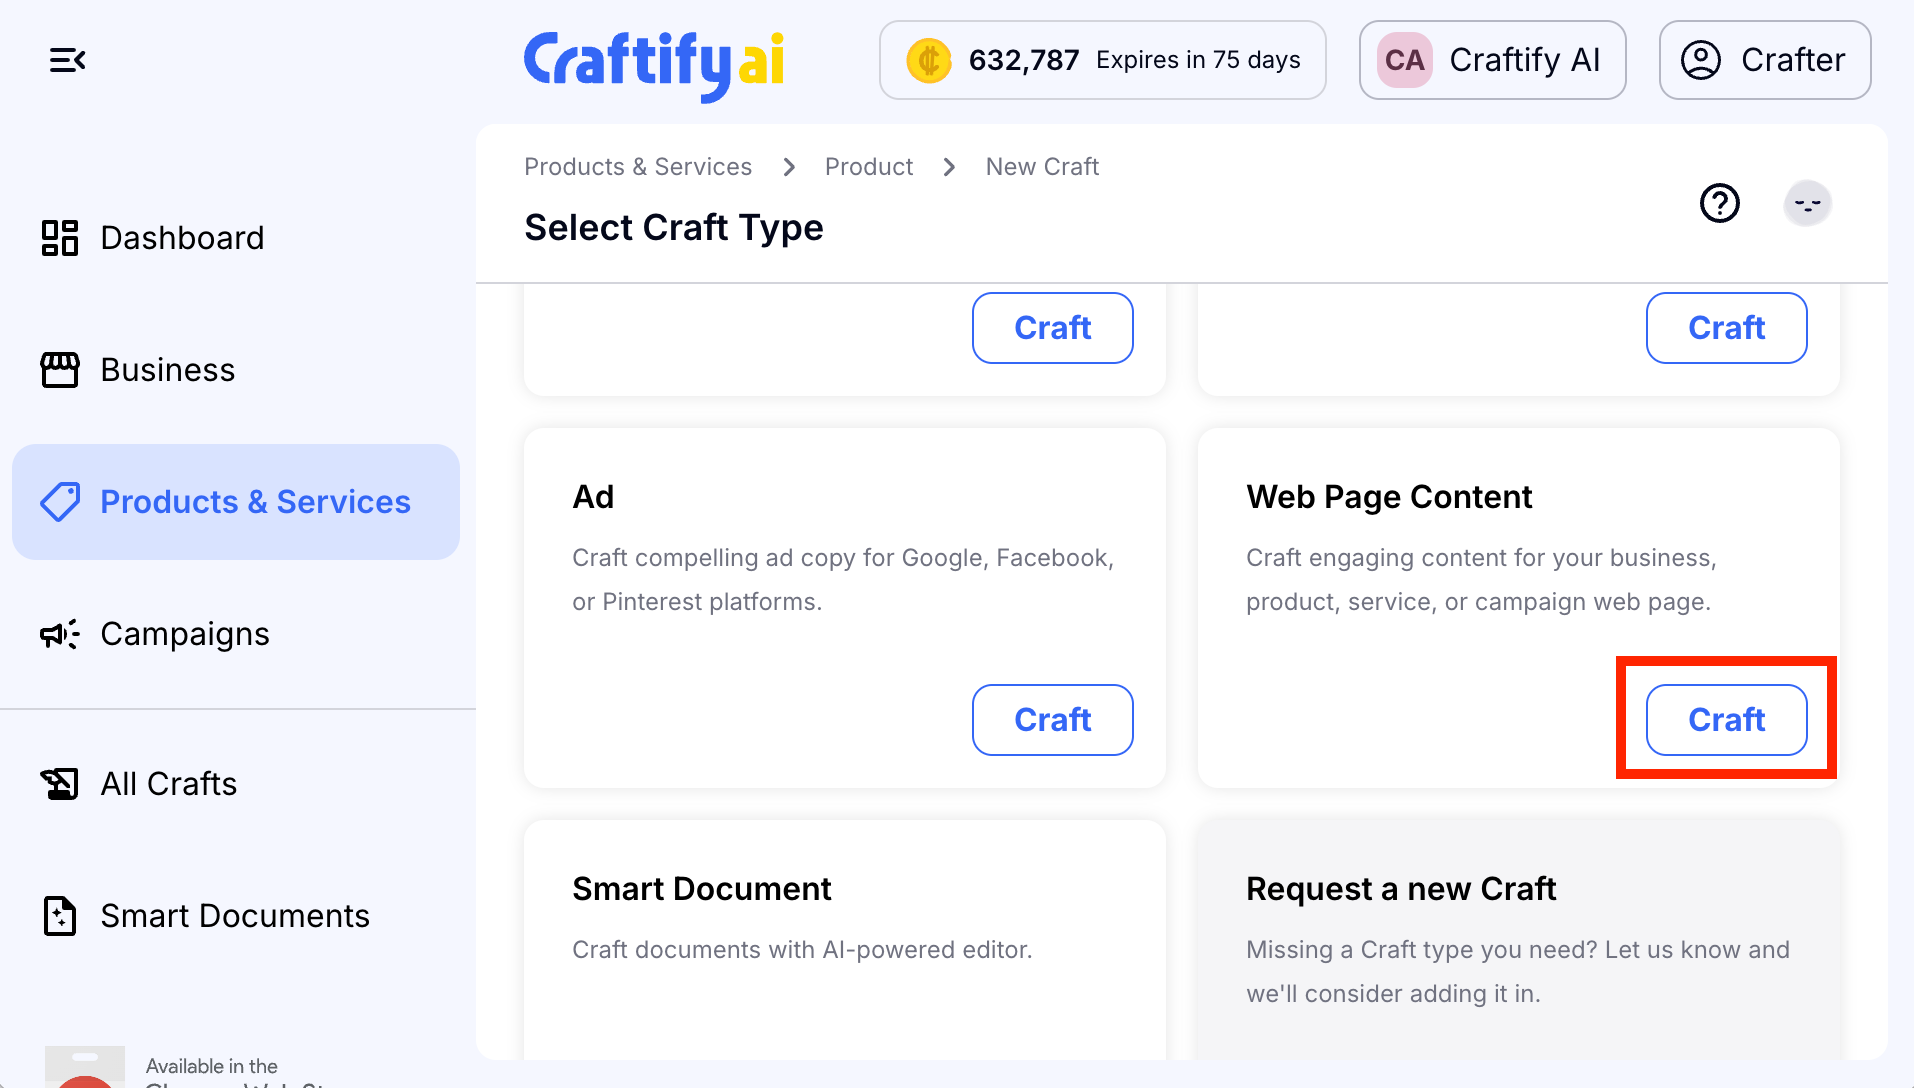
For the purpose of this tutorial, we selected a product and then selected New Craft
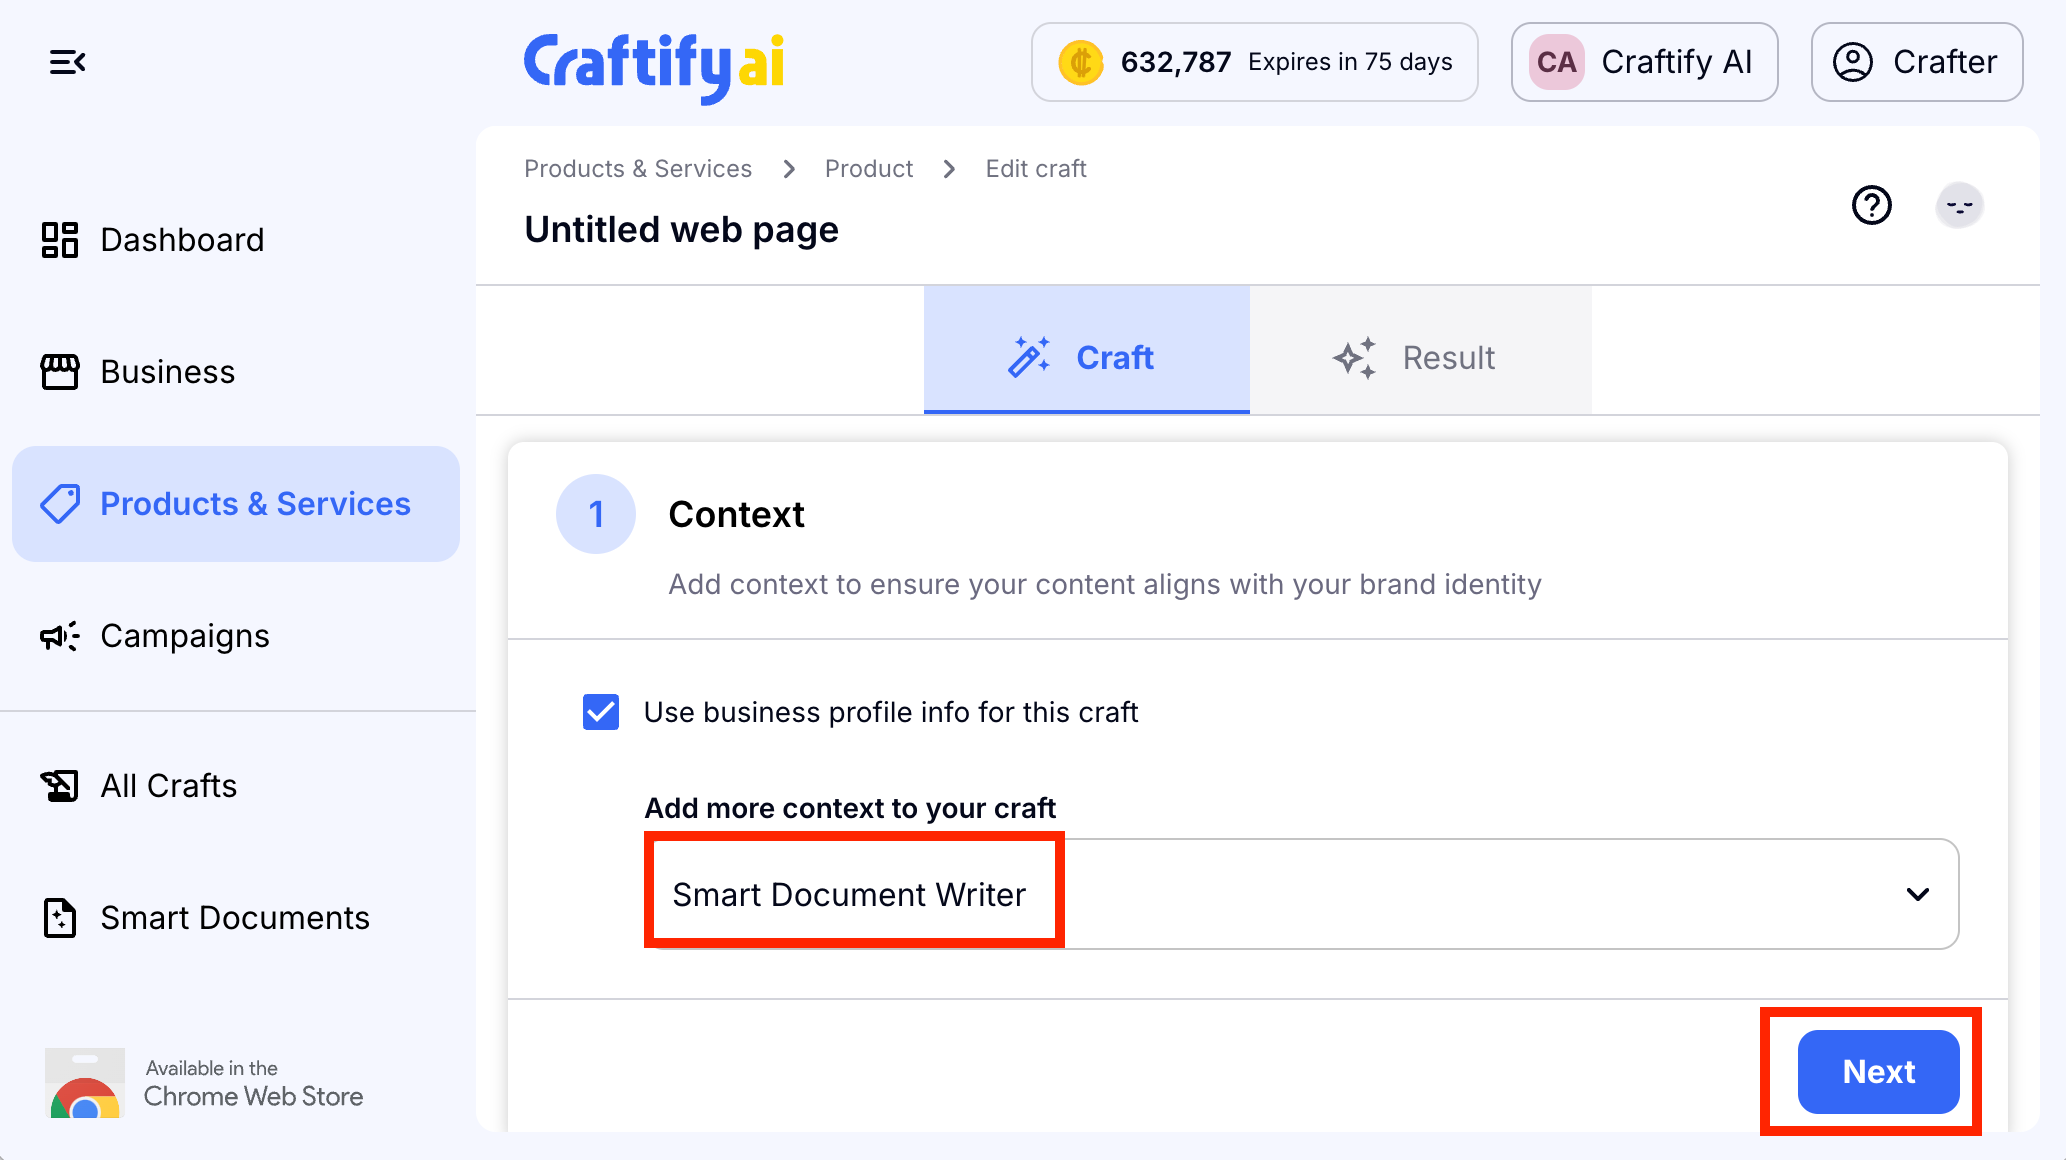
You'll see here that the product you selected in step 1. You can always change the product/service and you can add a campaign. Click on Next to move onto the next step.
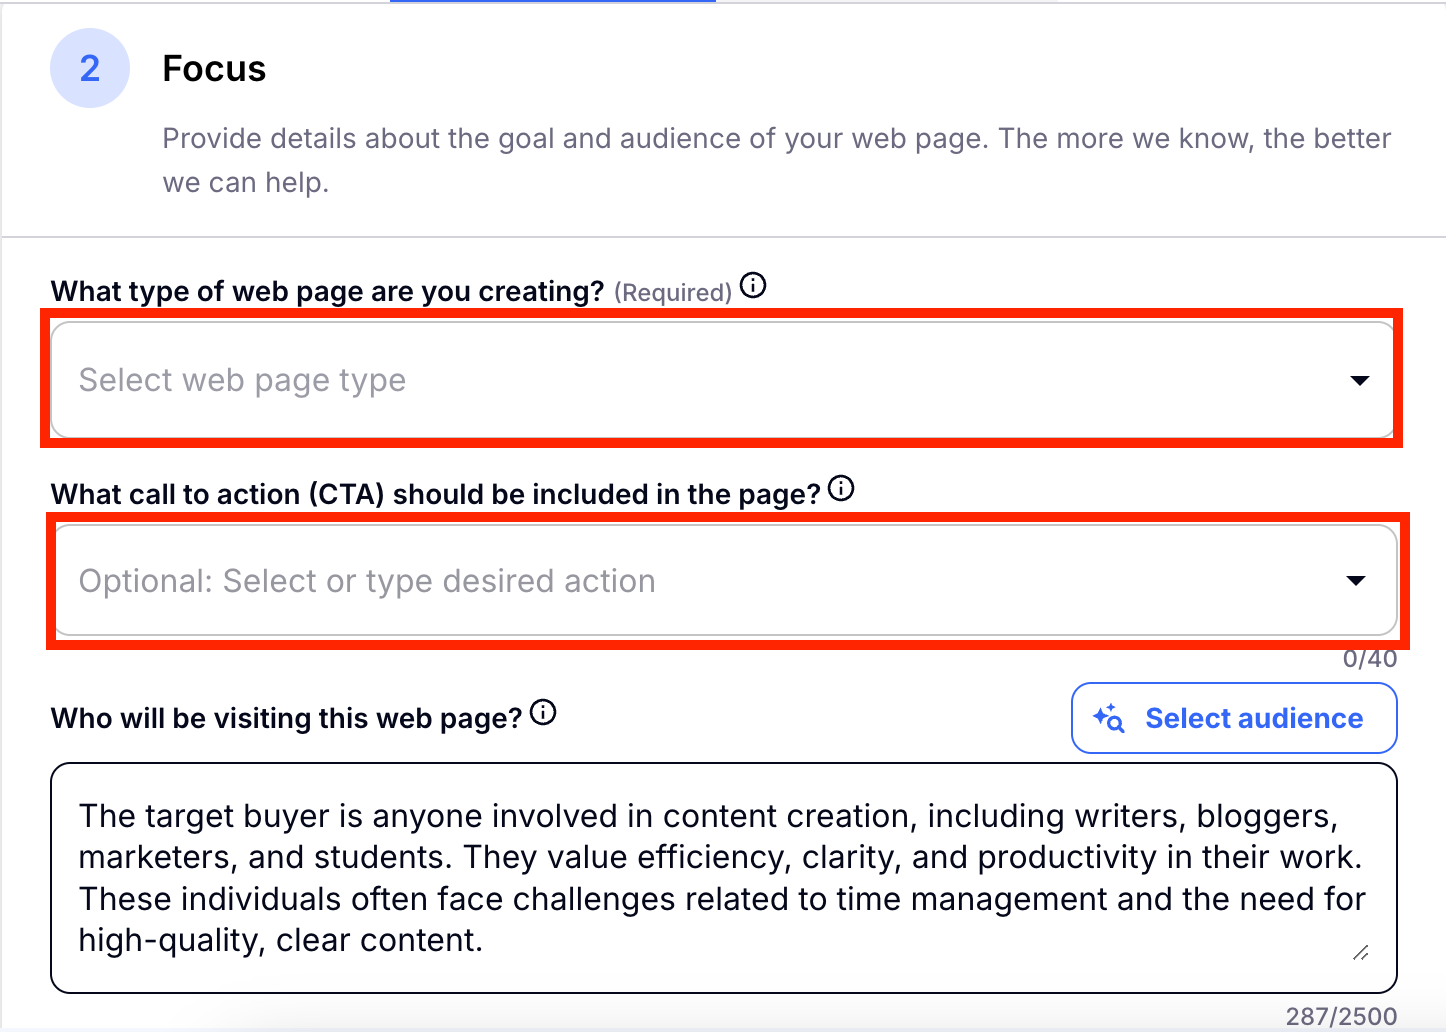
Step 2: Focus
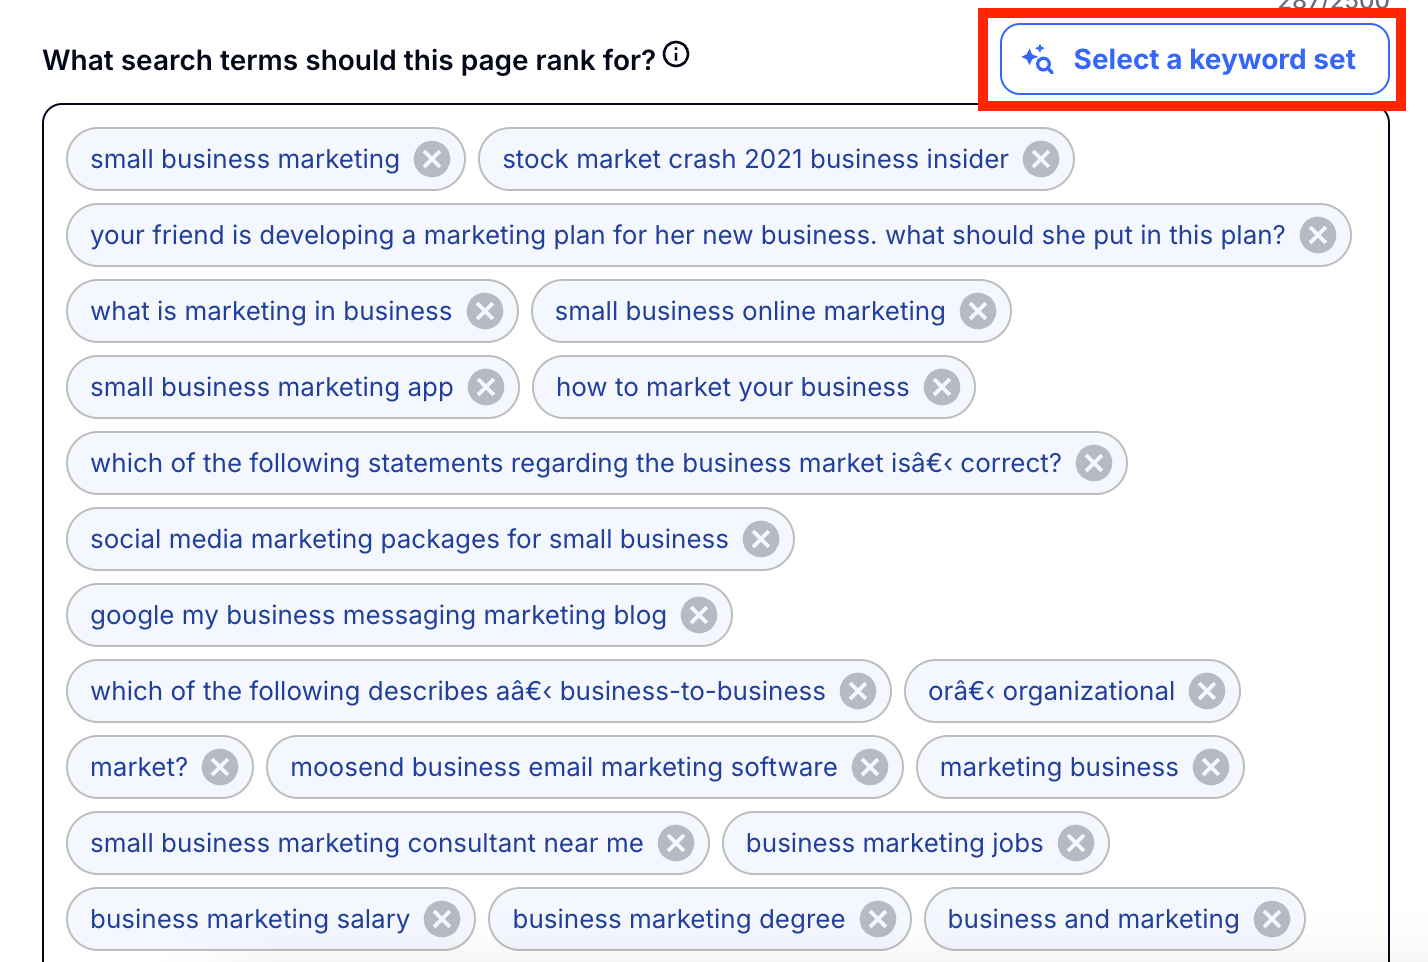
In this step, you will determine the nature of the web page you're crafting, establish the desired call to action for the page, identify the intended audience of the website, select the keywords to boost the site's ranking, and choose the appropriate tone and style for the page.
Review the result created by Craftify AI, and then decide if you'd like to Select a Keyword Set that you have generated before.
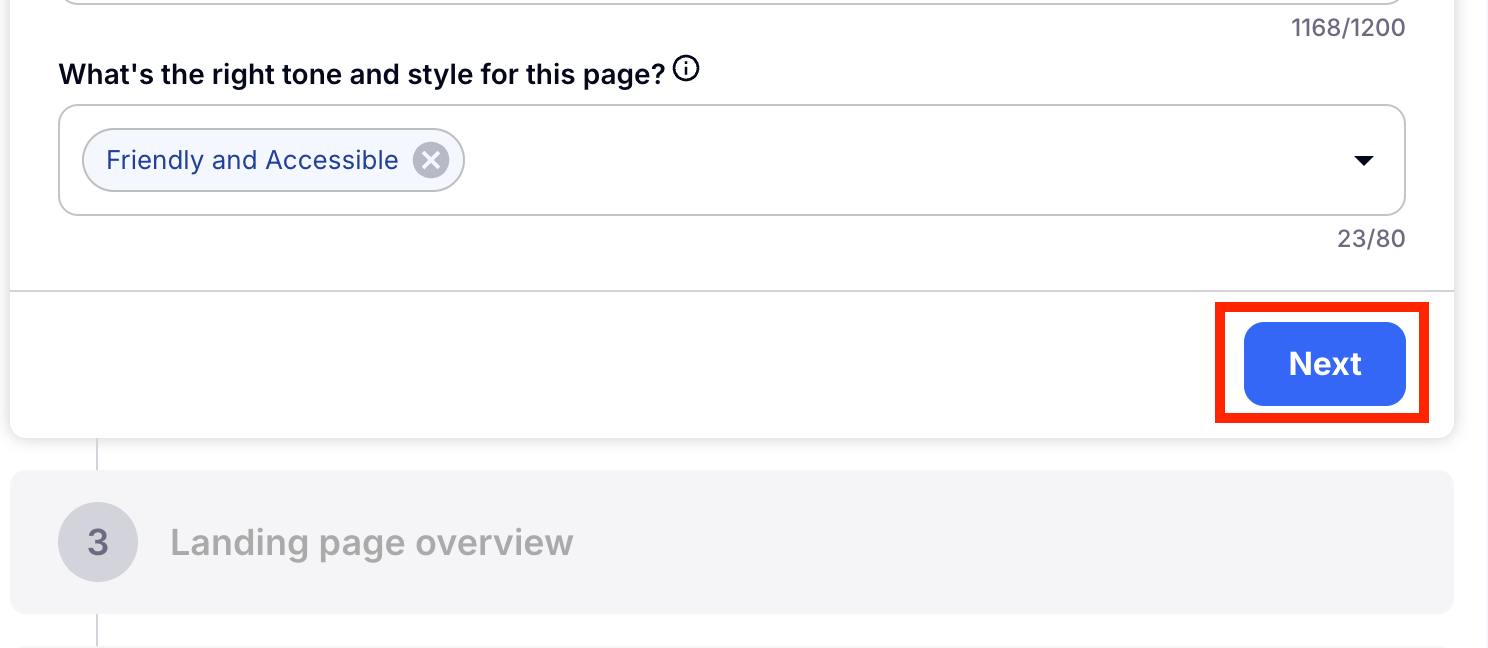
Your tone will be set automatically to the tone chosen in your business profile. You can change it or add to it here. Then to move on to the next step, choose Next.
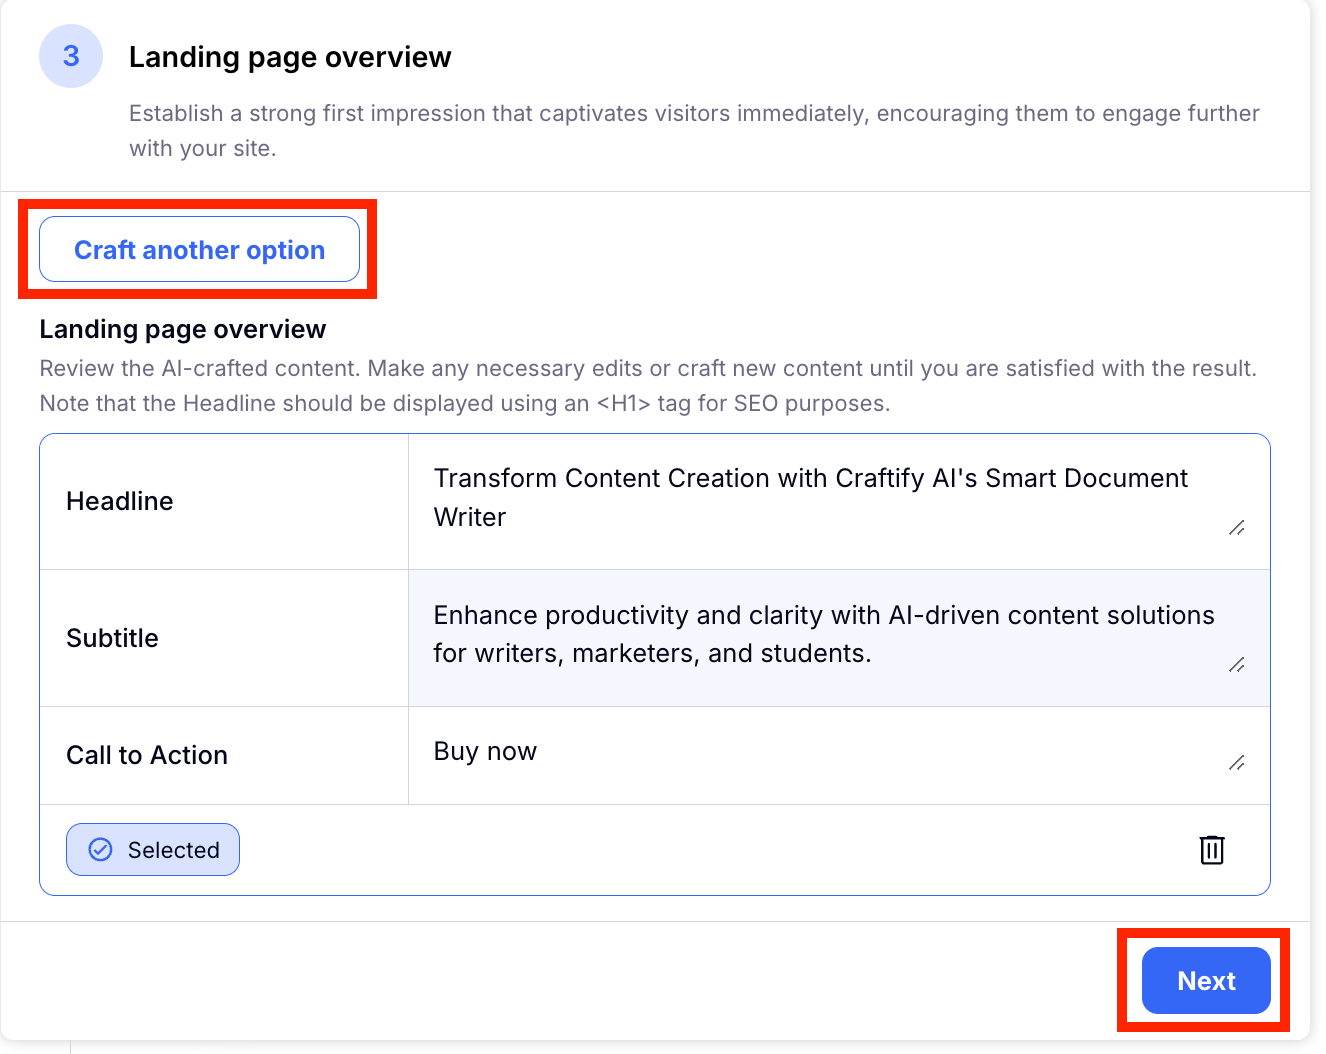
Step 3: Landing Page Overview
You will formulate a unique Headline, Subtitle, and Call to Action. You can choose to Craft more options or choose Next to move on to the next step.
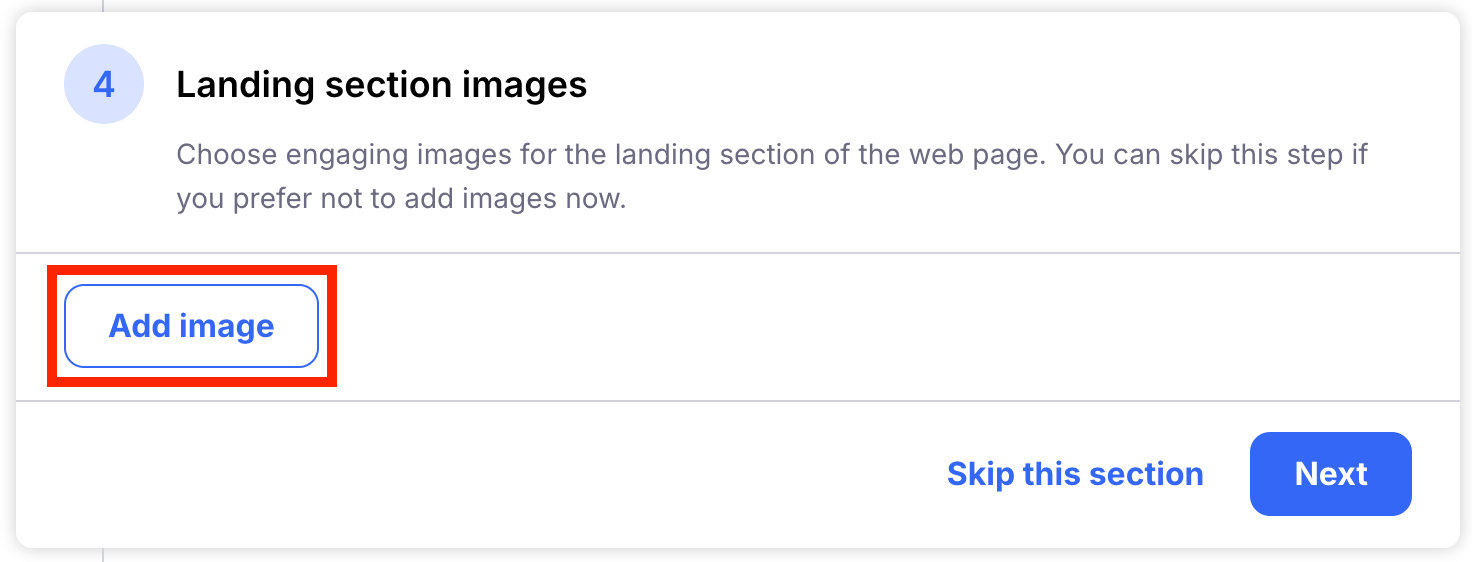
Step 4: Landing Section Images
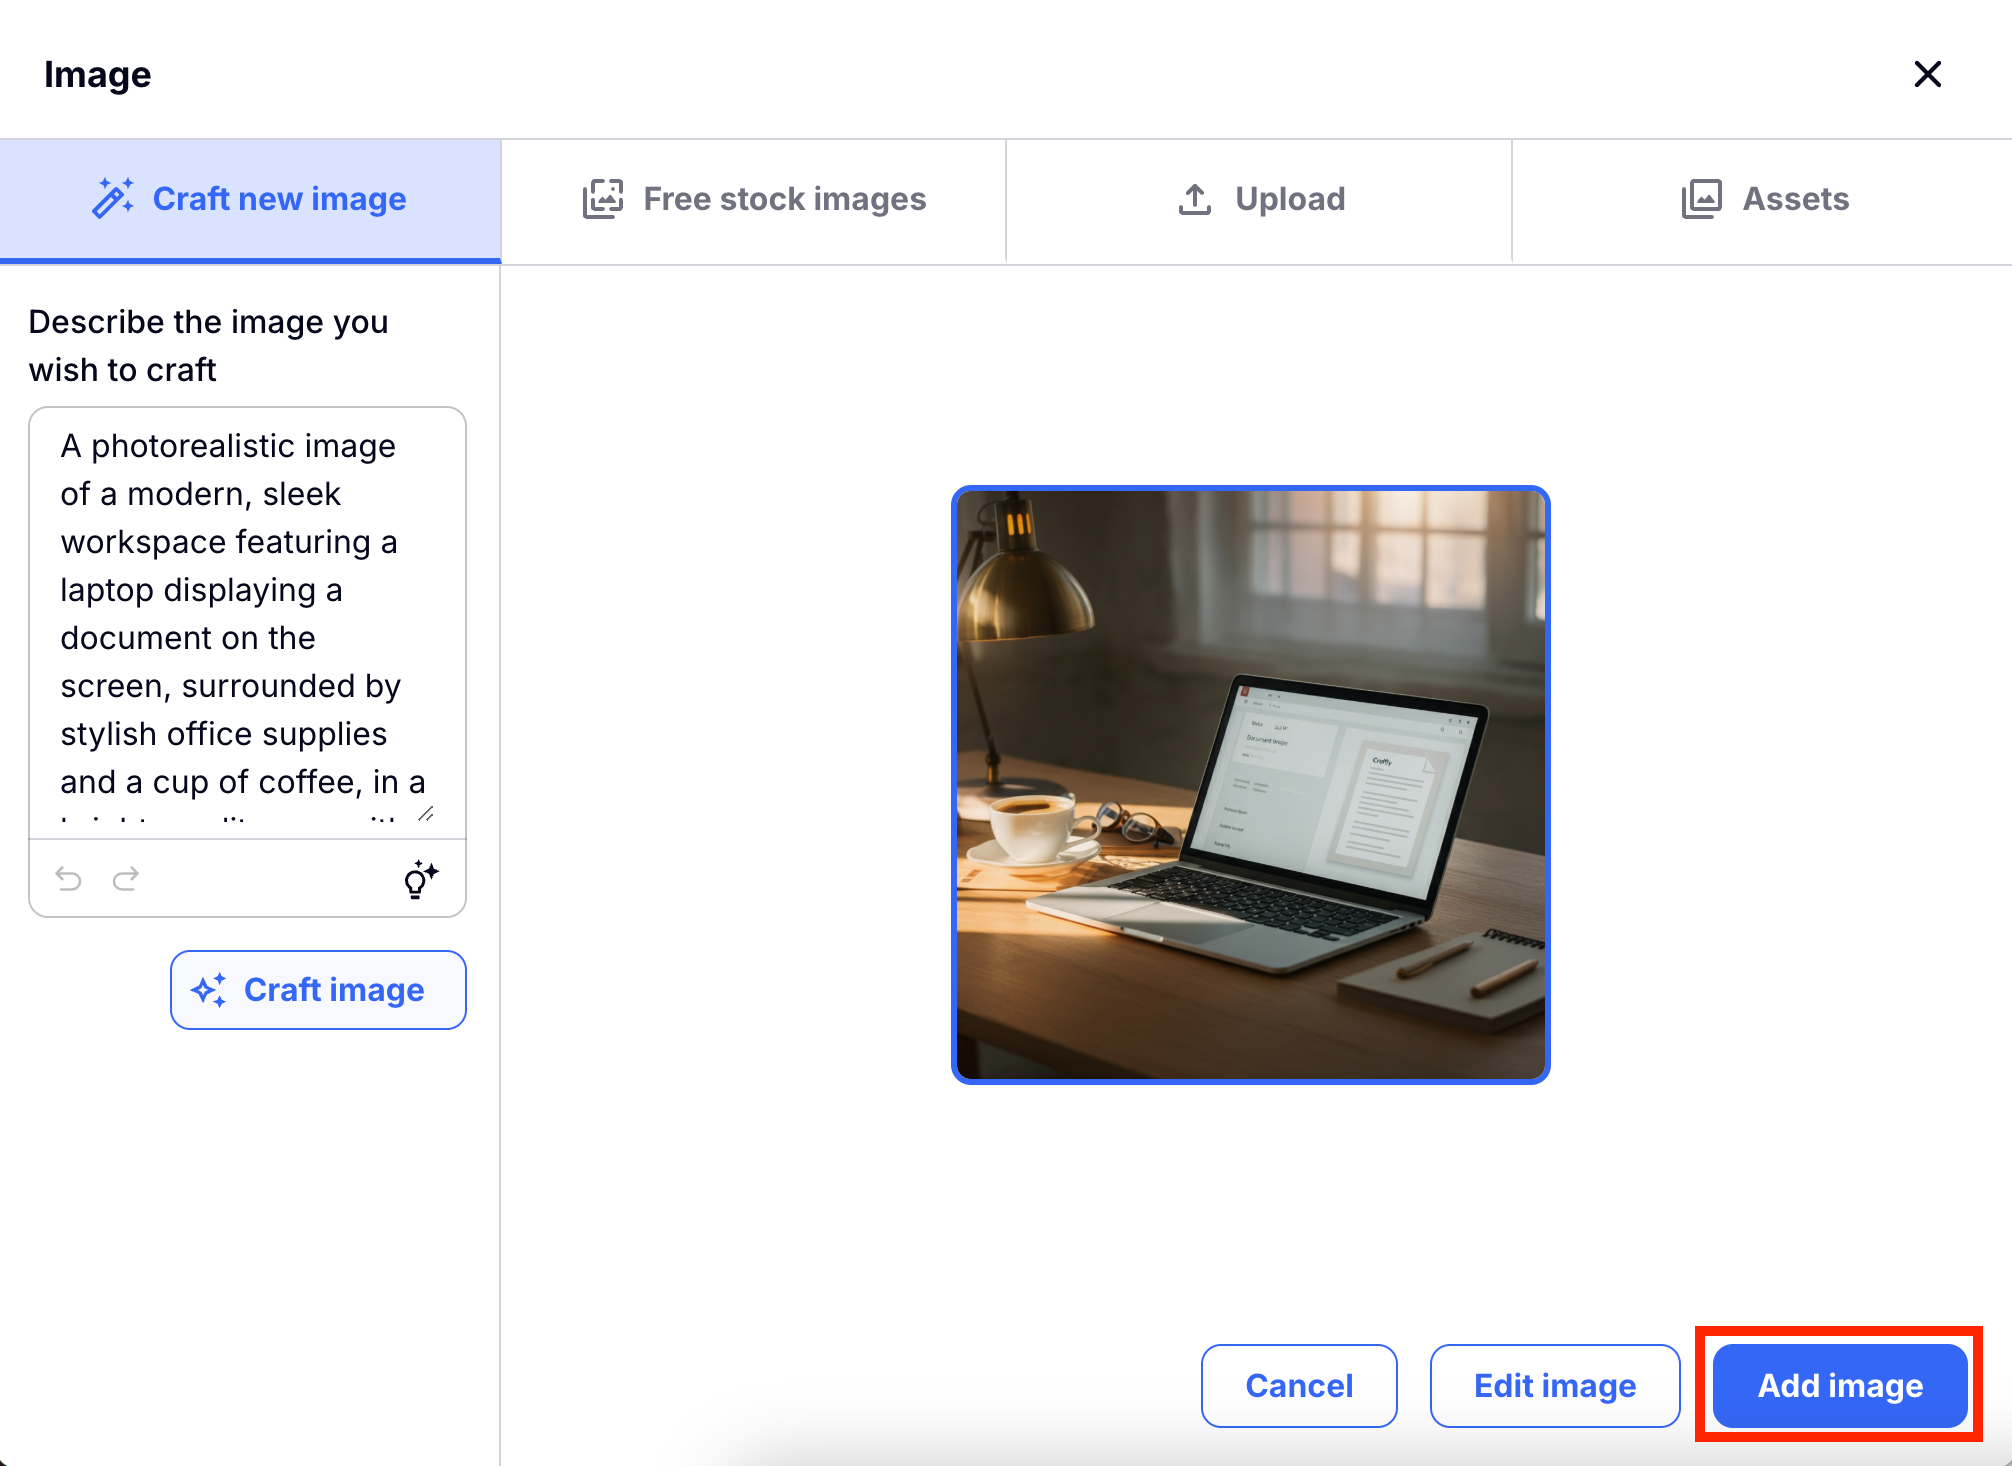
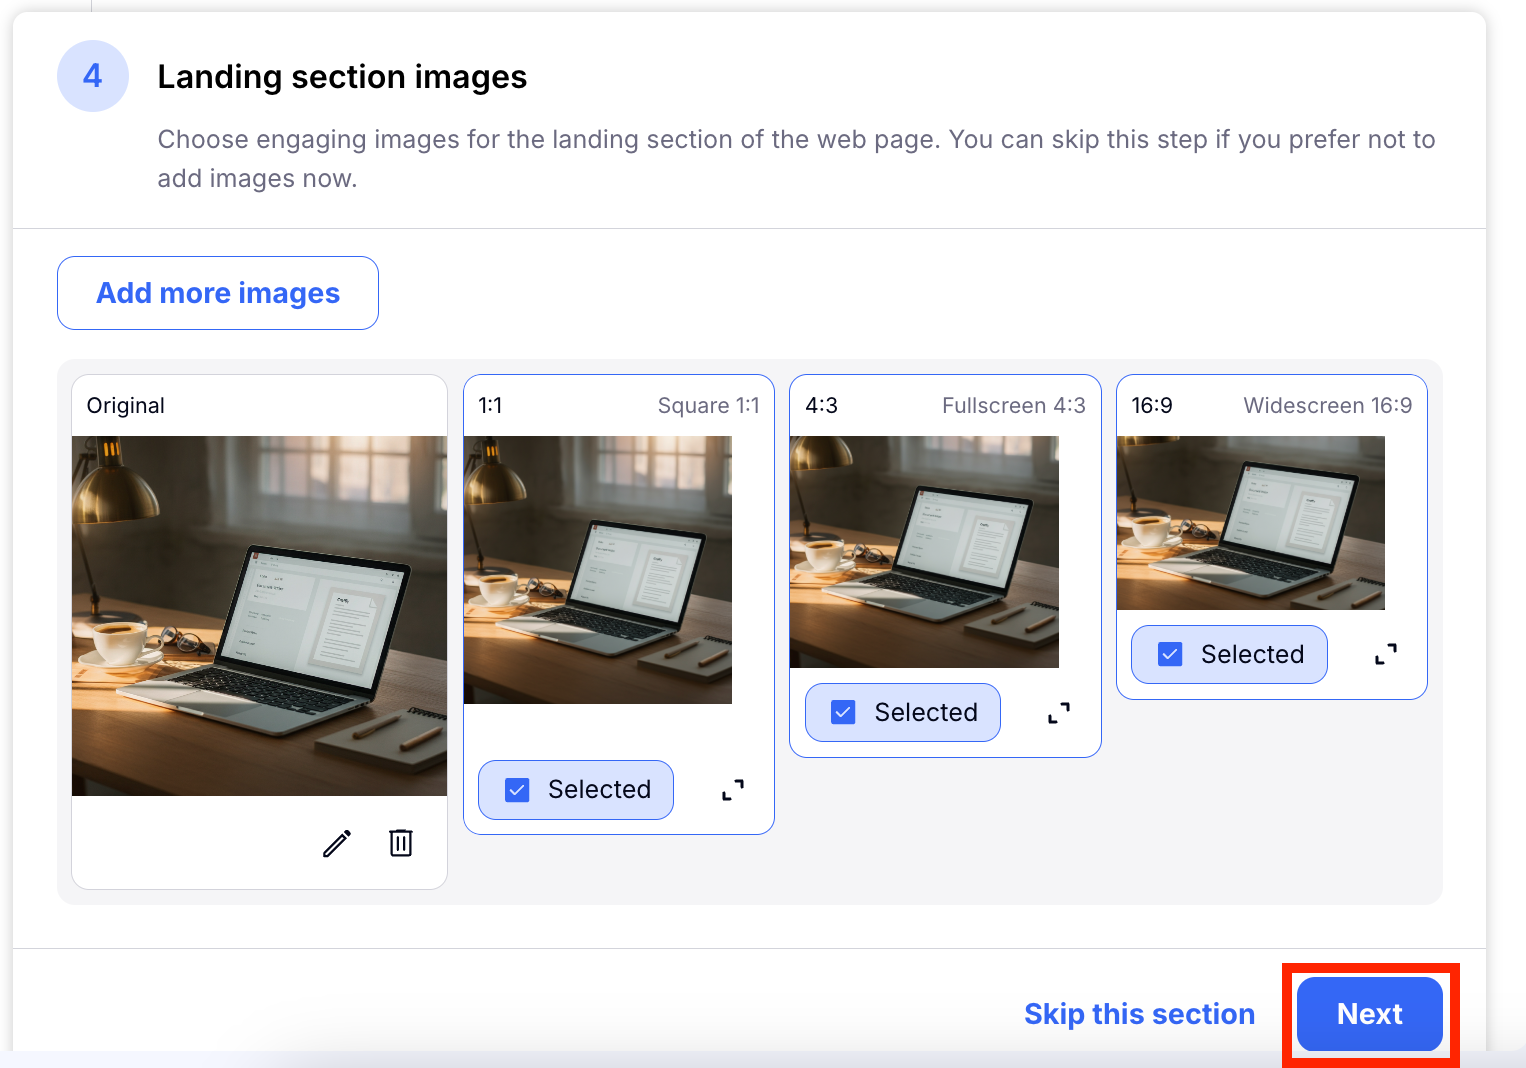
Here you can generate images easily for your landing page. If you wish to make an AI generated image, Craftify AI will automatically write a prompt for you image based on your Website Page information already generated in this craft. Alternatively you can choose from Stock Images or Upload an image. Select the image you want to add to the Craft and choose Add Image. You will now see that image is added in many different sizes so you can use them in your page. Choose Next to move on to the next step.
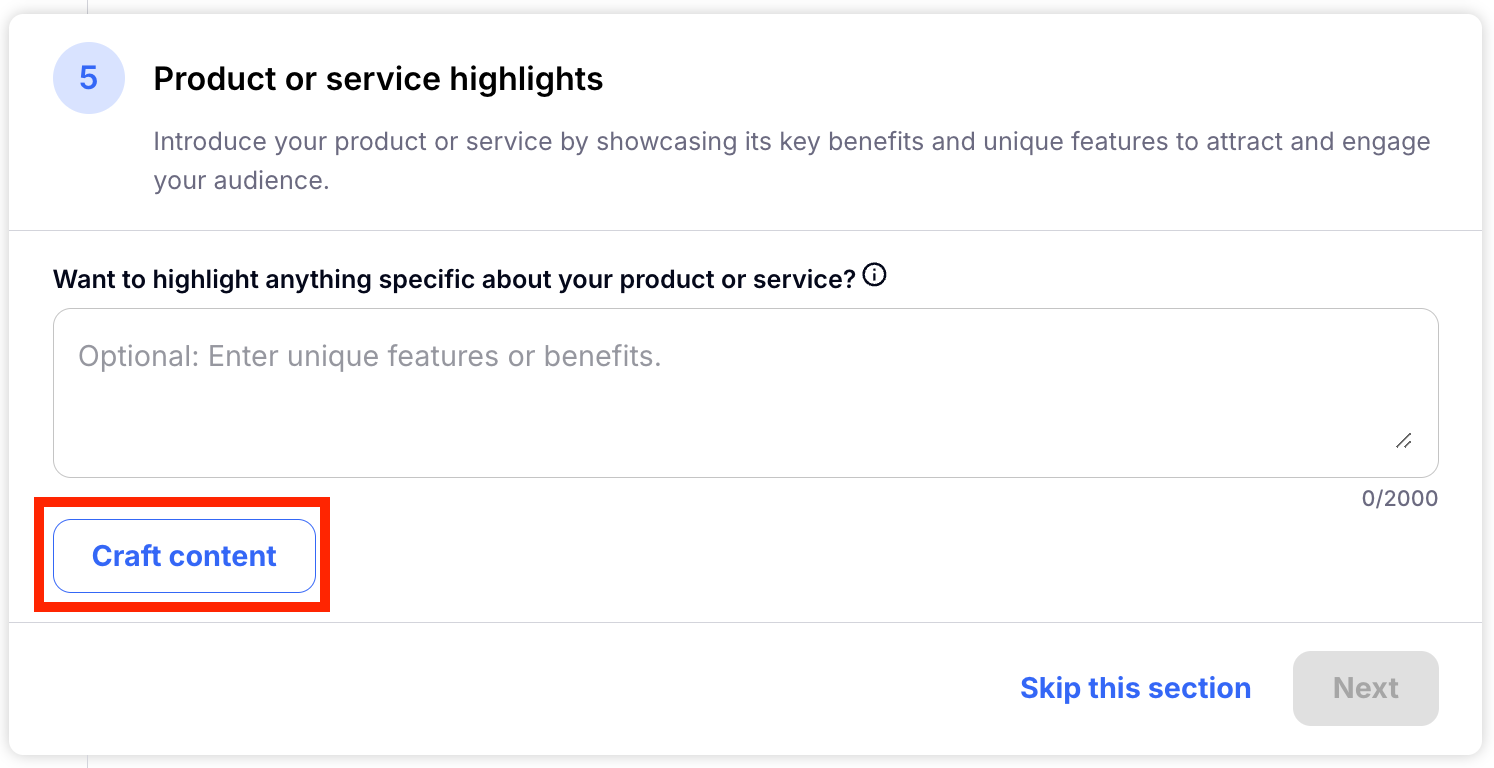
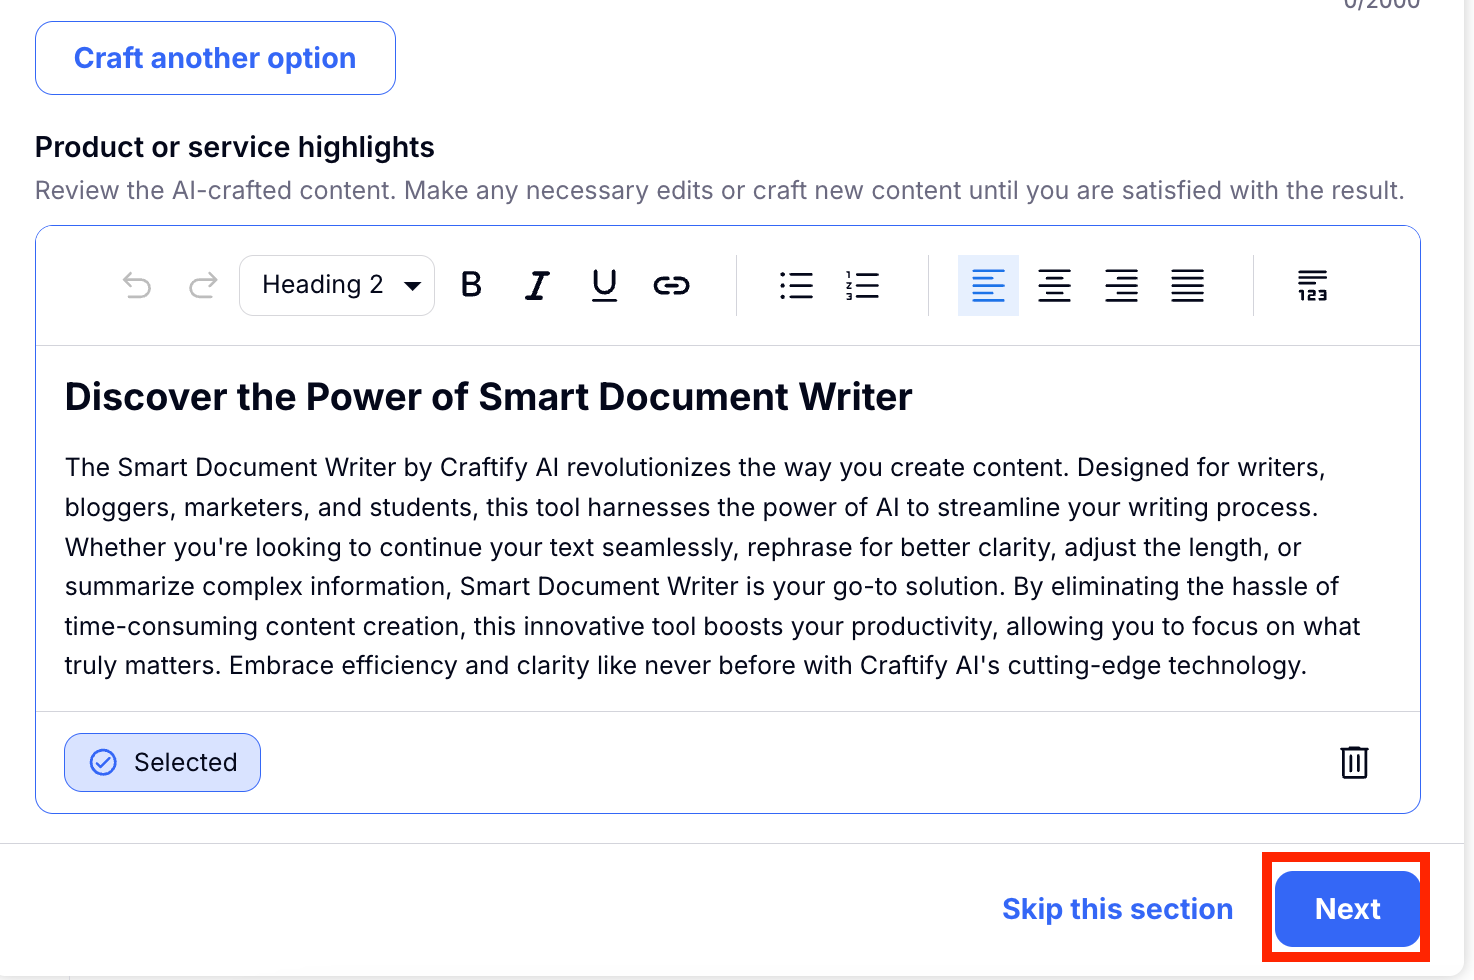
Step 5: Product or Service Highlights
Create a comprehensive summary of your products or services for your website. Similar to previous steps, you have the flexibility to develop several versions, and proceed only when you're satisfied with the outcome.
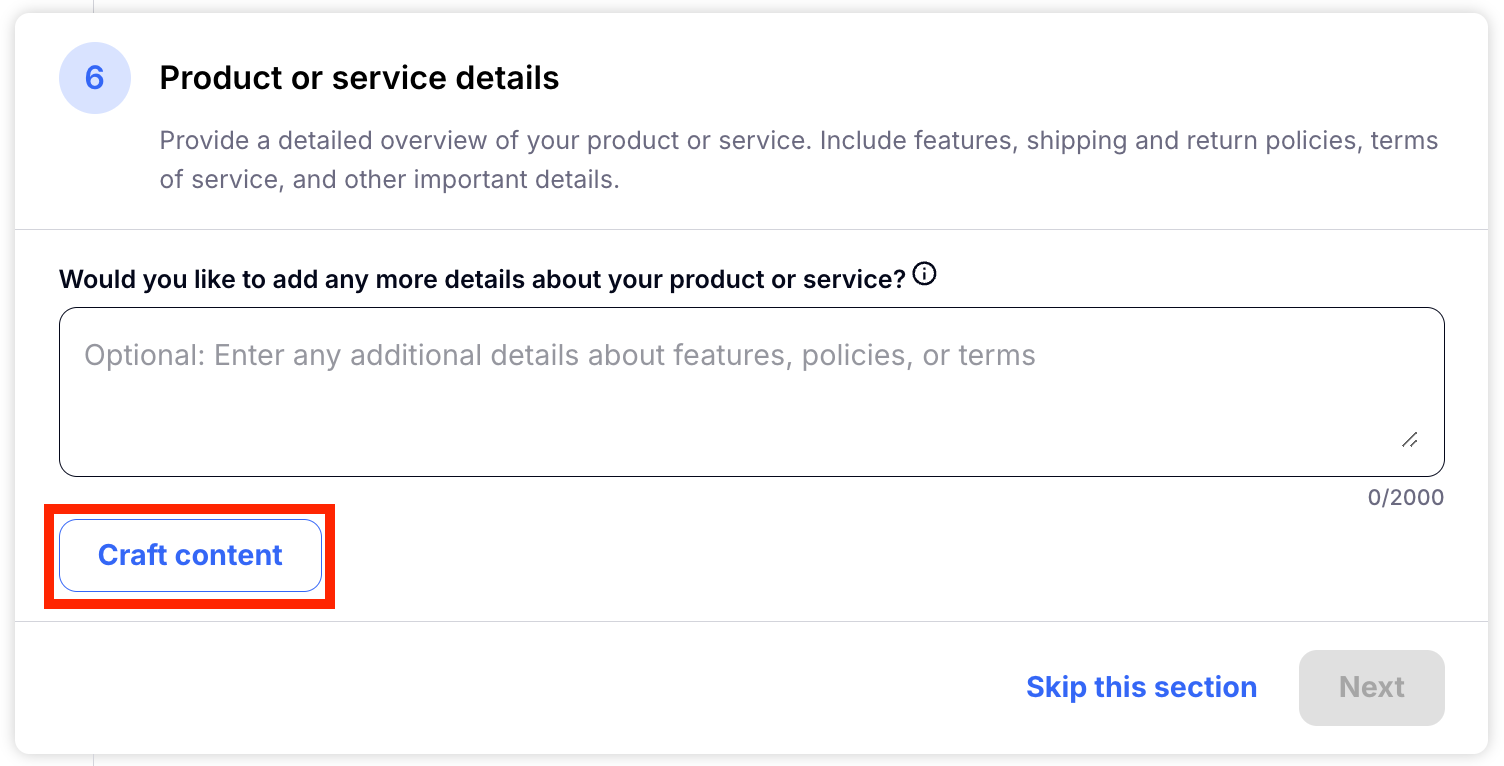
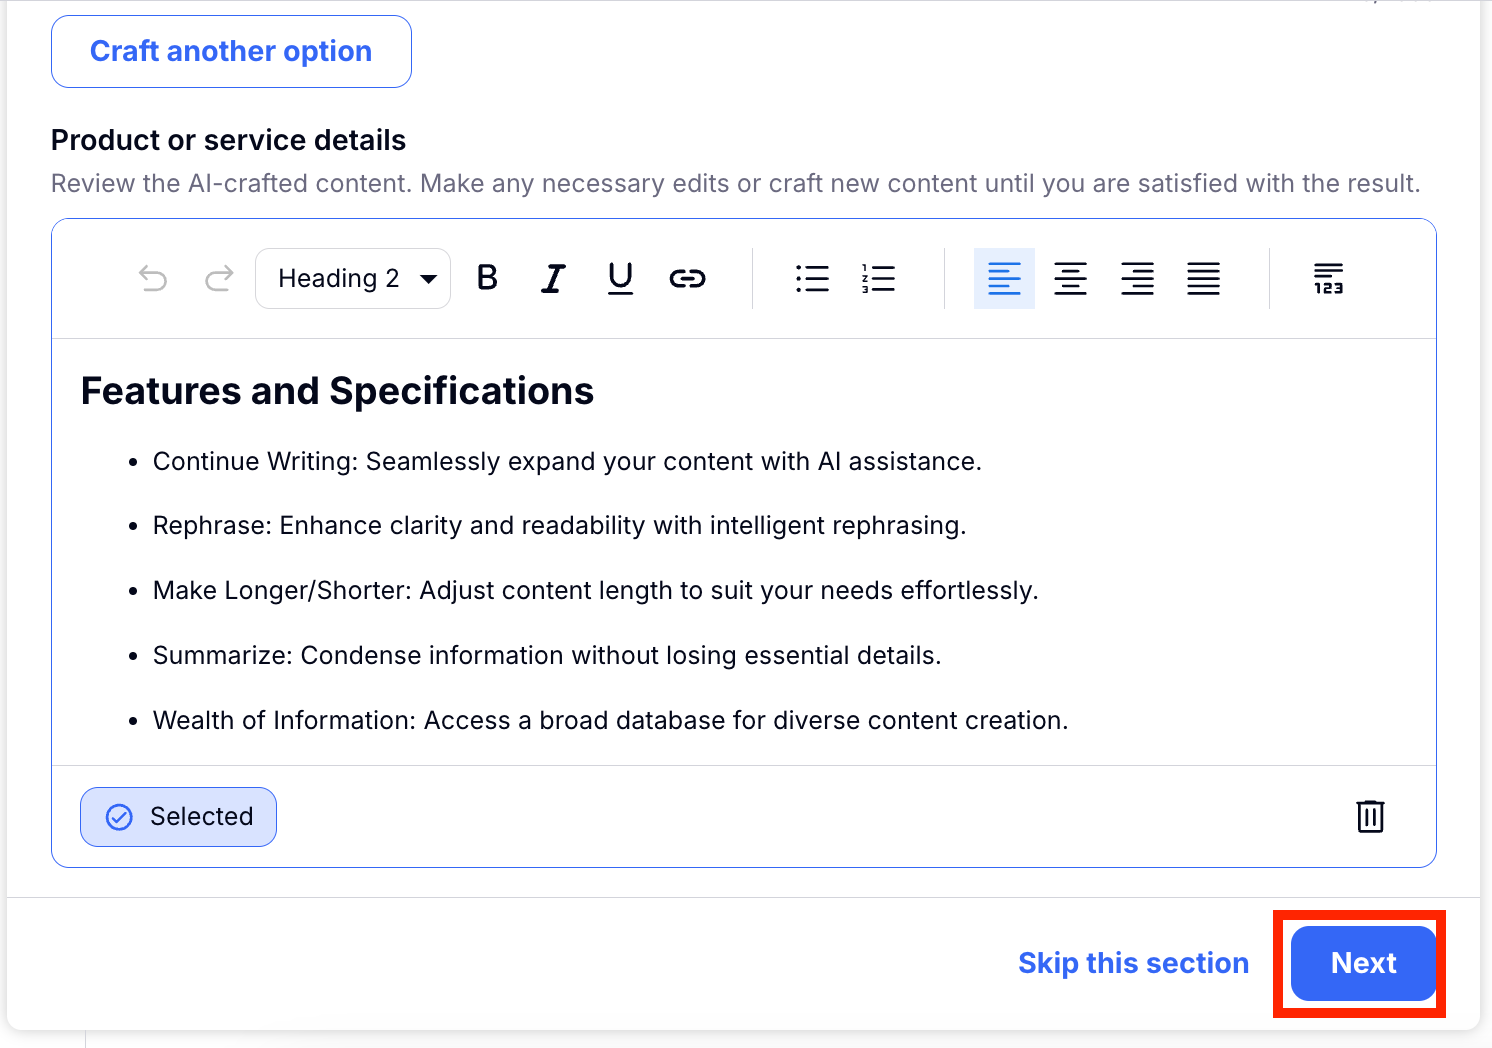
Step 6: Product or Service Details
Just like above, but more detailed, Craftify AI will create a detailed description of your product or service. Just click Craft more options if you want to see more ideas. Choose the one you like most and choose Next to move on.
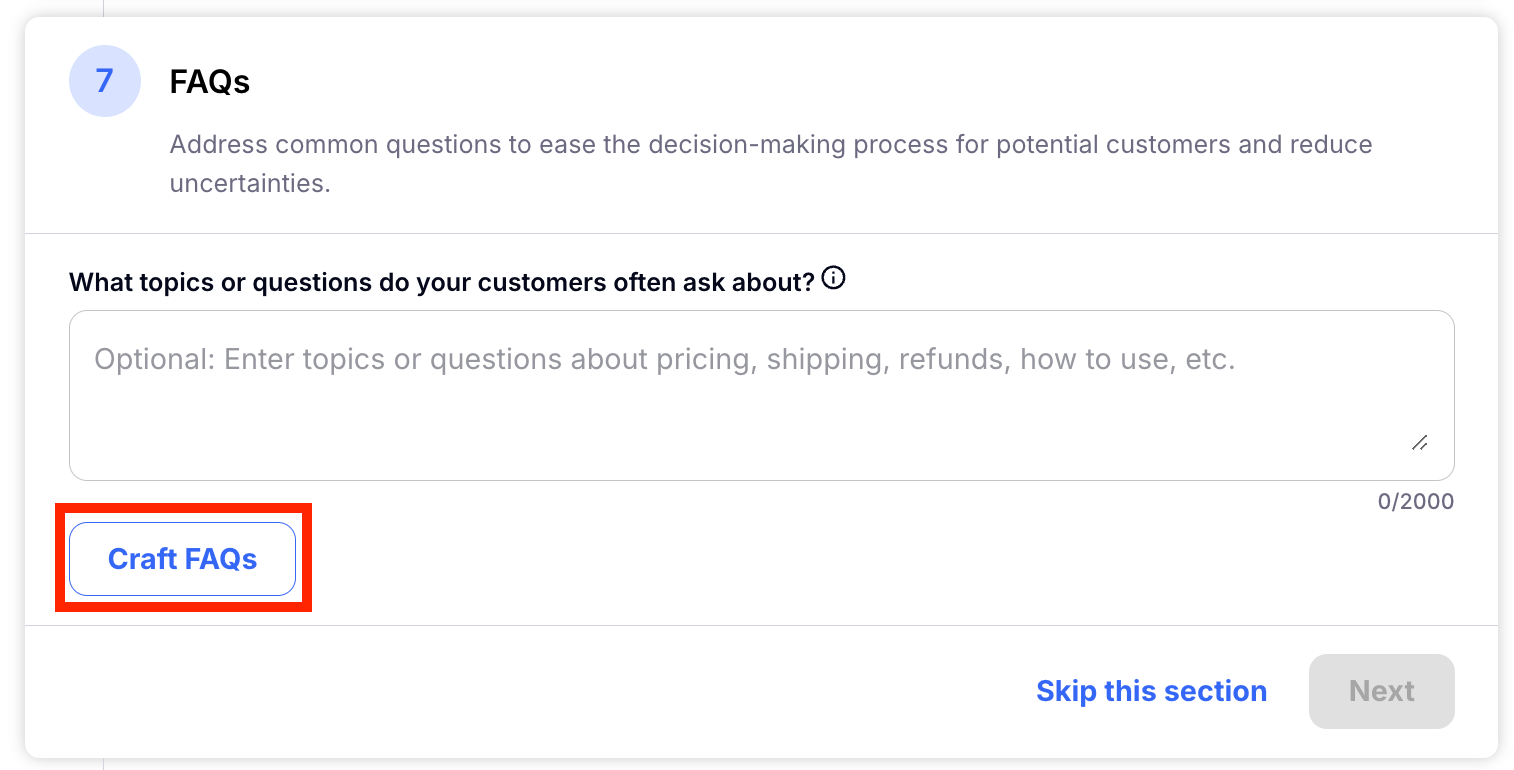
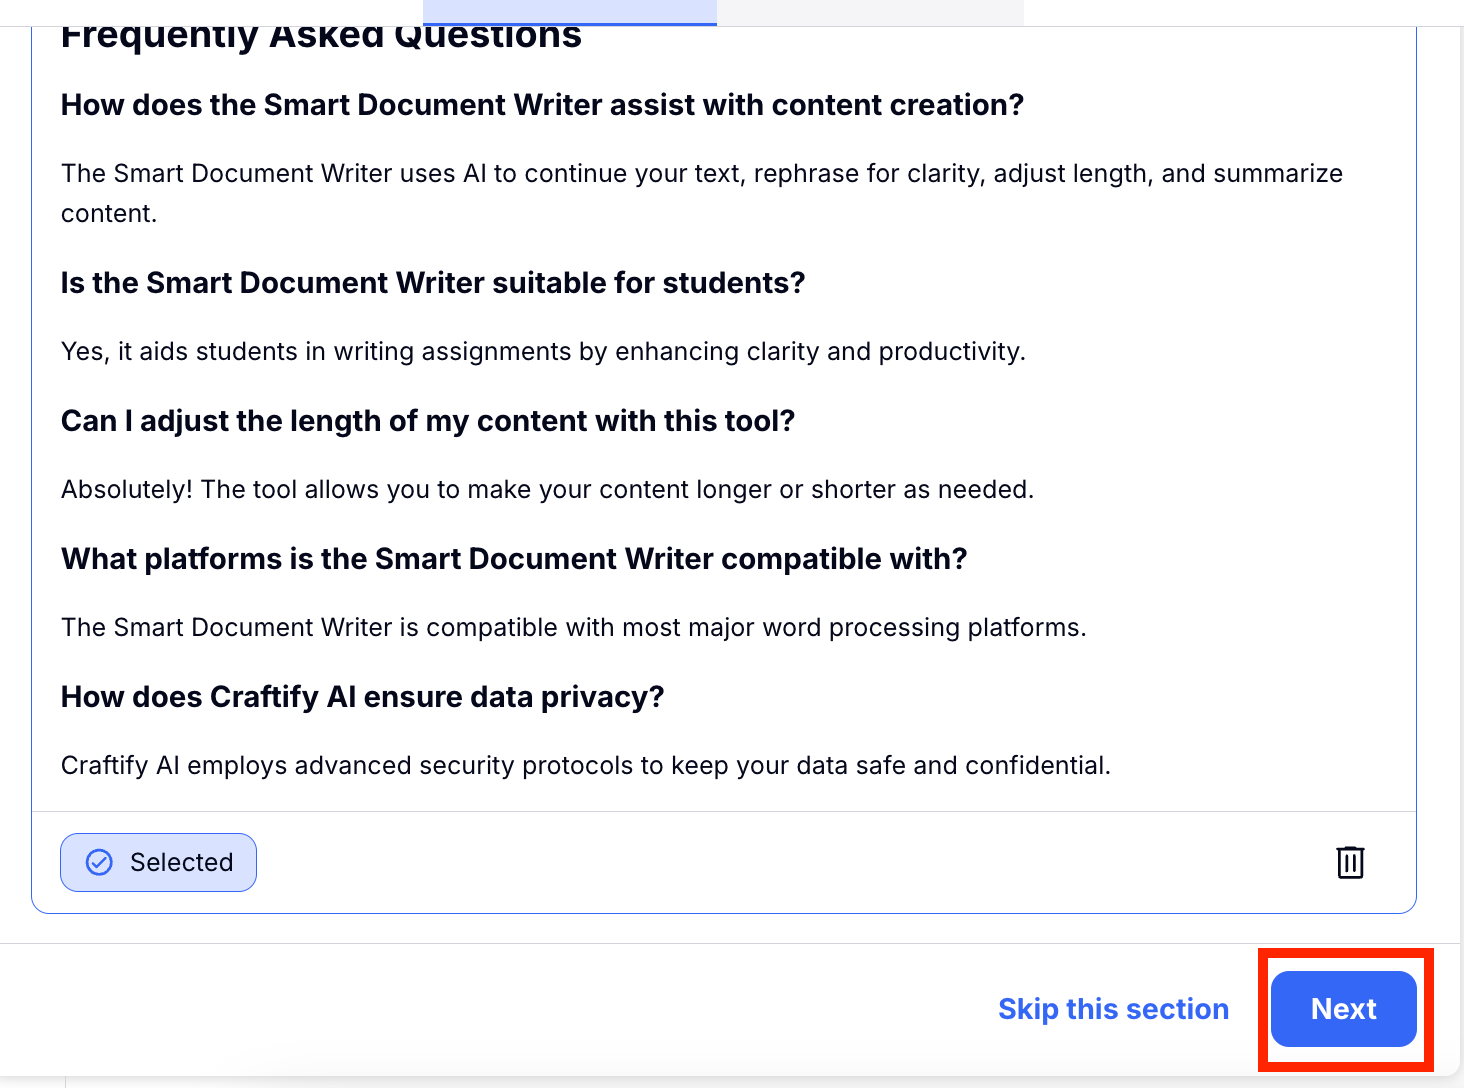
Step 7: FAQs
Similar to steps above, you can generate Frequently Asked Questions to get you started on questions your clients might be asking about your particular business, product or service.
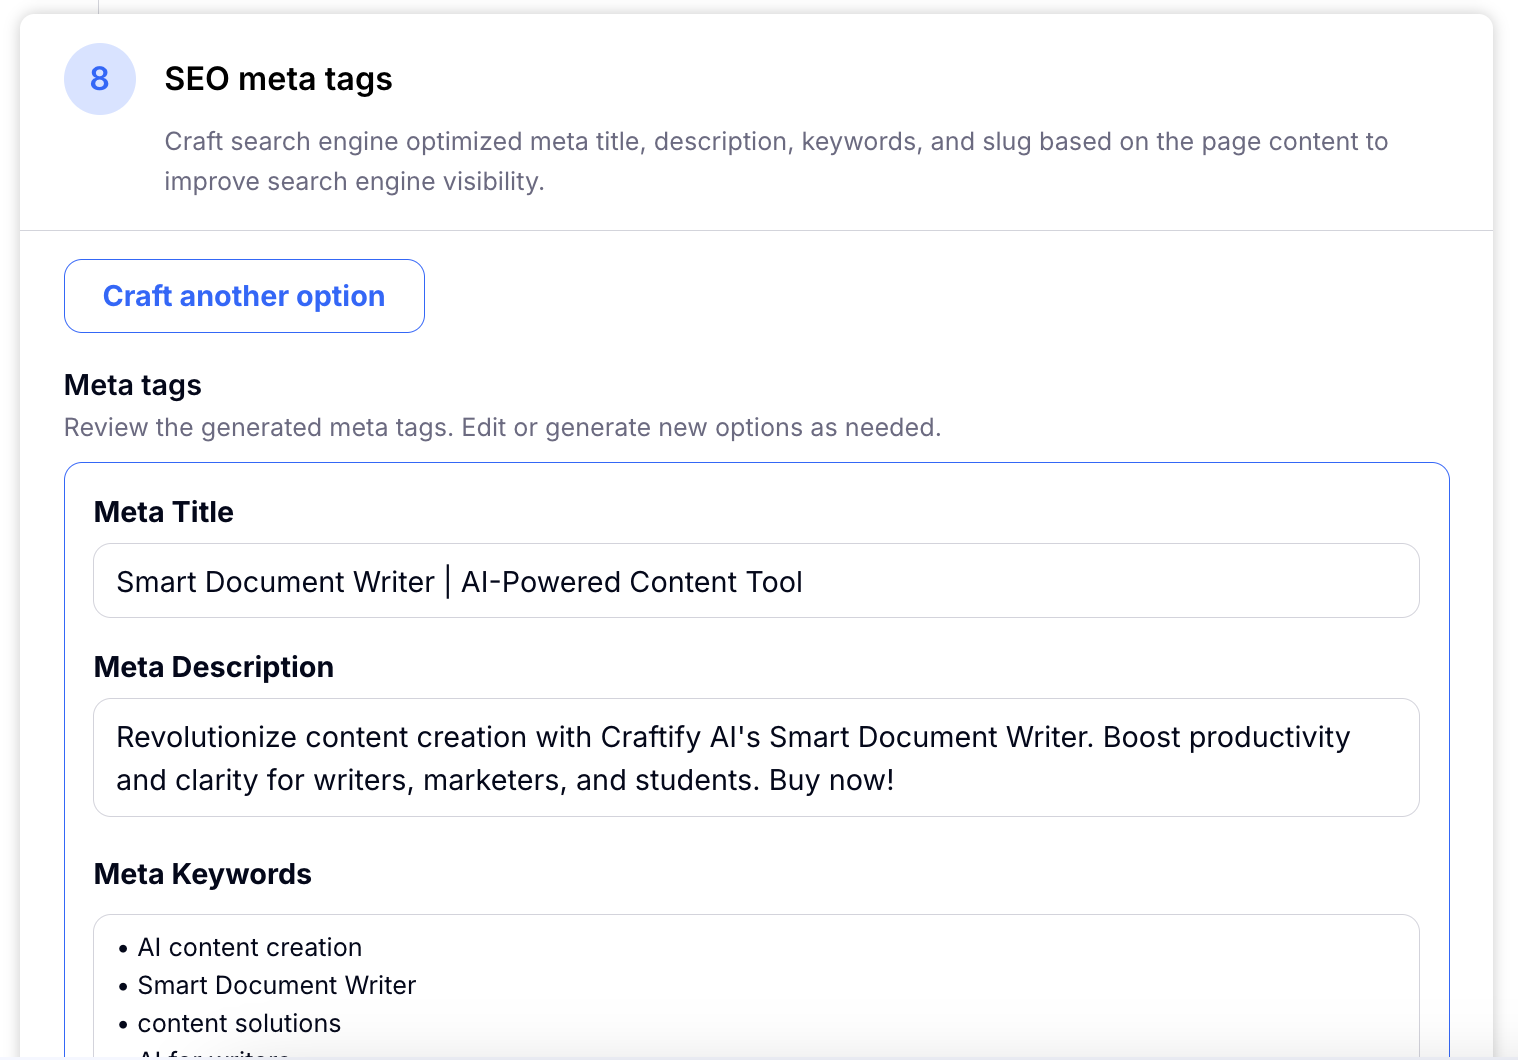
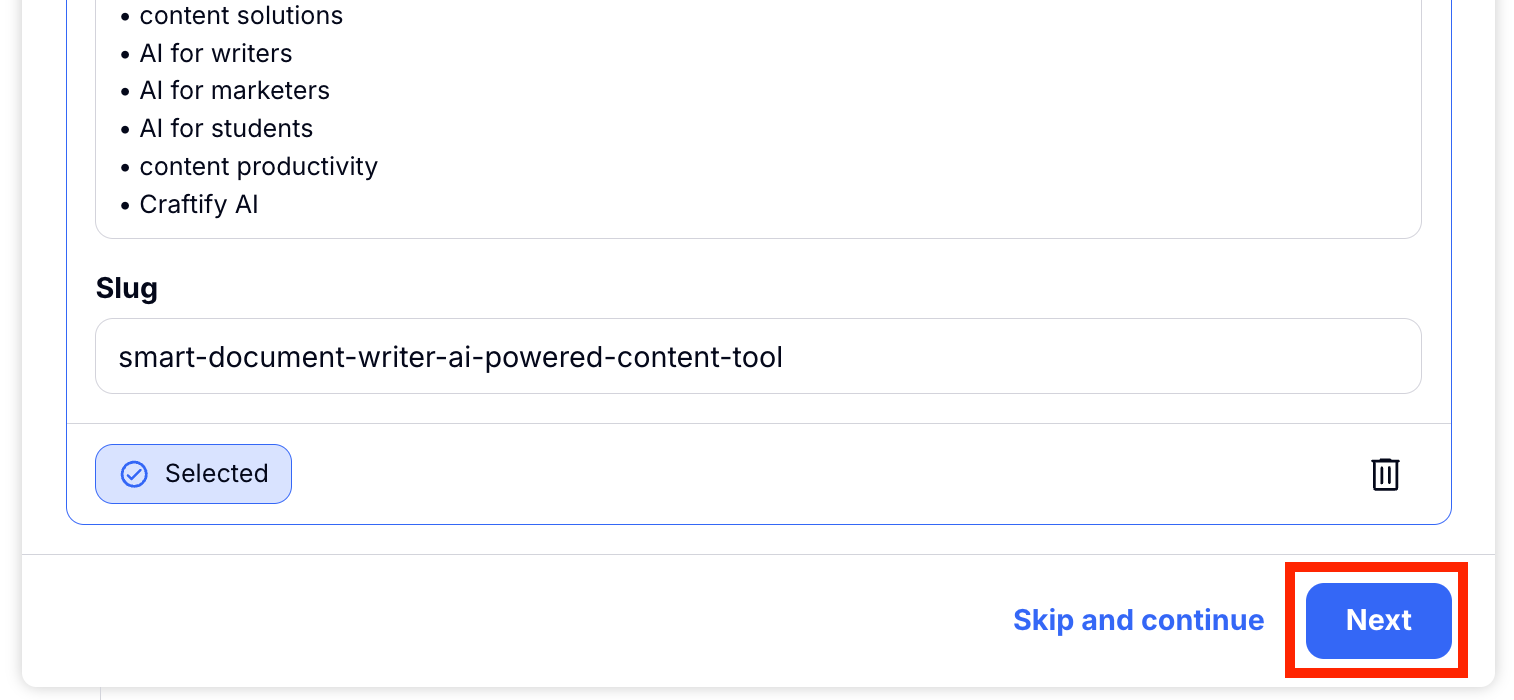
Step 8: SEO Meta Tags
Having a good SEO is extremely important for a good web page! So Craftify AI uses the information based and generated in this Craft to find the best keywords to use in your page. You can Craft more options or choose Next to move on.
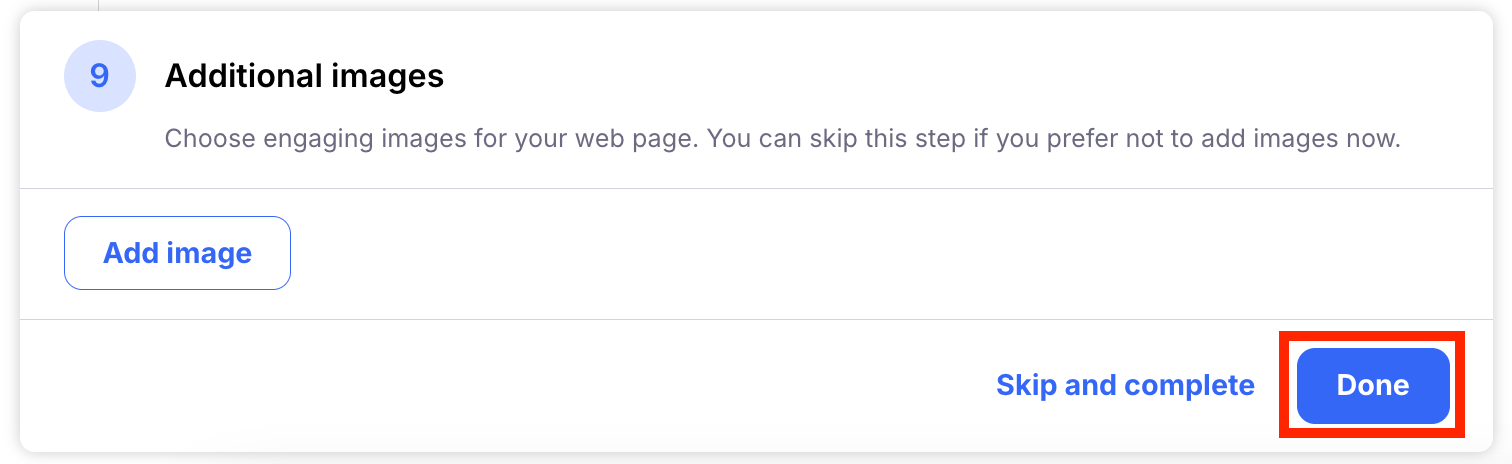
Step 9: Add additional images
If you like to add any other images to your craft, you can do so here! The instructions are the same as you see in Step 4. Choose Done to move on to the Results panel to overview all that you created in this Craft!
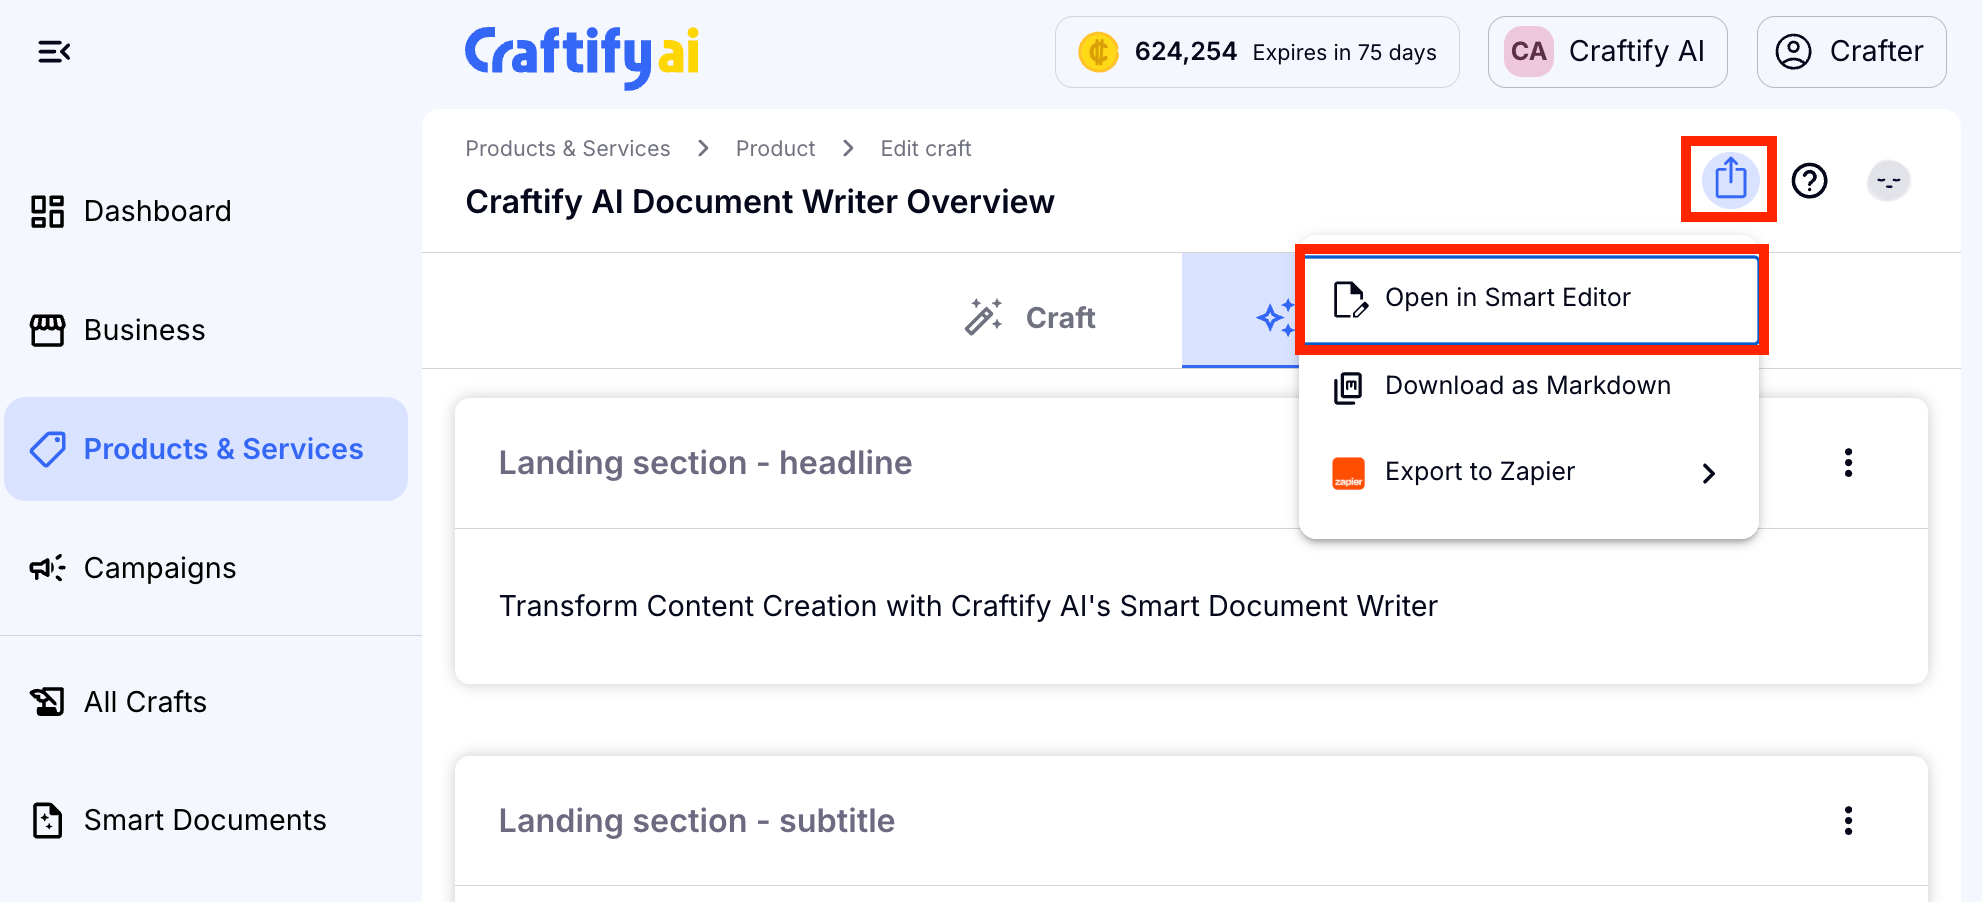
*Please note that if you decide not to add a images, you can export the results to Smart Editor to make an necessary edits.
And voila - your website content is complete! As always, don't hesitate to reach out if you have any questions and happy crafting!