Social Media Post Tutorial
Social Media Post Tutorial
This tool is powerful for creating effortless Social Media content for all of your channels in just a few easy steps. In this tutorial we will show you all of the features of this tool and how to use them, then we will show you how to publish your posts!
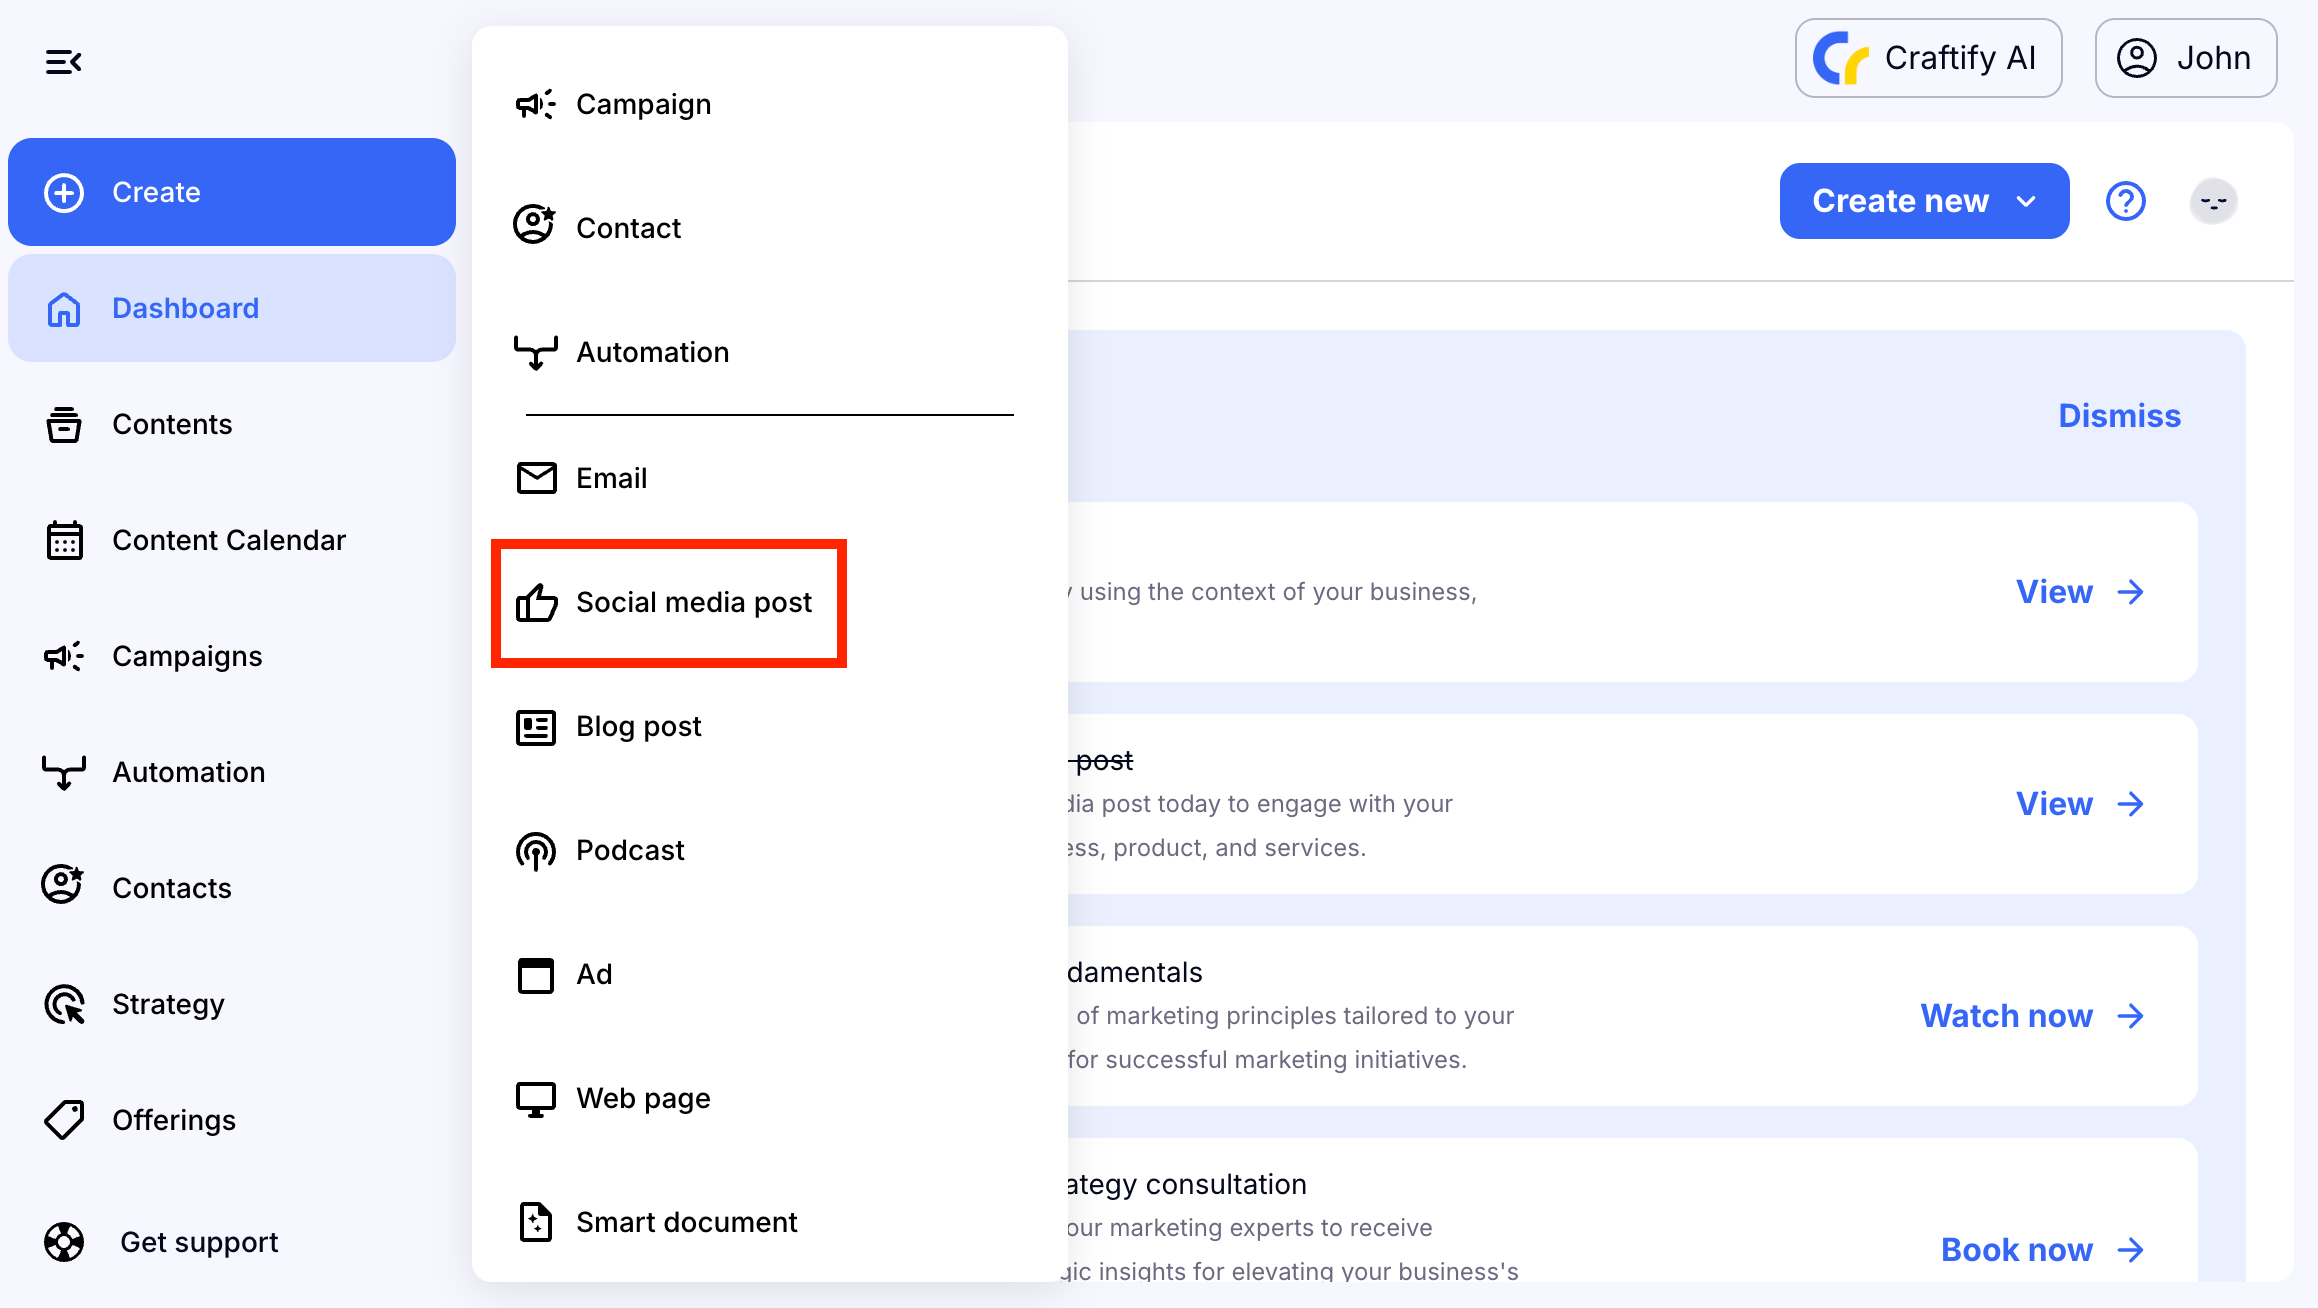
Step 1: Open the Social Media Post tool
Choose 'Create' and from the drop down menu choose 'Social Media Post.'
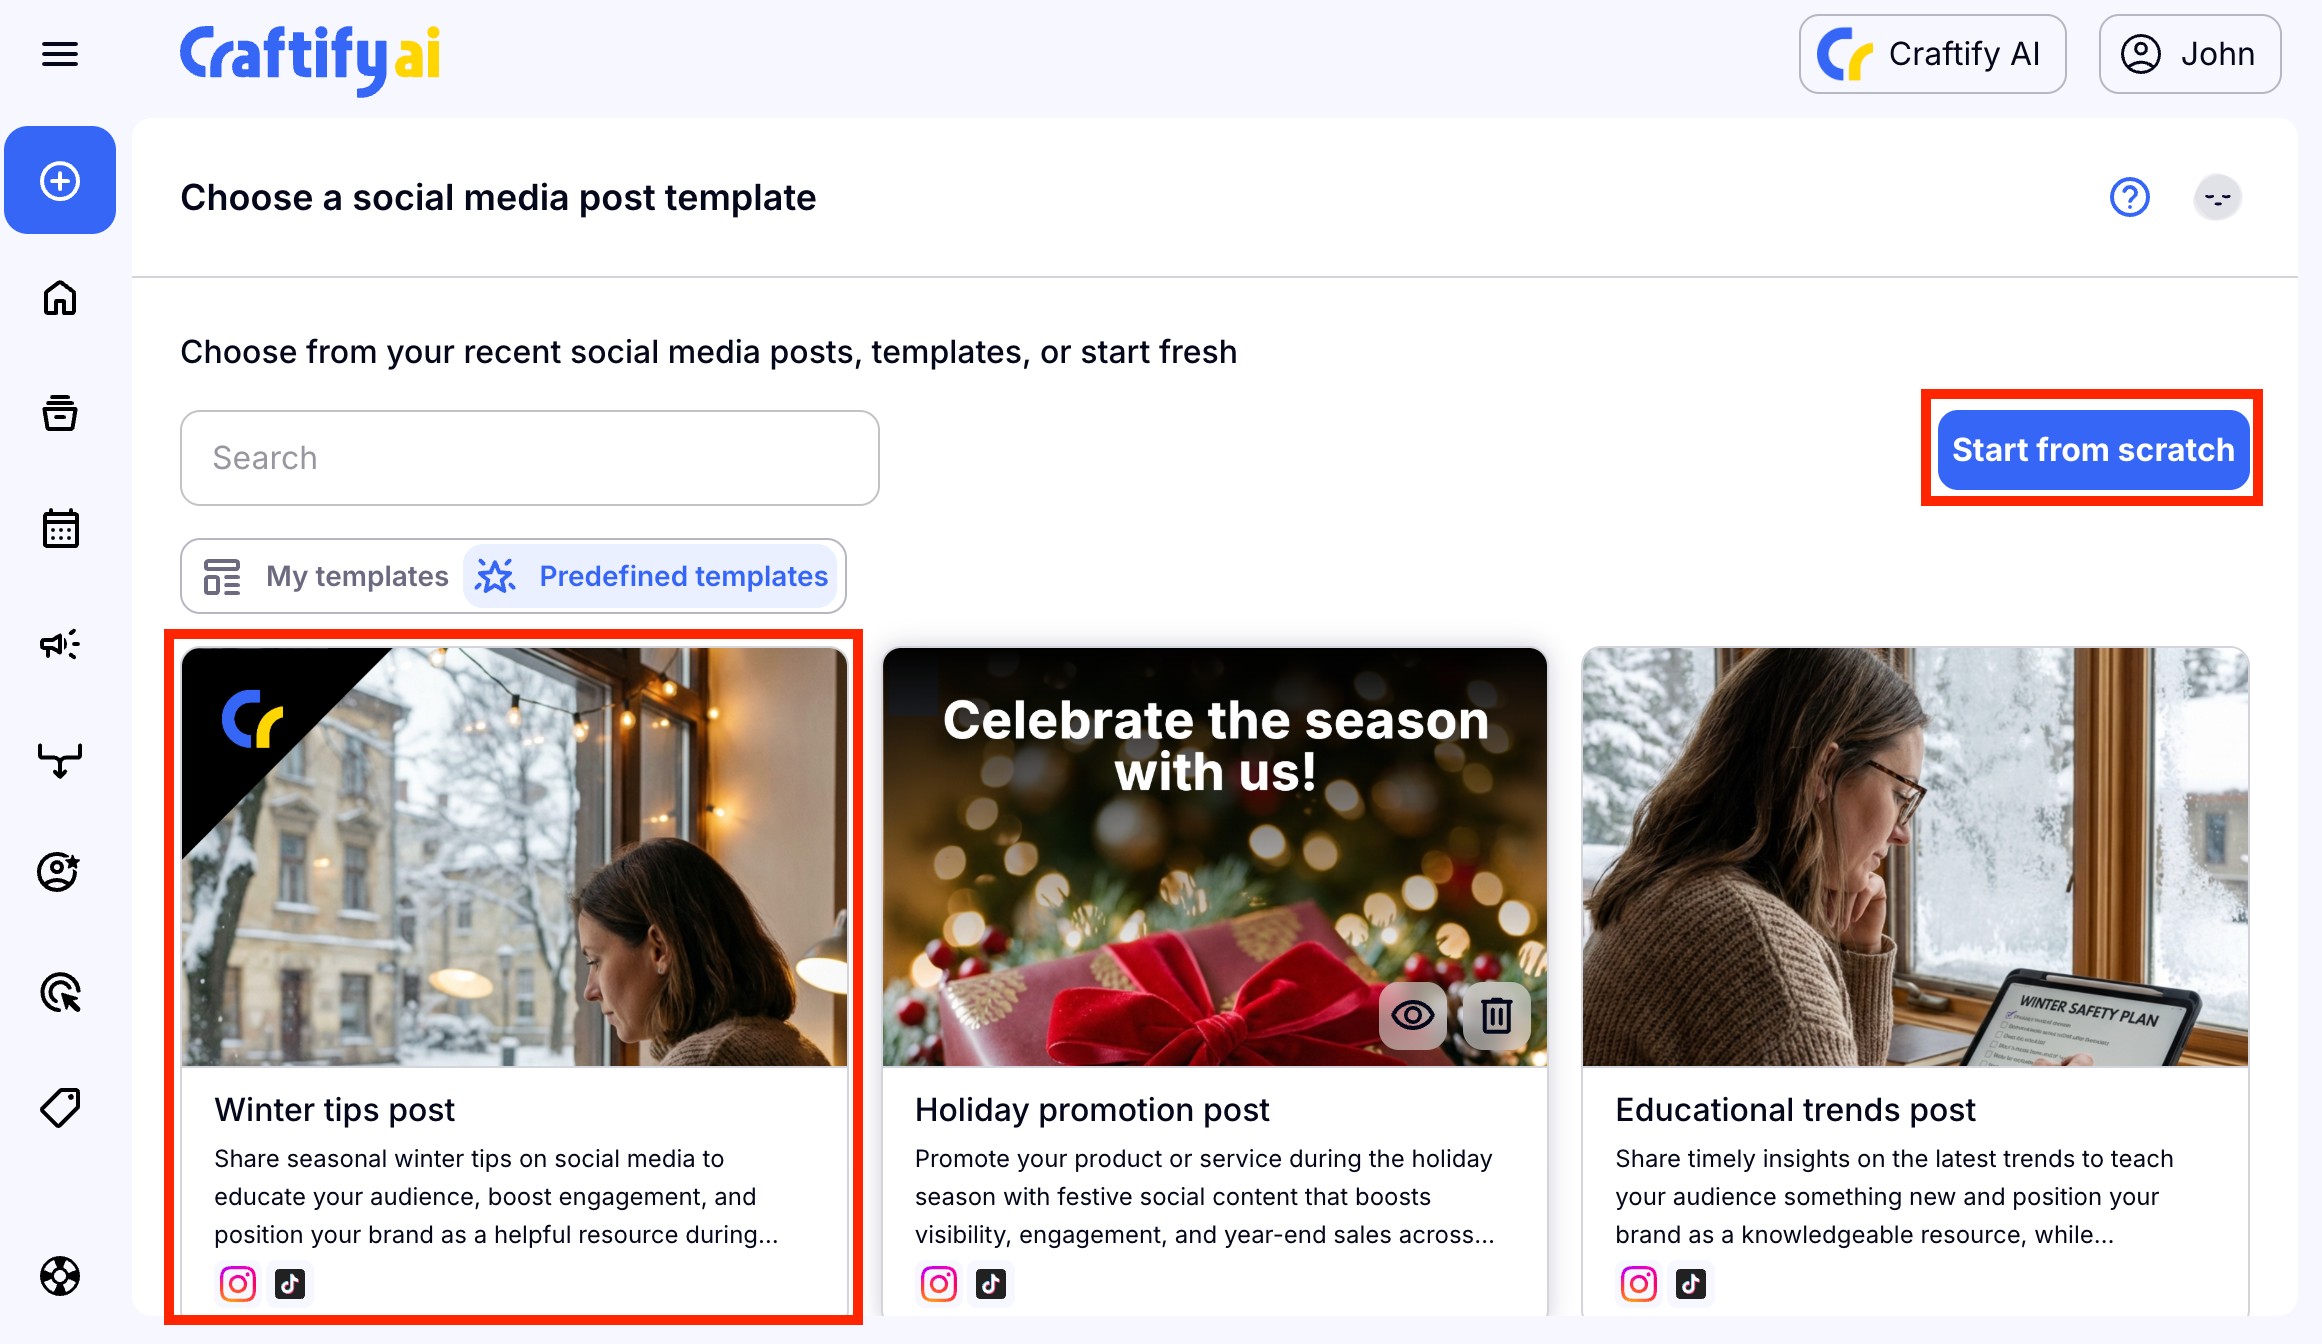
Step 2: Choose a template or start from scratch
Craftify AI has built in templates to get your started on common trends, or you can choose 'Start from scratch' to create your own post. You can start from scratch and then also save that as a new template to use in the future too!
Step 3: Configure the post
Here you will click the different types of social you want to create for. All of these have different character limits, different types of users, and different algorithms. Craftify AI thinks about all of that for you and formats the best post for each platform on the same topic.
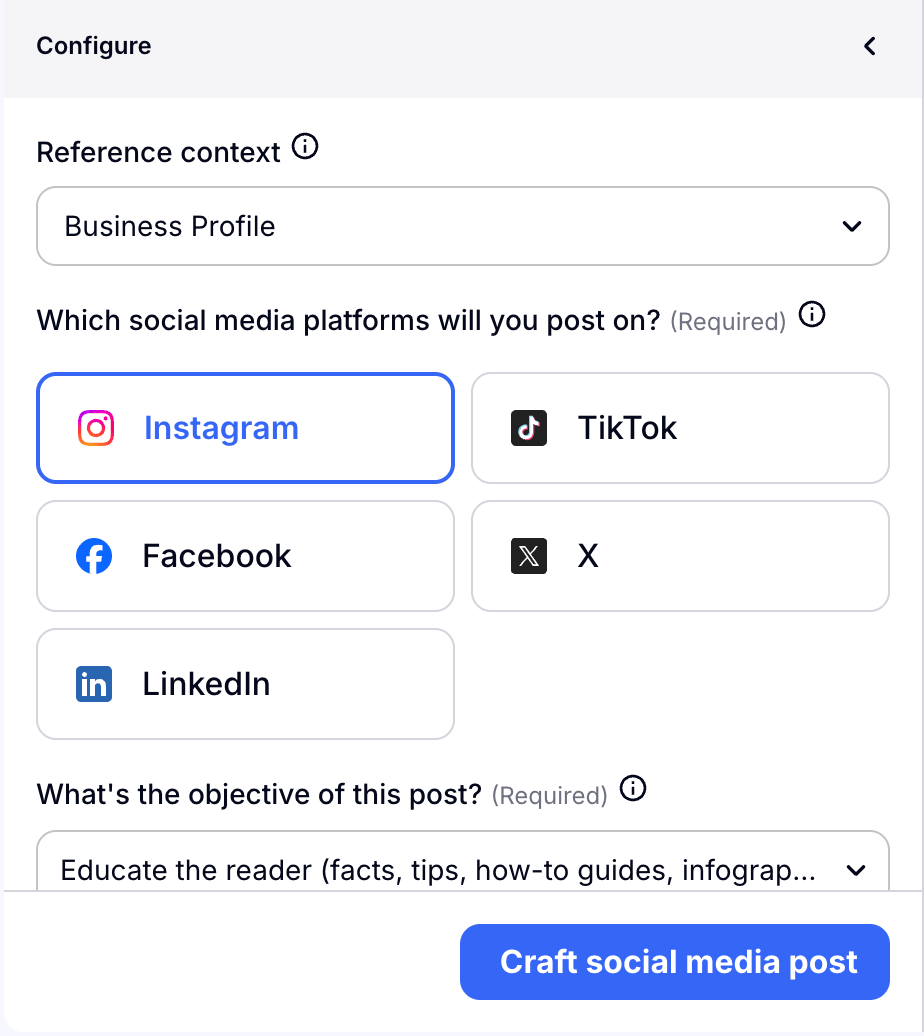
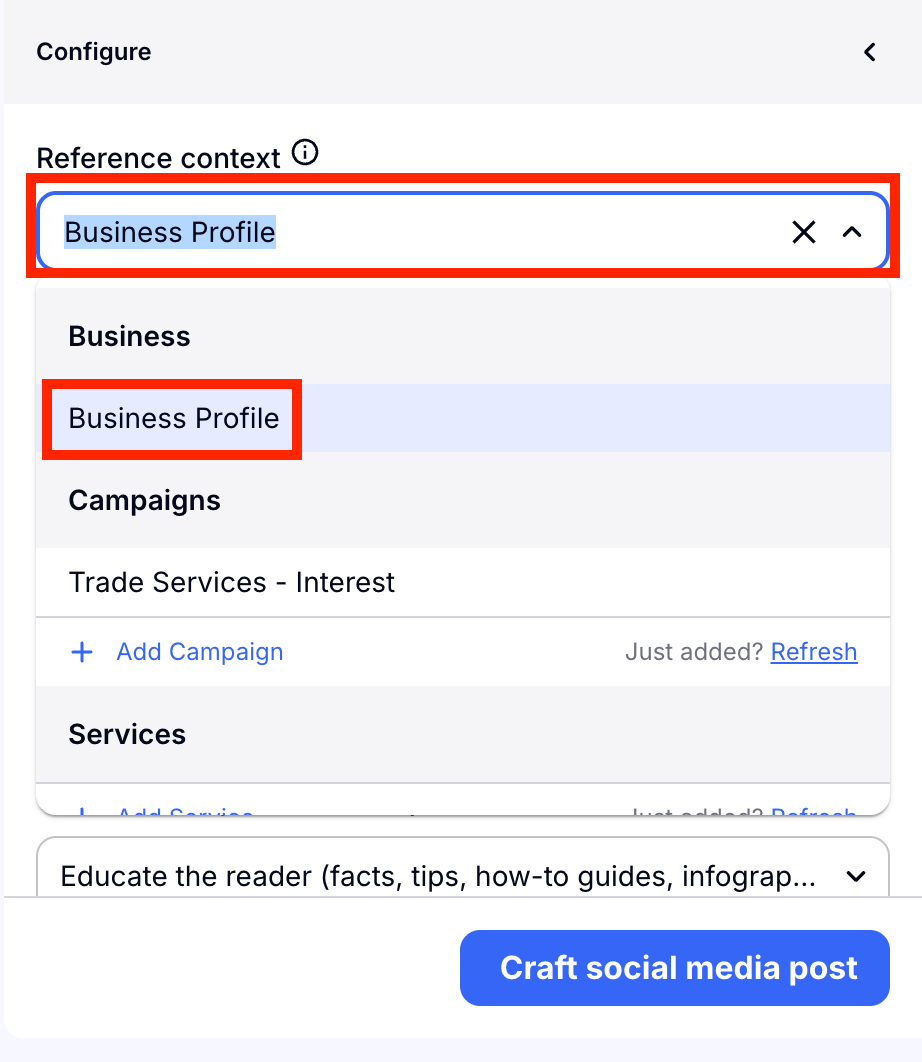
For the context, you will find that Business Profile is automatically selected. However, if you would like to use the context of a service, product, or campaign, you can choose that instead.
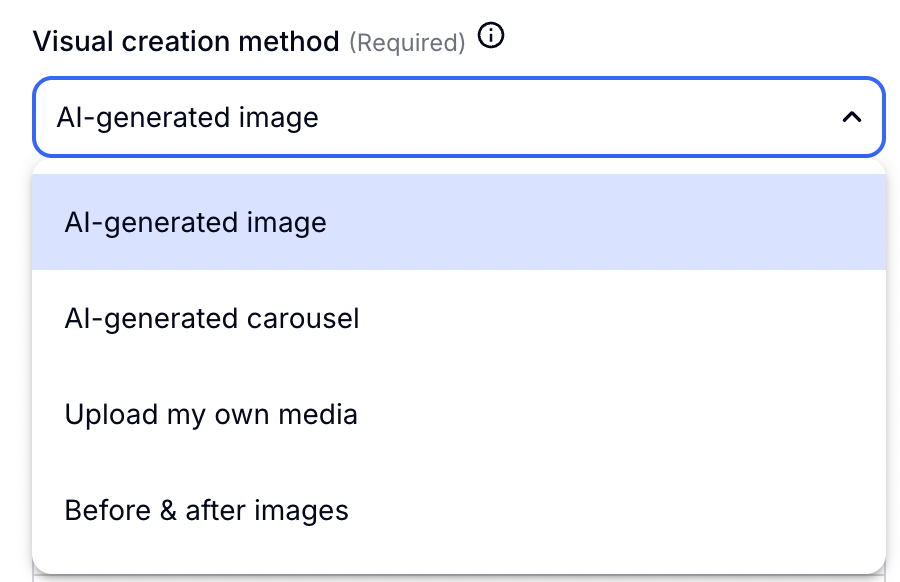
You can choose from a variety of different ways to use or create images. If you wish to create one AI generated image, or generate several for a carousel, you can do that here. You can also upload your own photos for your post or add your own photos for a before and after post.
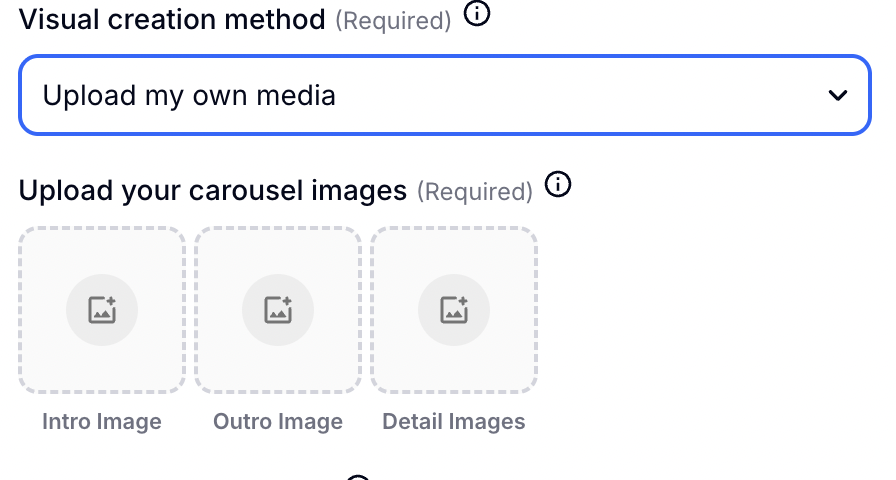
To upload your own photos simple drag and drop, or click the photo icon to choose an image from your files.
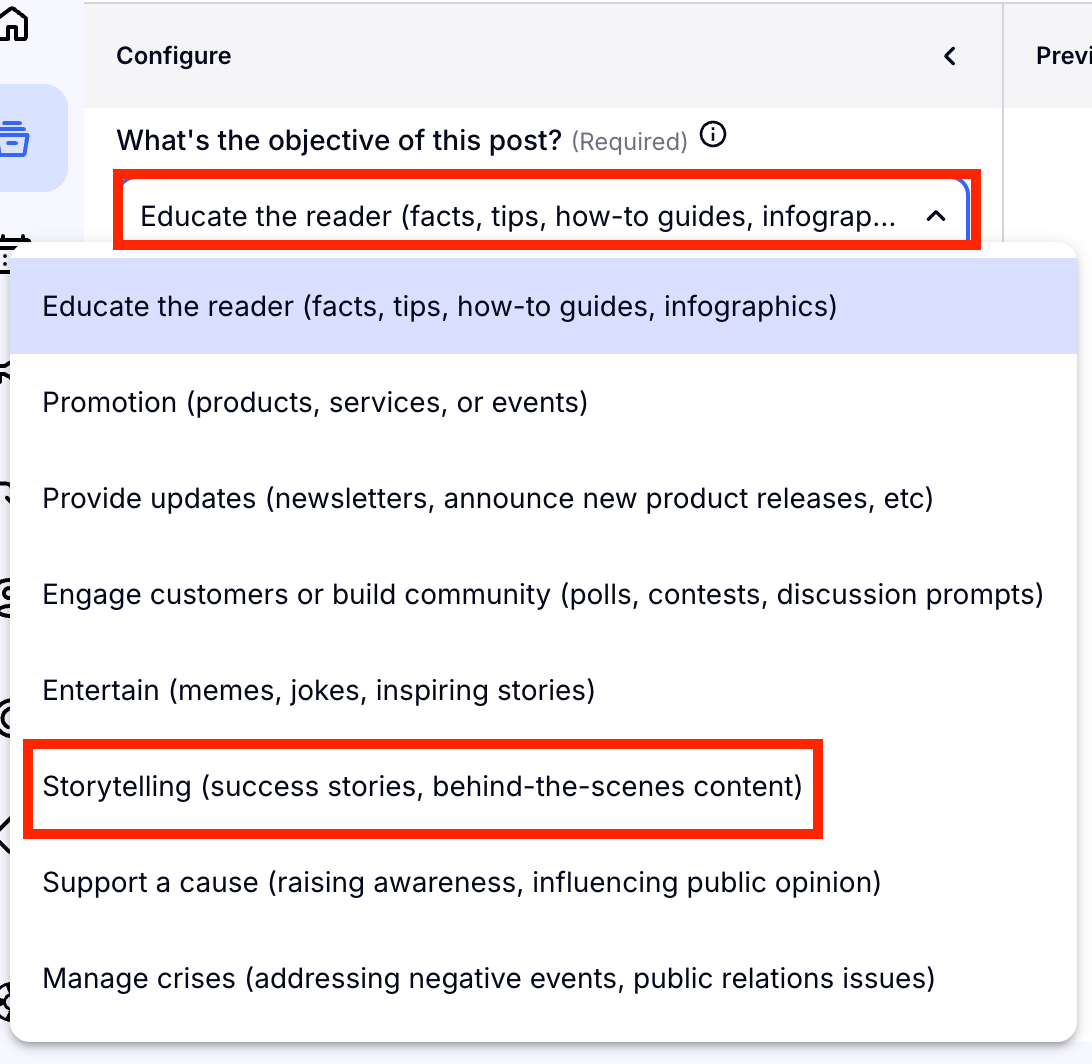
Next you will tell Craftify AI what the objective of this post is. Do you want to educate your readers, build engagement, or tell a story? When you click the box you see below a drop down menu will appear. Scroll through and find one that works best for you.
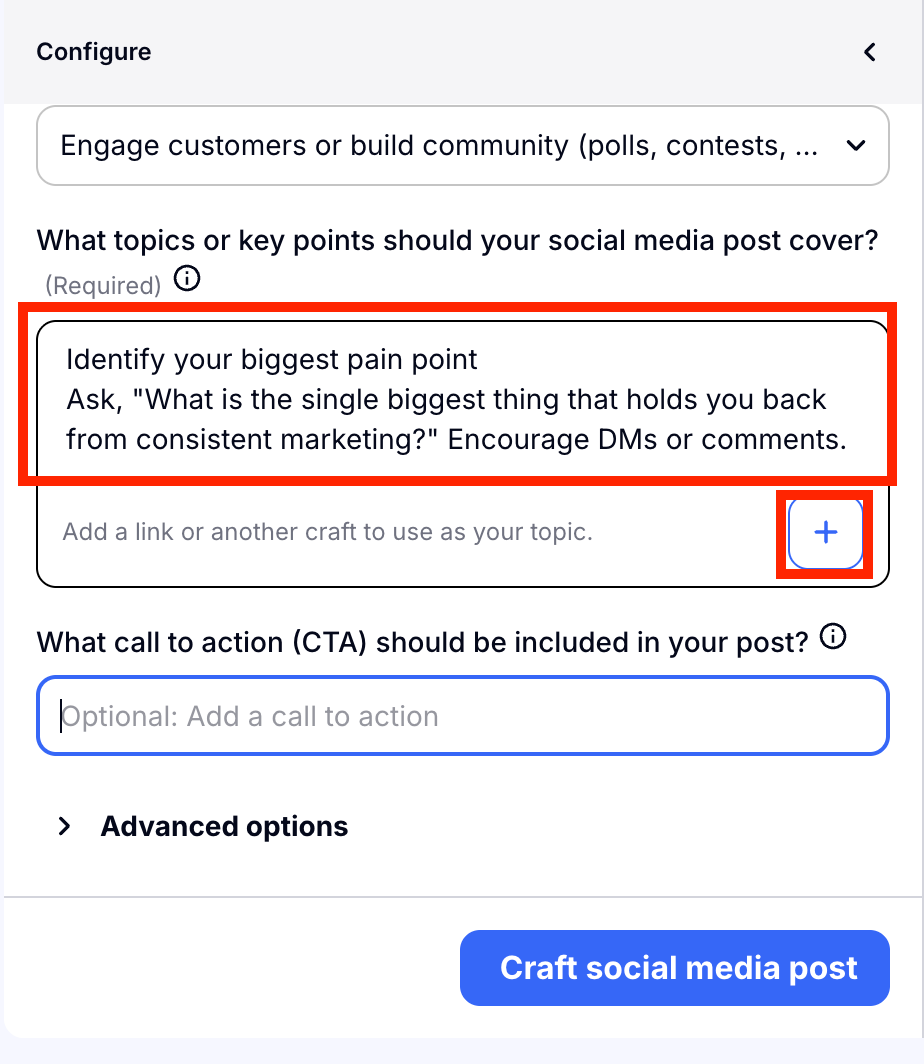
Now you will type in your topic! This is where you can brain dump your idea or paste in inspiration about what you would like your post to be about. You don't have to write in full sentences, just give Craftify AI the gist and it can figure it out for you.
By clicking the plus sign, you can also add a link or other inspiration to help with this post. If you have a previous social media post that you want to use as inspiration for this one, you can drop the link to that media here.
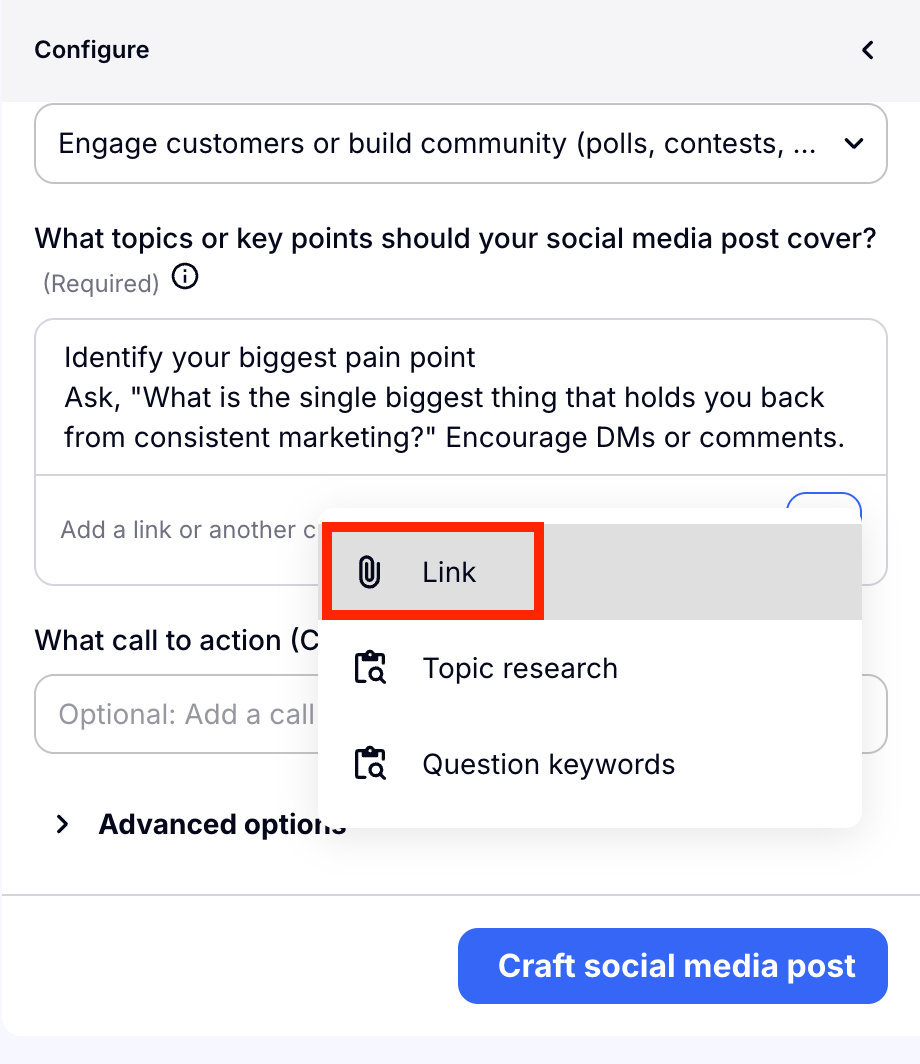
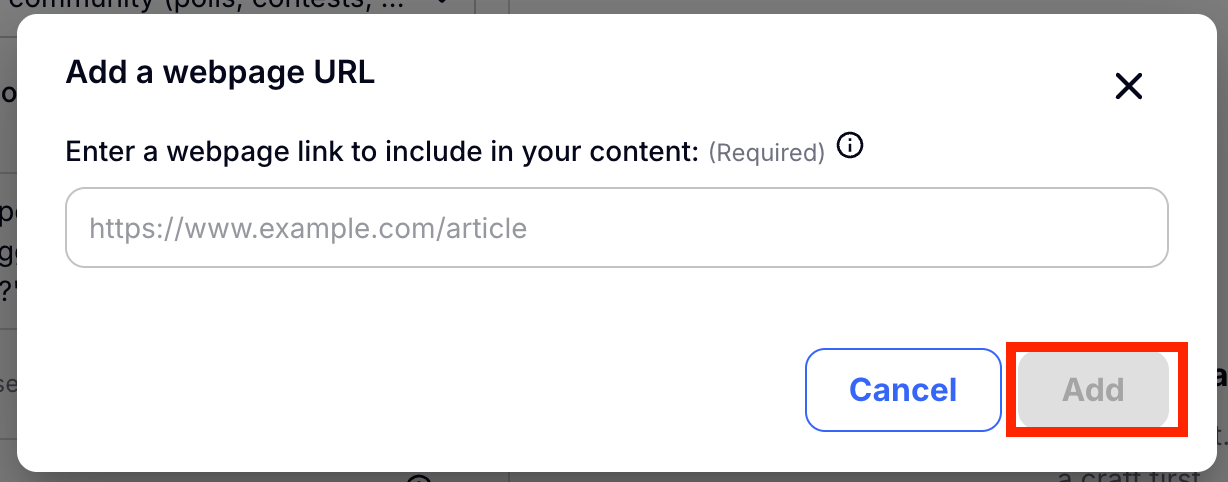
Paste in your link here and choose 'Add.'
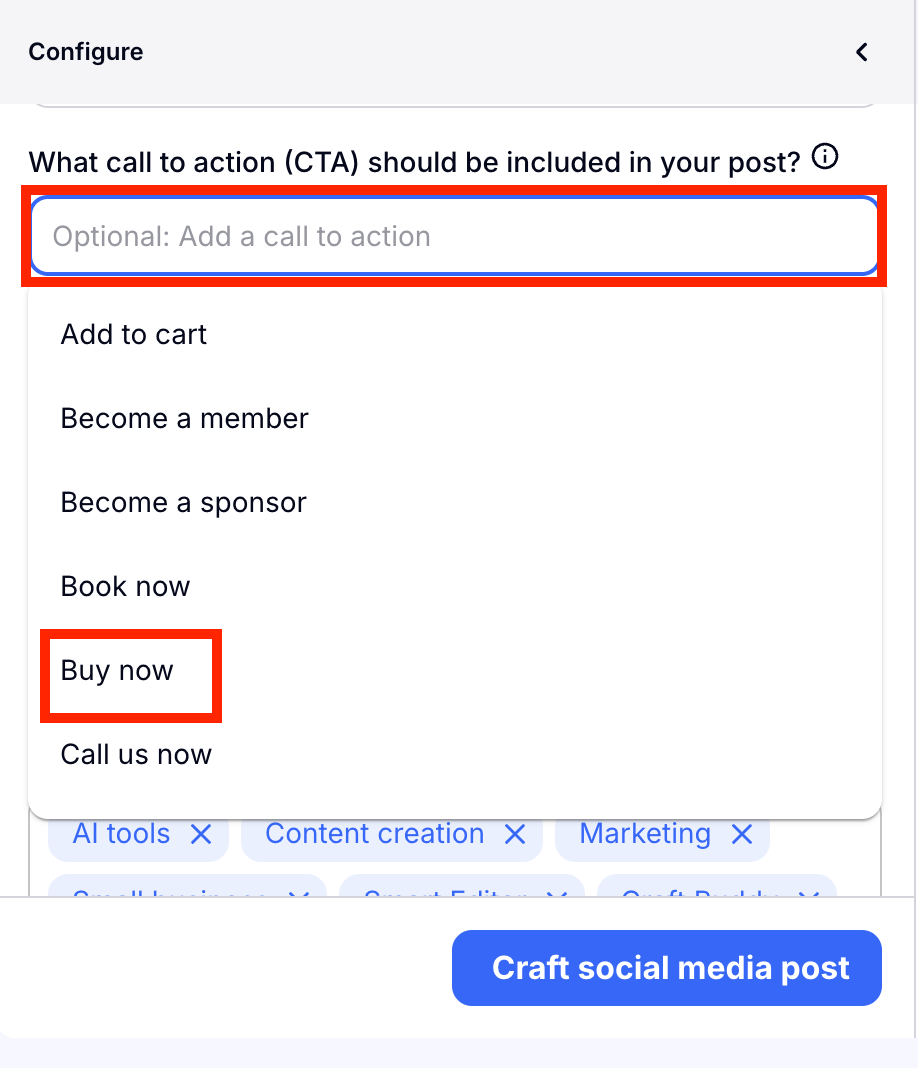
Now is time for the call to action! This is optional, but can be a great way to get followers to interact with your post or with your business. You can click the box and choose one from the many options or you can write in your own CTA.
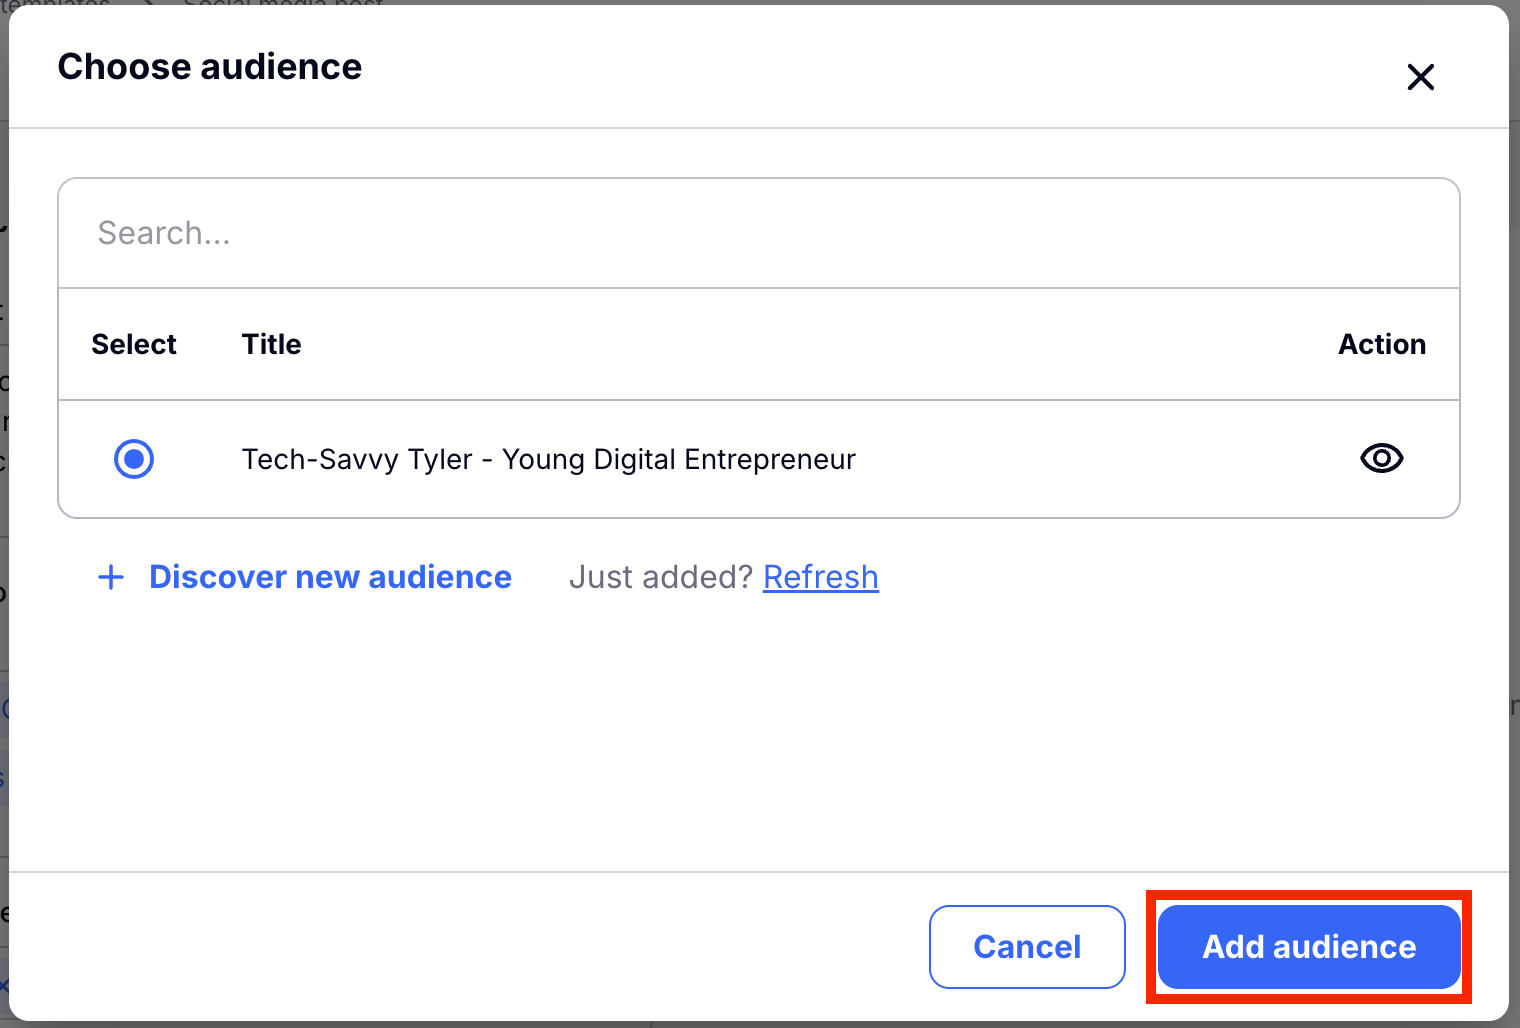
Advanced Options are also optional! They are already pre-filled based on the context you chose at the beginning of this configuration step. If you would like to use a different audience or keyword set, you can do that by clicking 'Select audience' or 'Select keywords' to choose a different one.
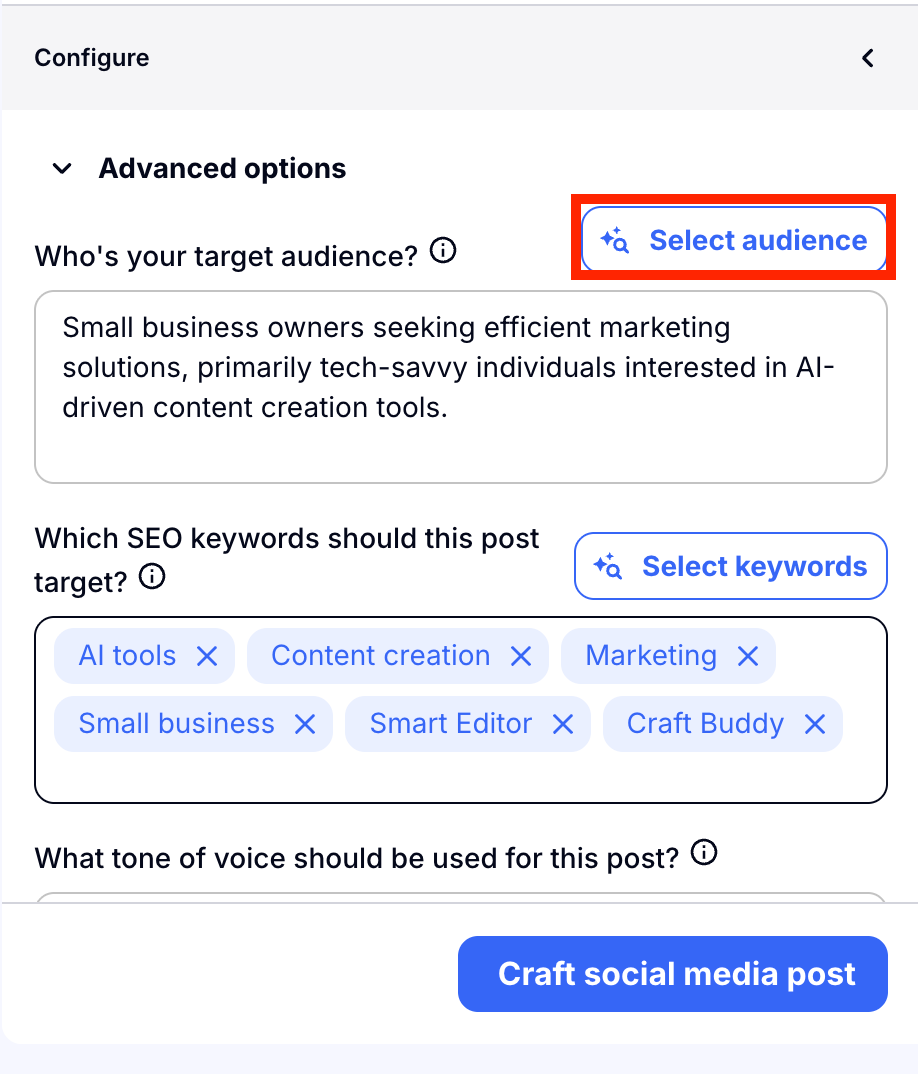
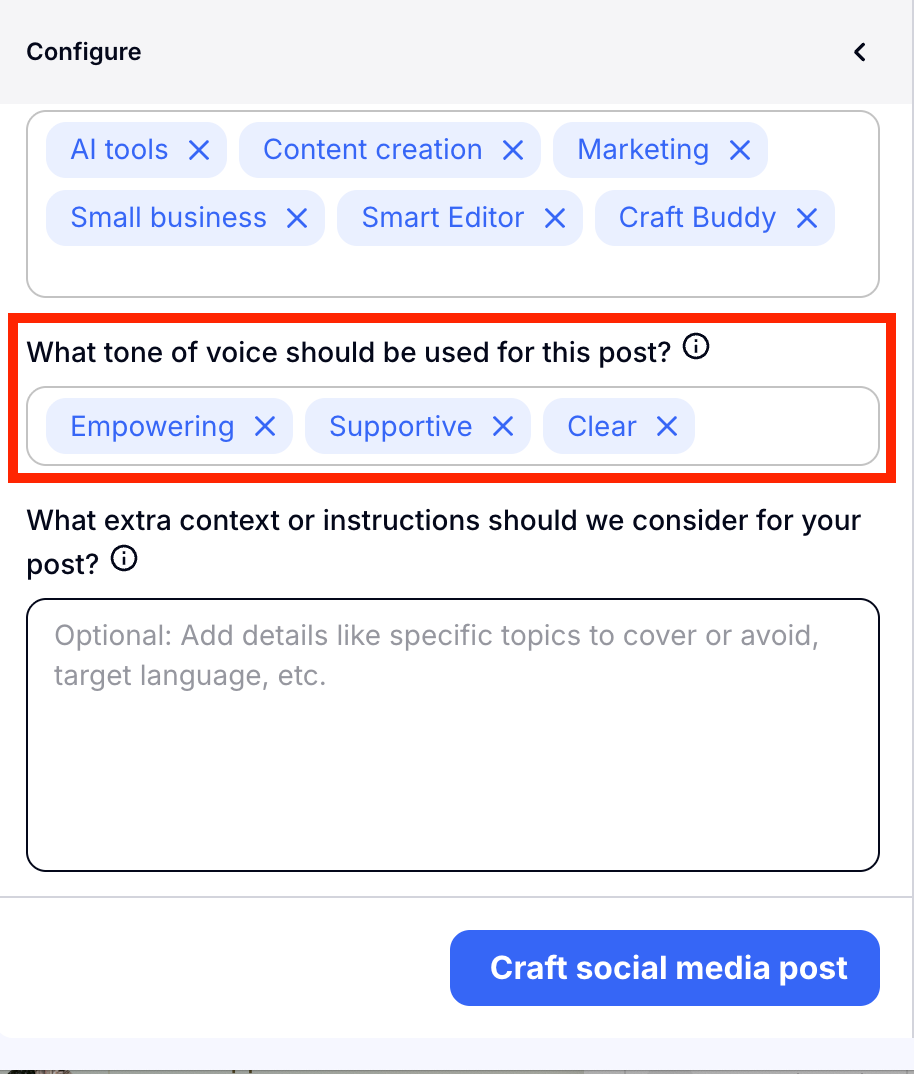
The tone of voice will also be pre-filled. You can adjust this simply by removing or adding.
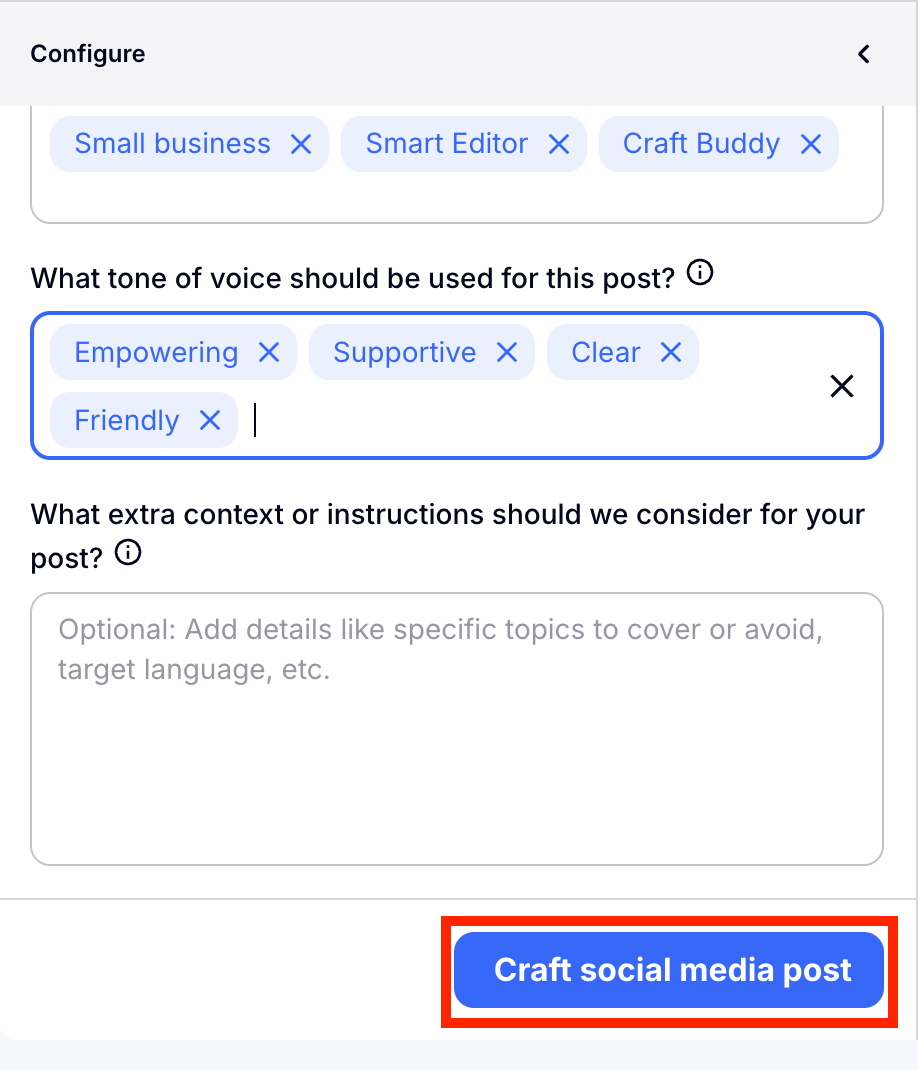
If you want to add any extra instructions, the box to do so is below. Here you could say "Translate into Italian" or "don't use text in the image" and Craftify AI will take those instructions in account while crafting your post.
When you're ready, click the 'Craft social media post' button to watch the magic happen!
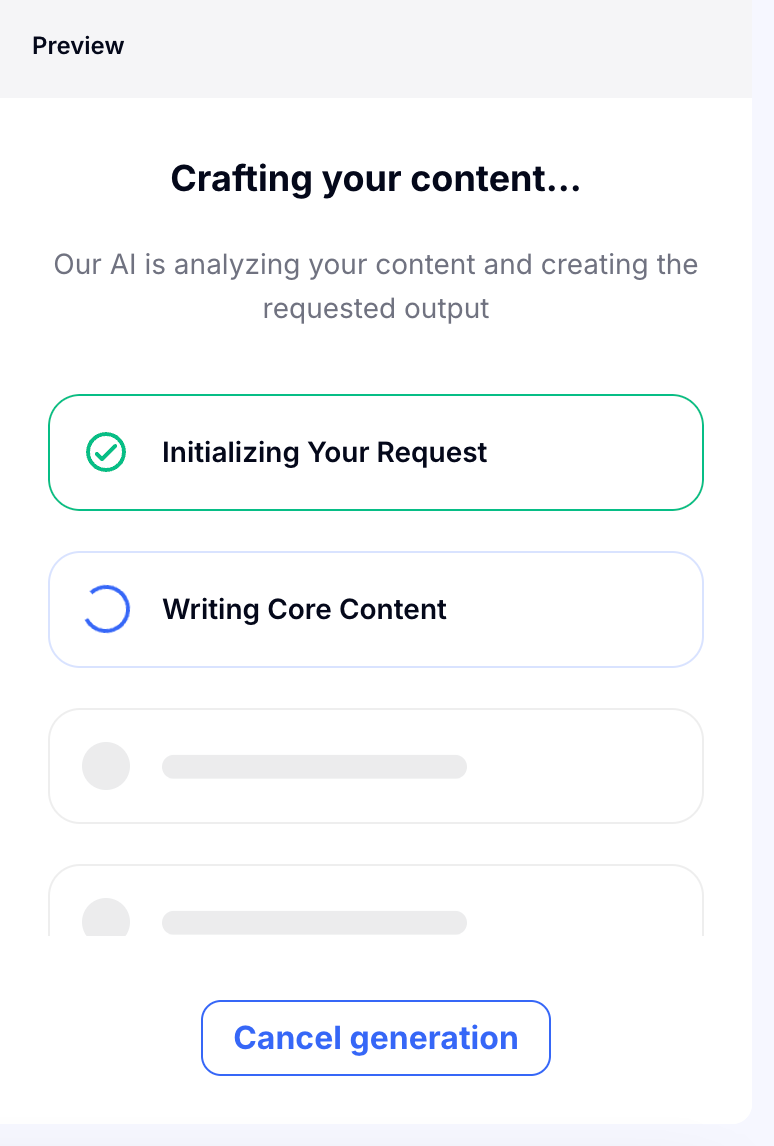
In the few seconds that Craftify AI works on your post, you will see the gears turning on the right hand side. You can cancel the generation anytime if you want to change something!
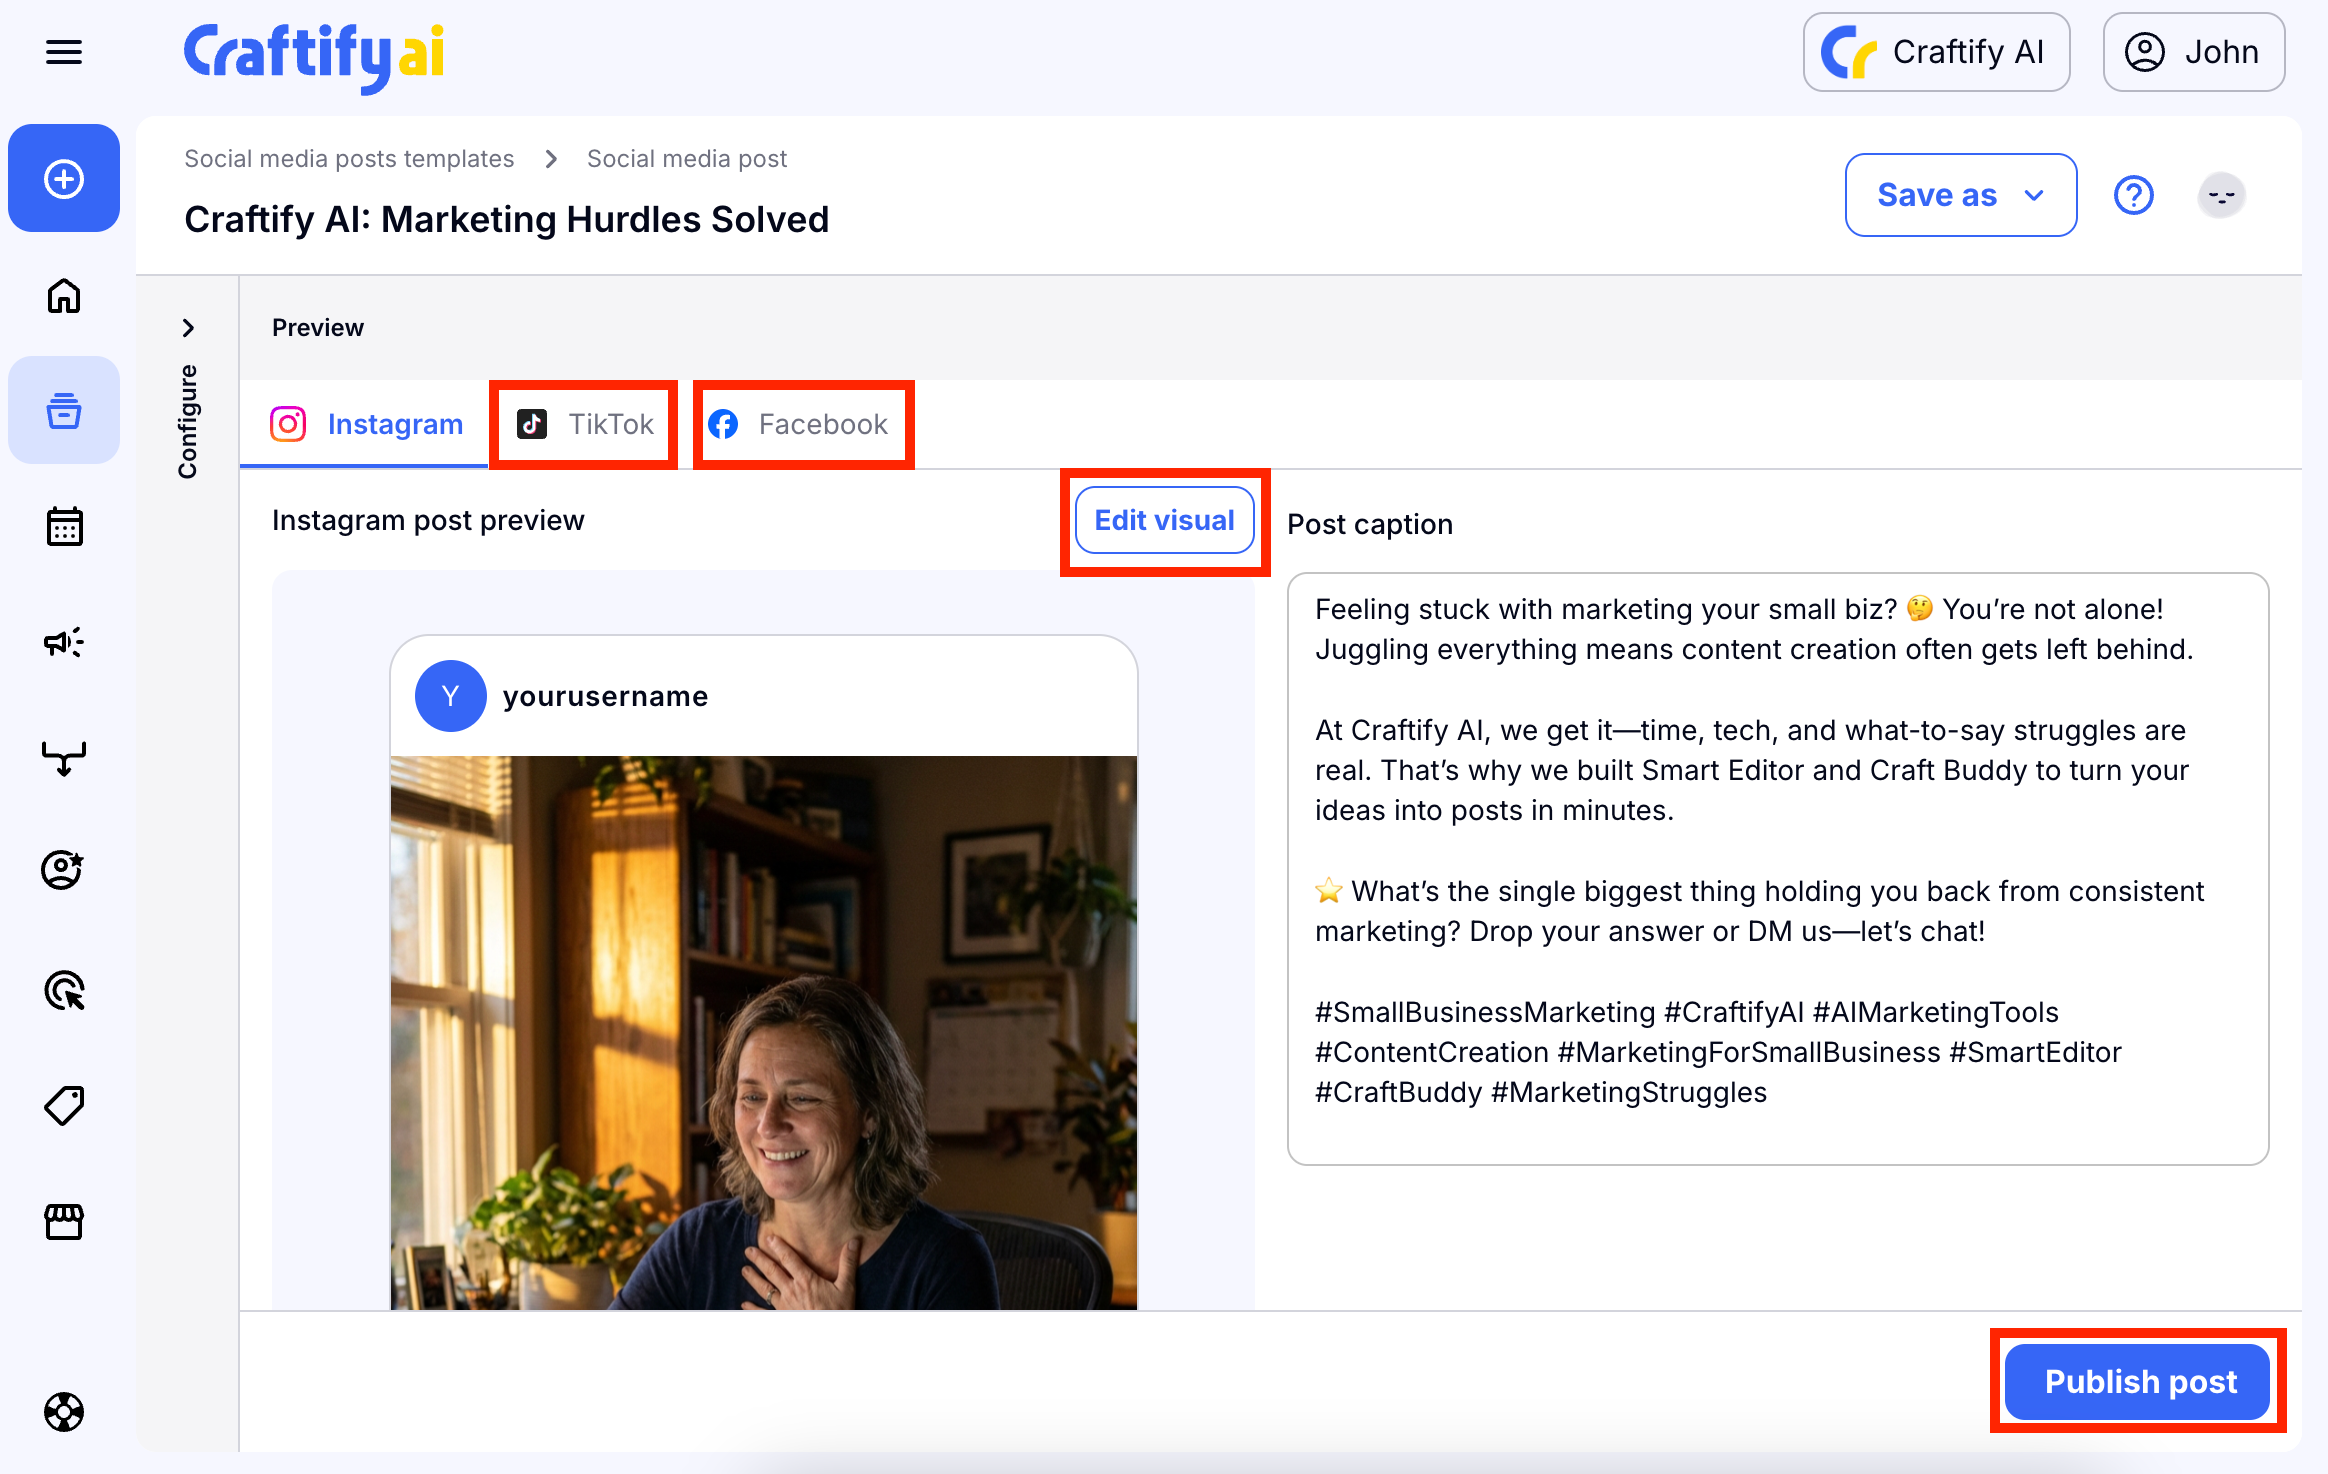
Step 4: Review the posts
Now it's time to read through your content. You can see the preview image that was generated on the left, while the written content is to the right. You can edit any of the text directly here and it saves your changes automatically.
Choose the Facebook or TikTok at the top to review the content created also for those platforms.
Choose 'Edit visual' to edit the image.
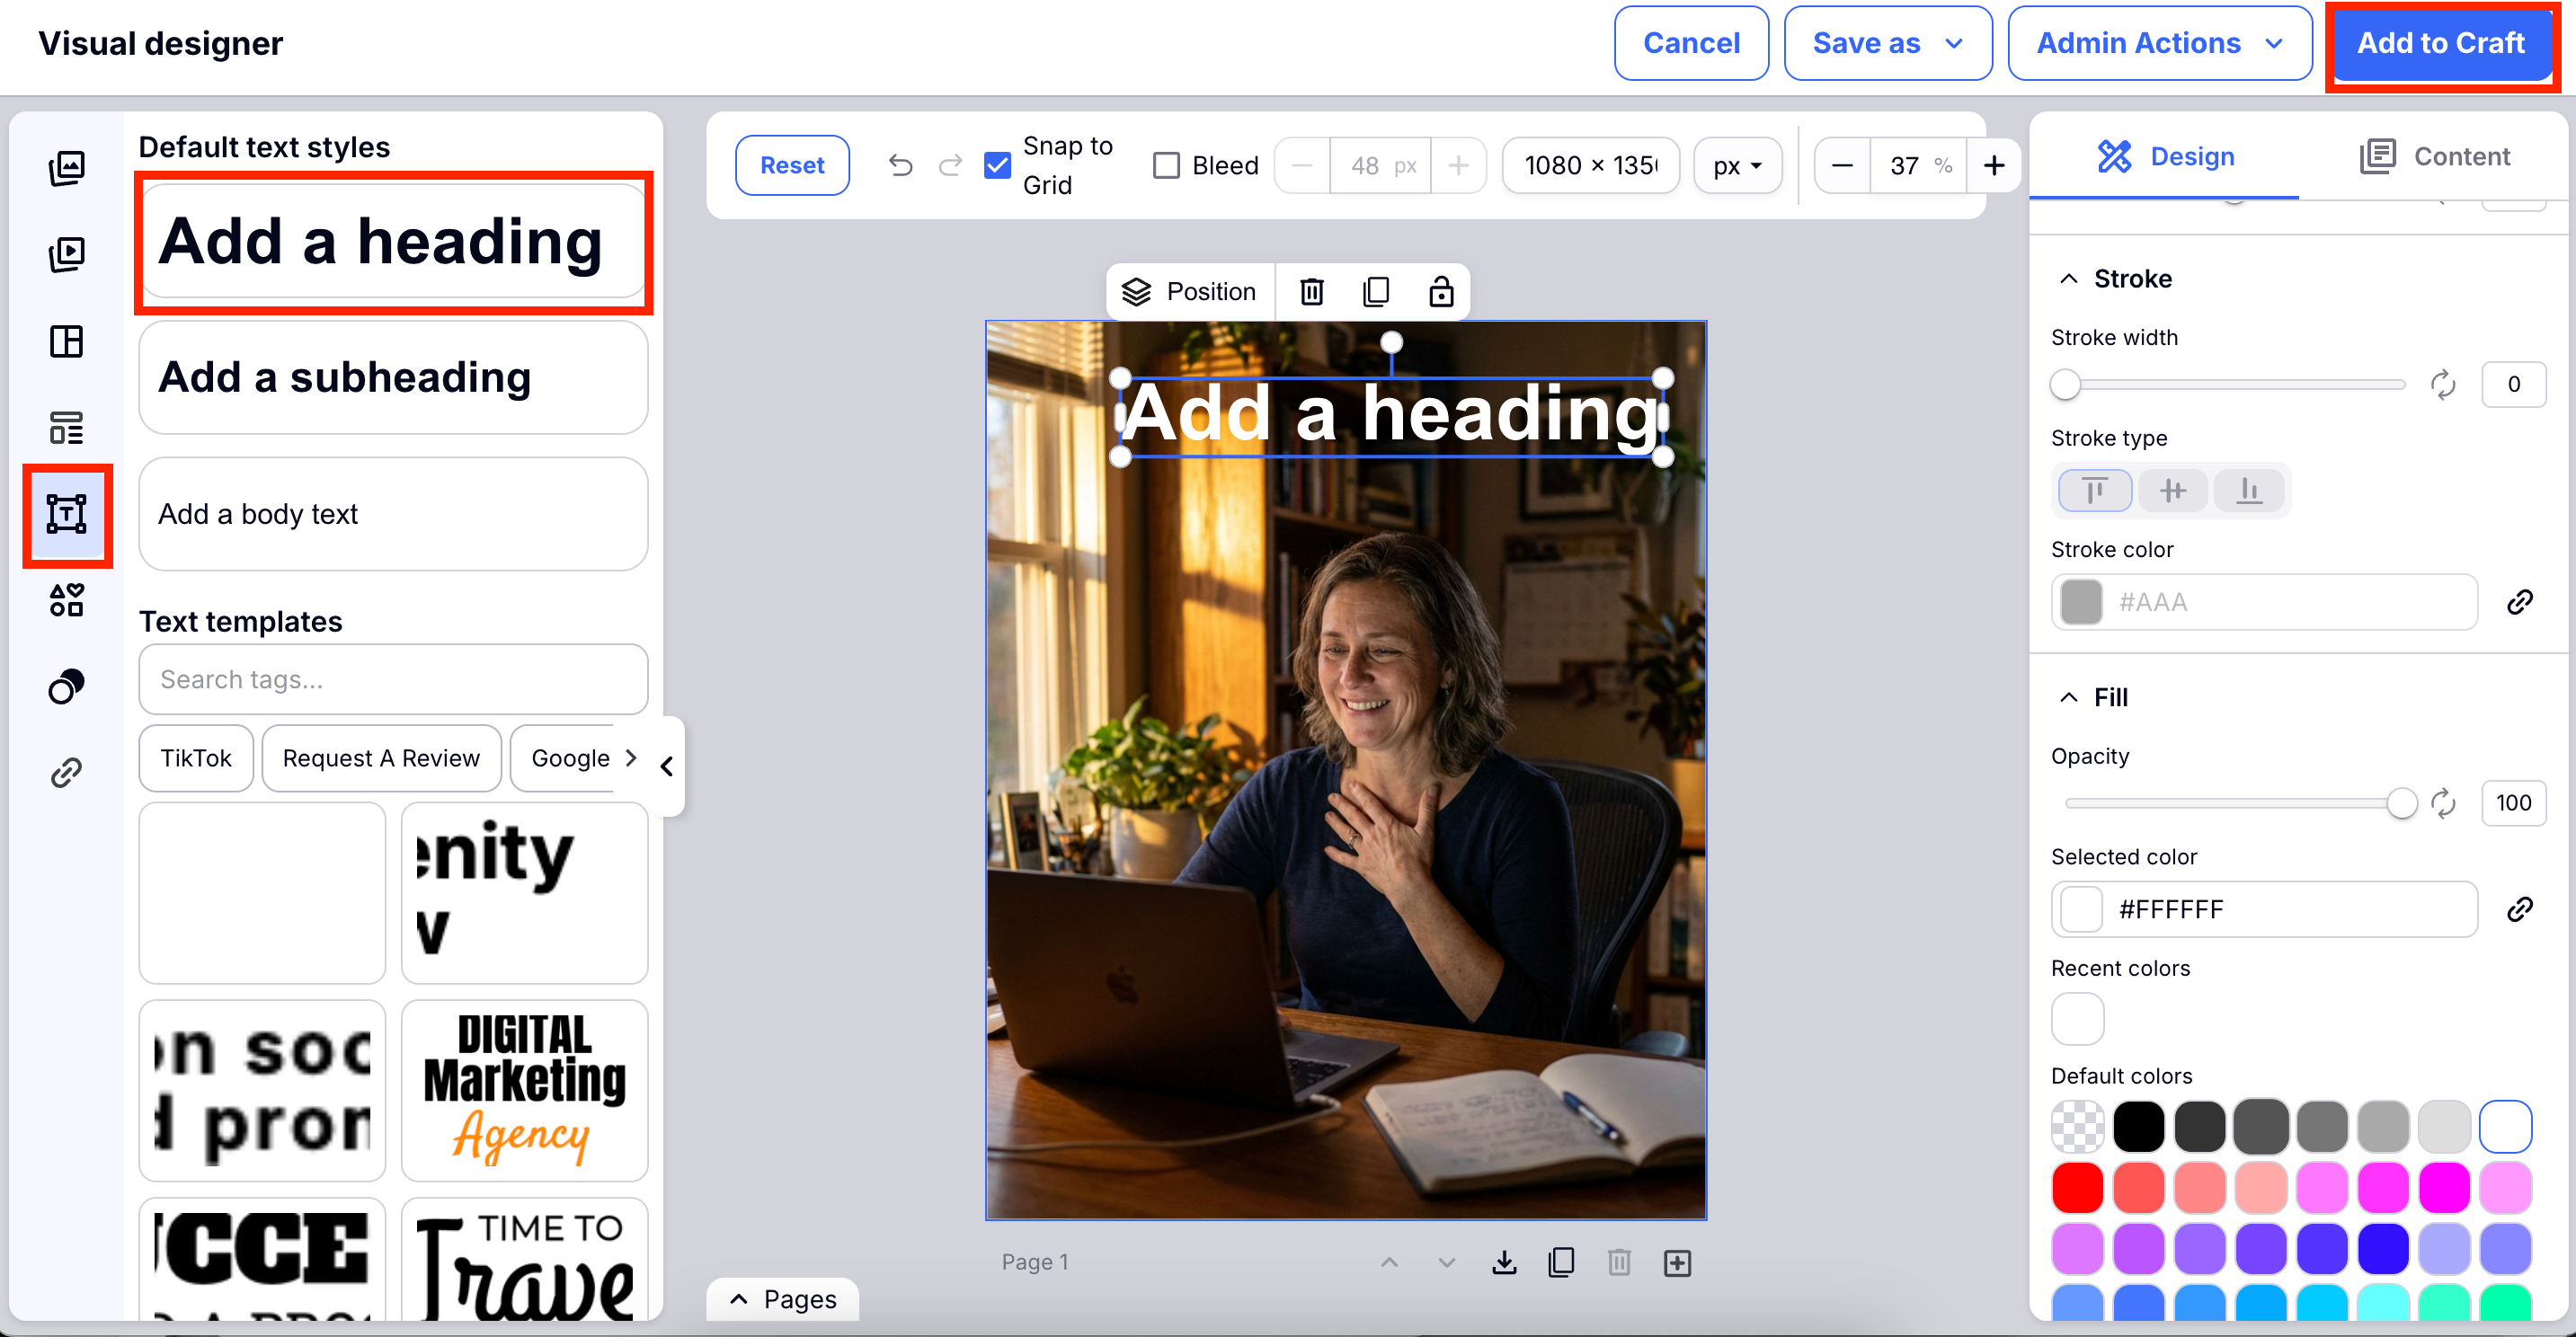
Step 5: Edit the image in Visual Designer
The Visual Designer is a all encompassing design tool to help you make dynamic graphics that work with your brand.
If you would like to see a more extensive view on how to use the Visual Designer, you can see the tutorial HERE.
But here are just a few quick highlights to get you started.
To add text, choose the text icon on the left, and then choose the type of text you would like to add to the image. On the left hand side you can also find many other features like templates (pre-designed posts), shapes, masking tools, and links to your logo, website and more!
On the right side you will find all of the detail settings, like color, font type and size, and so much more. The possibilities with this tool are endless to create great social media content!
Once you're happy with your design, you can choose 'Add to Craft' to go publish your post.
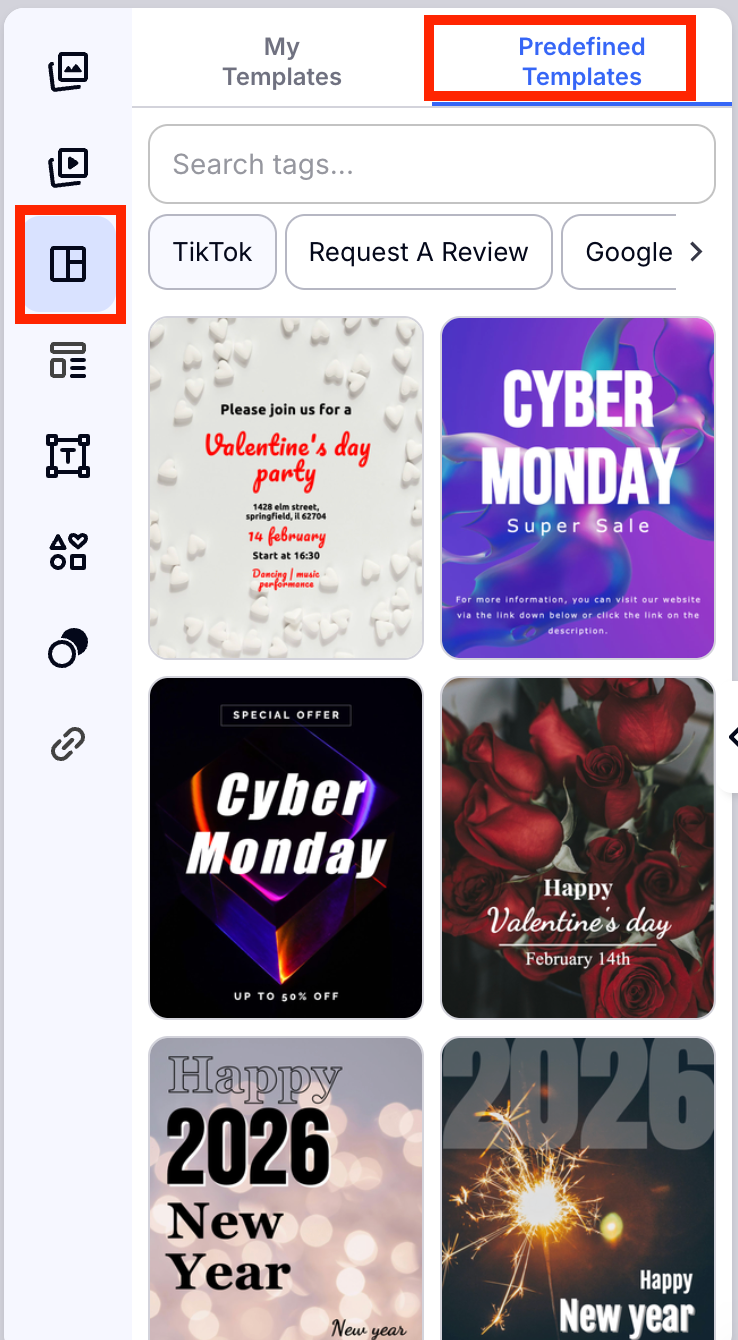
Here is a preview of a few of the templates that can be found by choosing the templates icon on the left side. This template gallery is constantly growing, and we are sure you can find something that is useful for you here to get started on your dynamic posts!
Step 6: Publish your post
Now that you have designed and reviewed your post, it's time to publish it directly to your social media accounts! If you haven't already integrated your Facebook and Instagram with Craftify AI, you can learn about how to do that HERE.
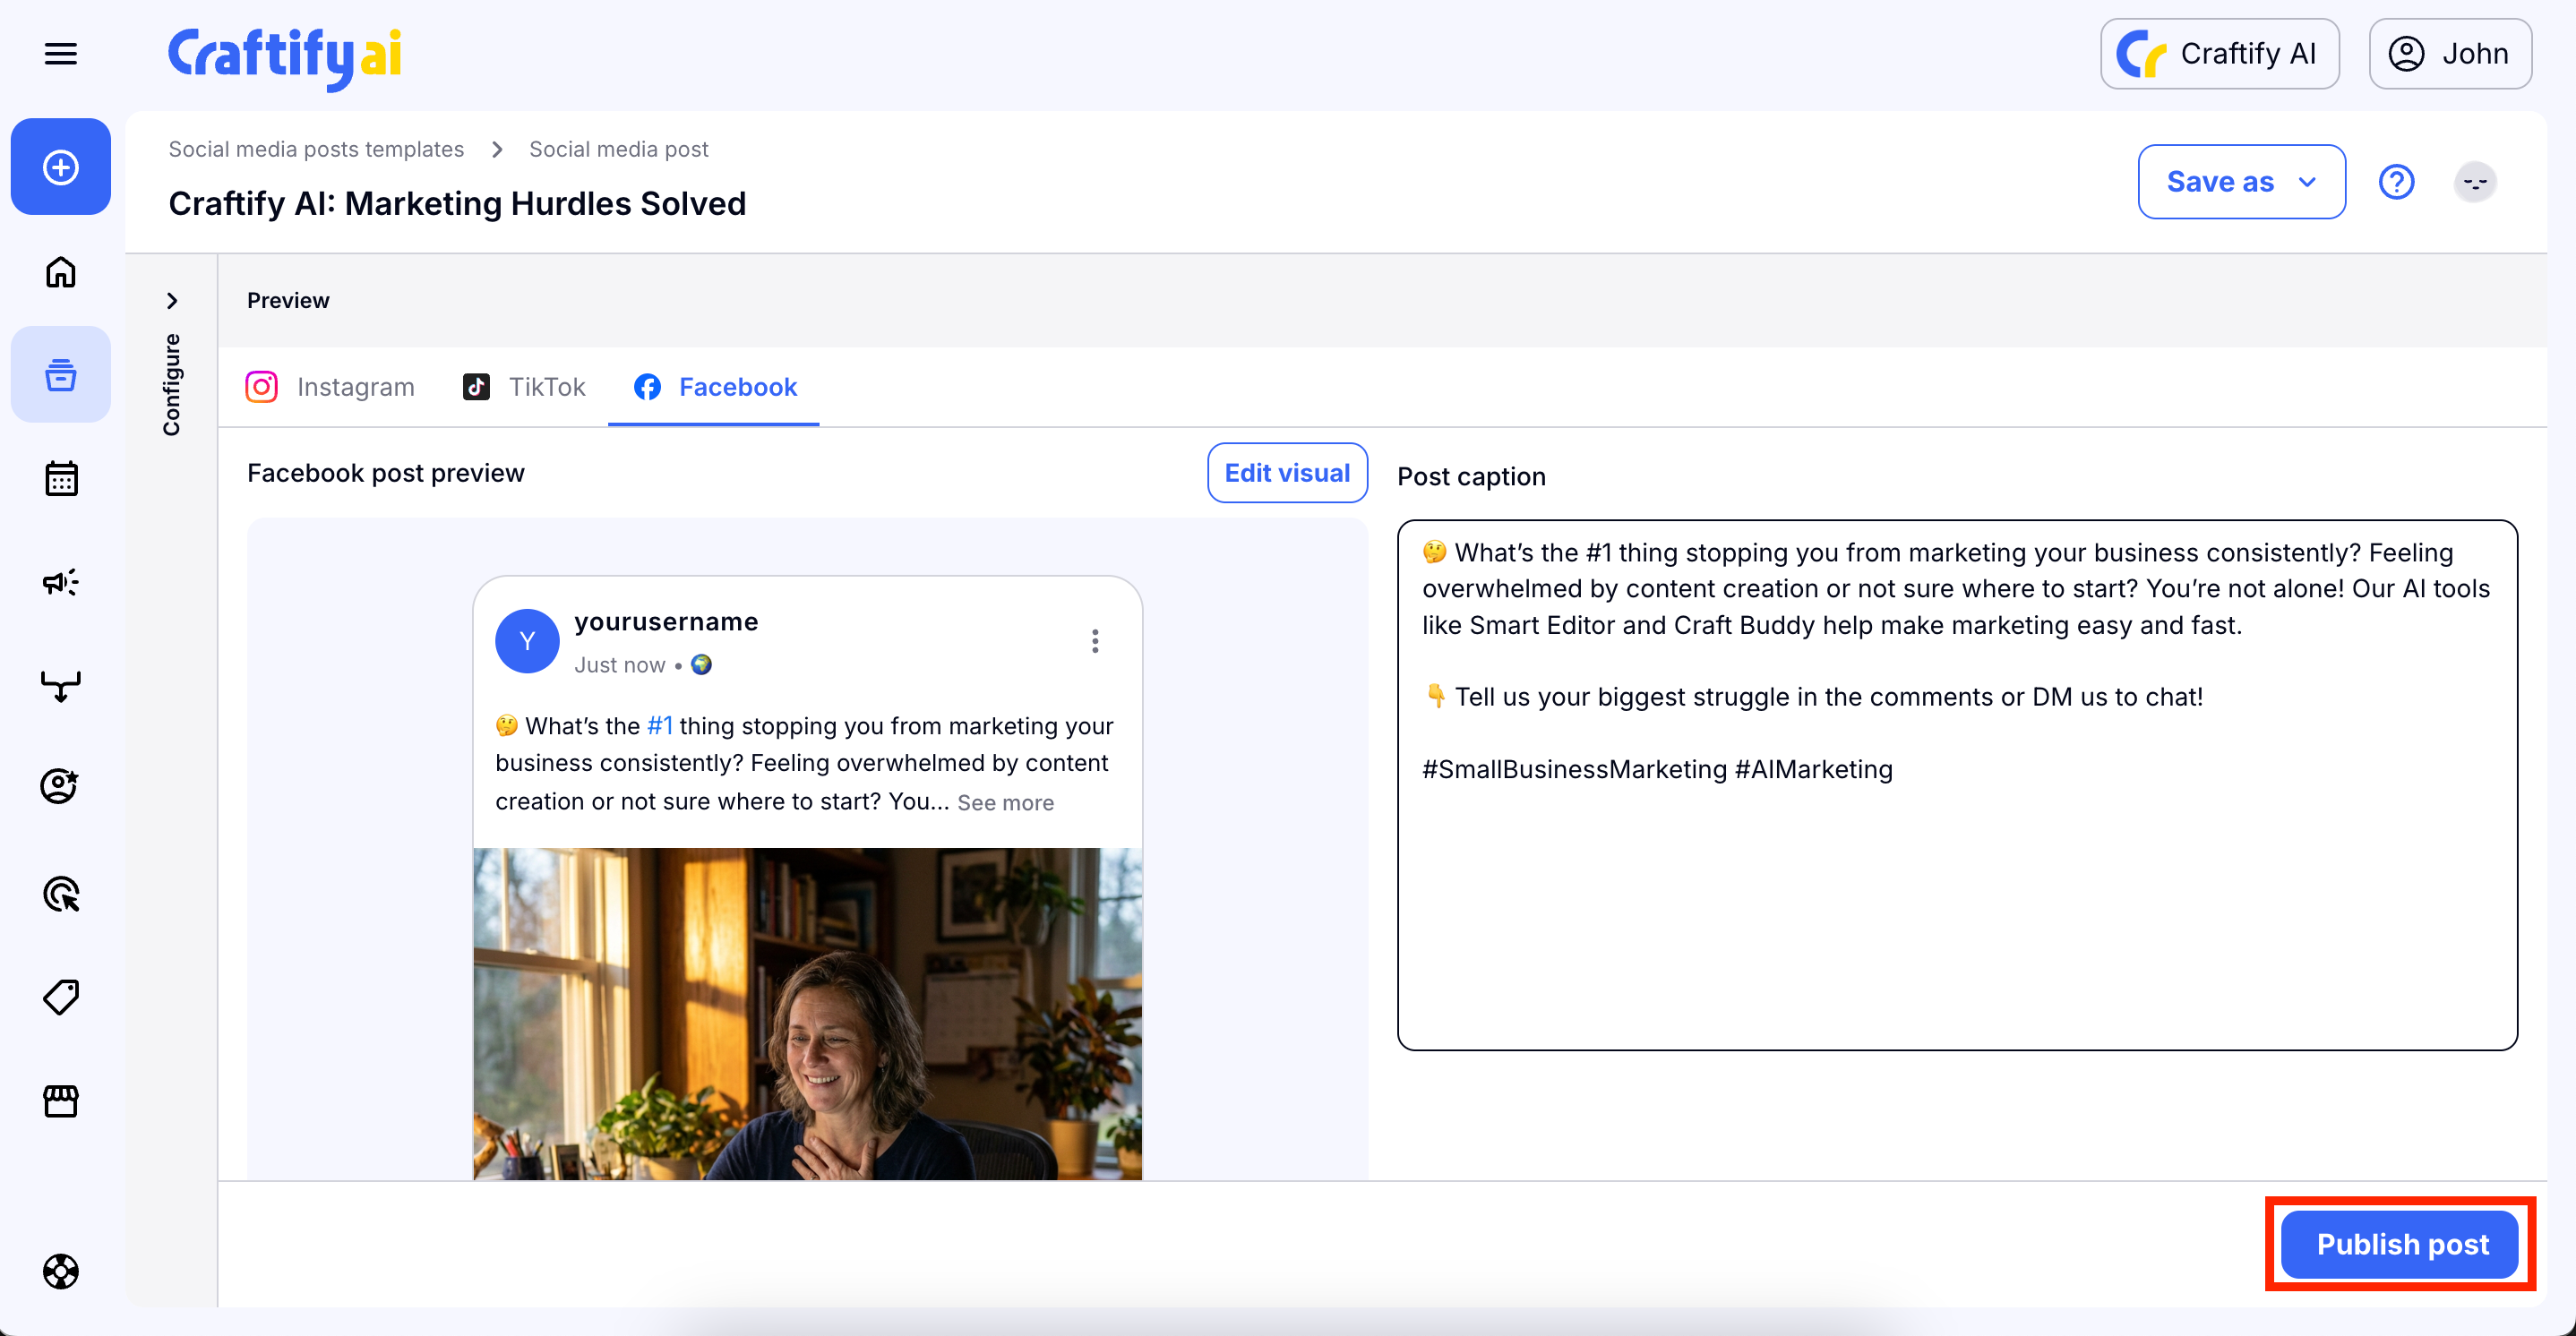
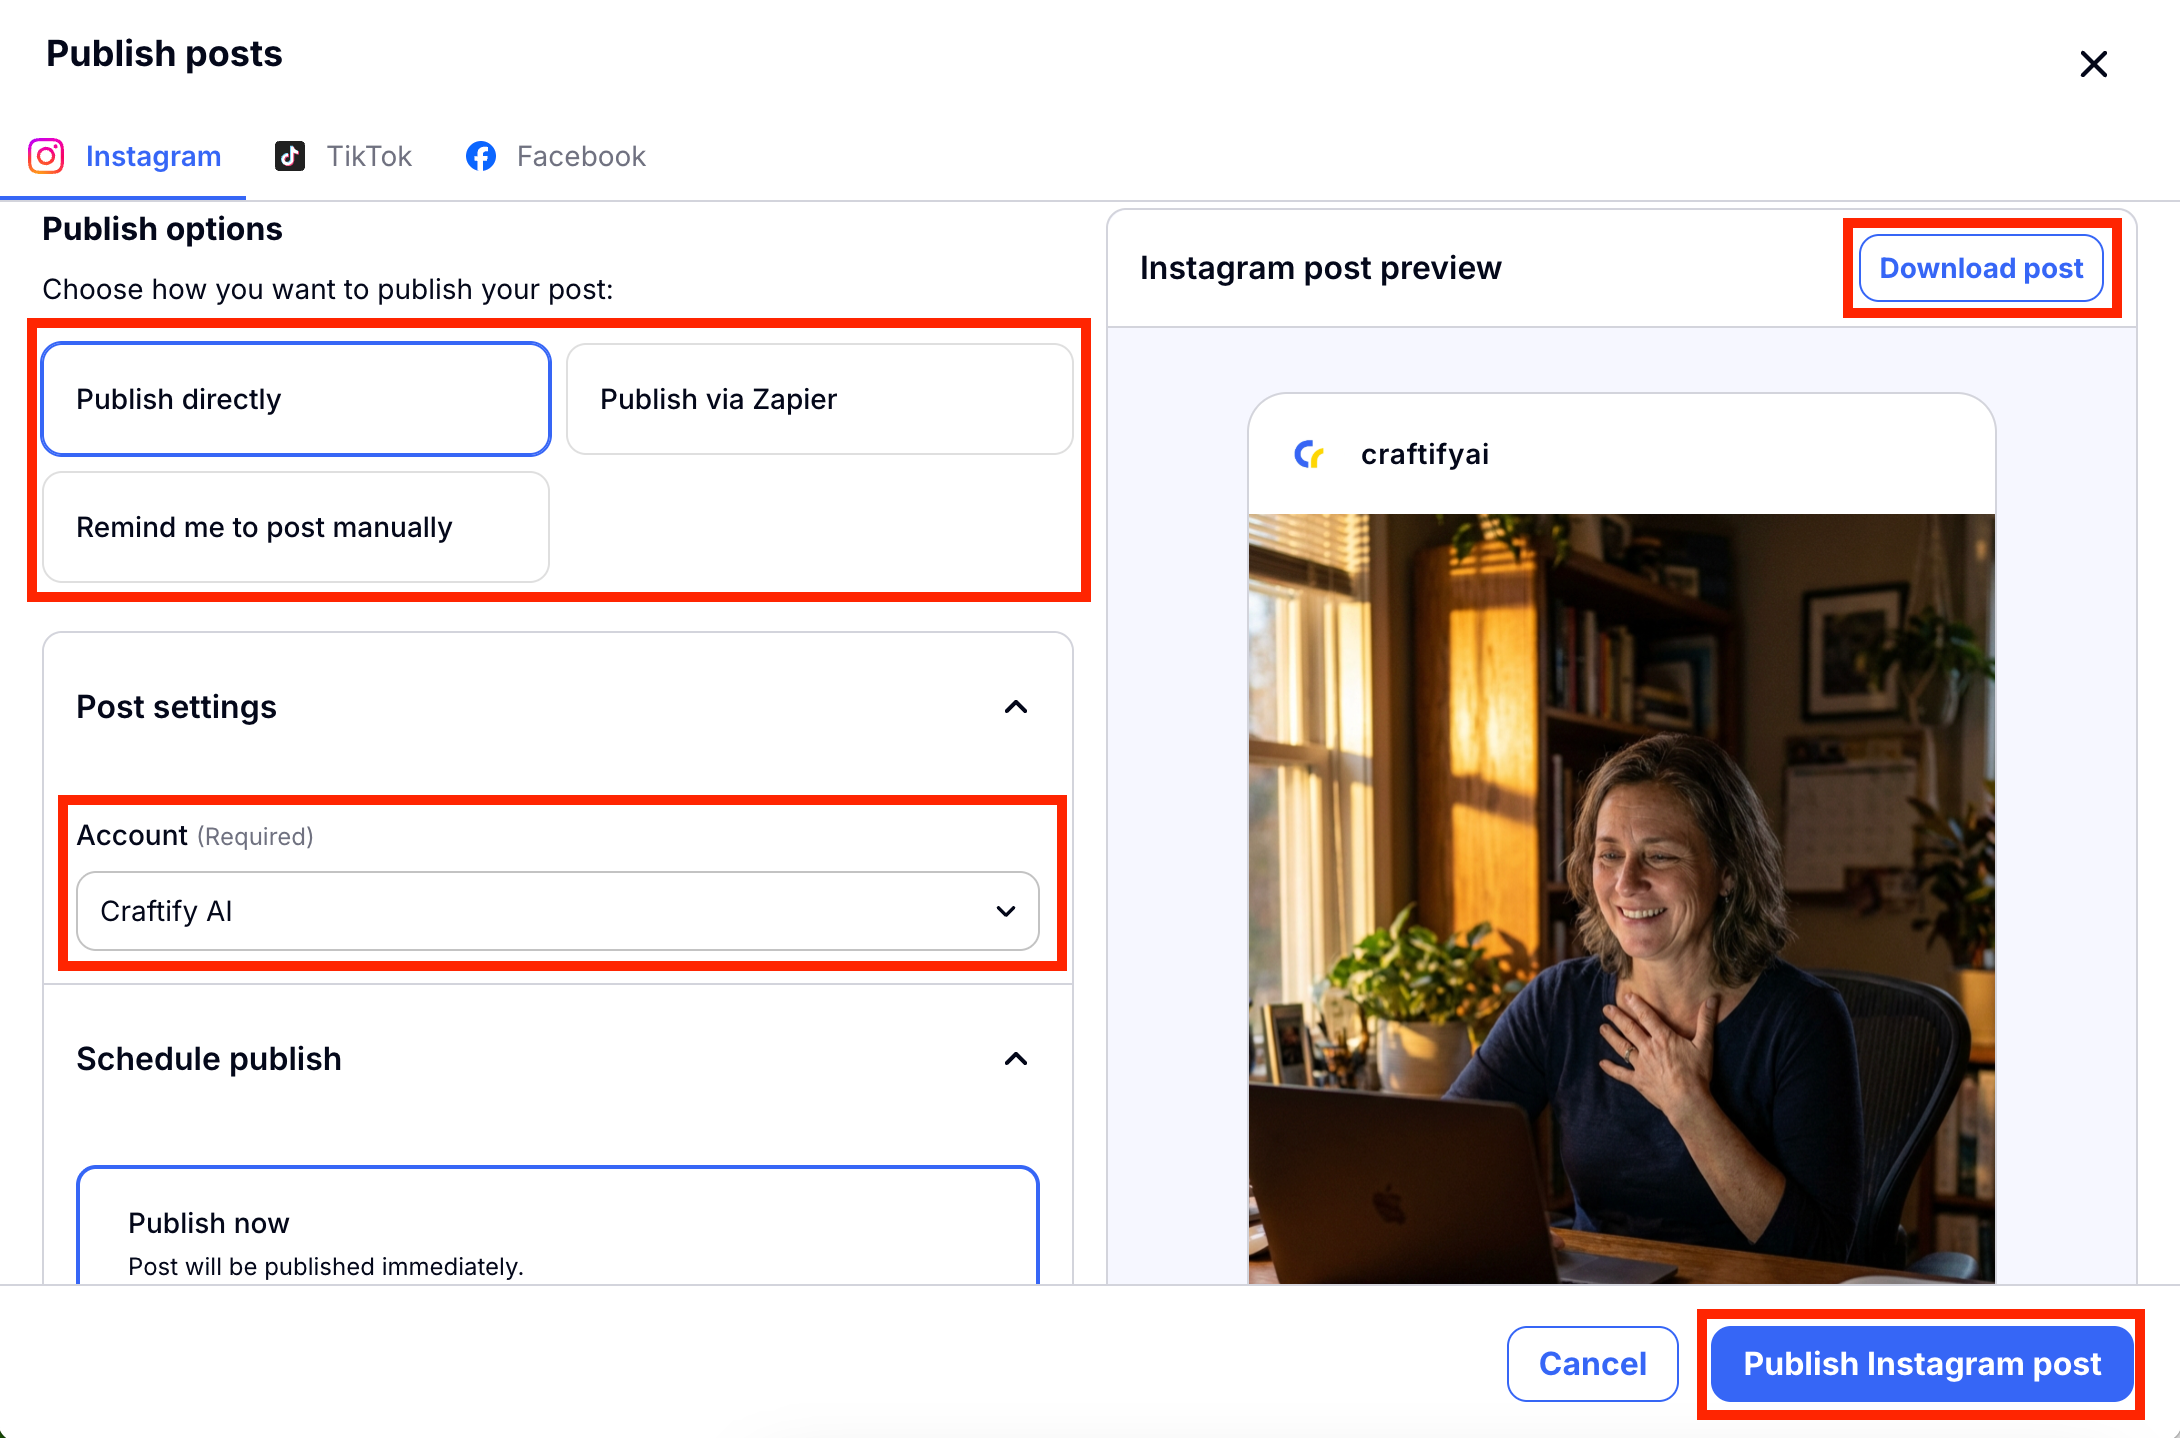
You have a few publishing options. To post directly using the integration with Instagram or facebook, use the Zapier integration to publish it with a zap (Tutorial on how to set up Zapier HERE), or have Craftify AI remind you to post manually later.
If you would like to download the post directly to your desktop, you can choose 'download post.'
We are going to choose for this tutorial to post directly, so we will choose also our Account that we would like to post to.
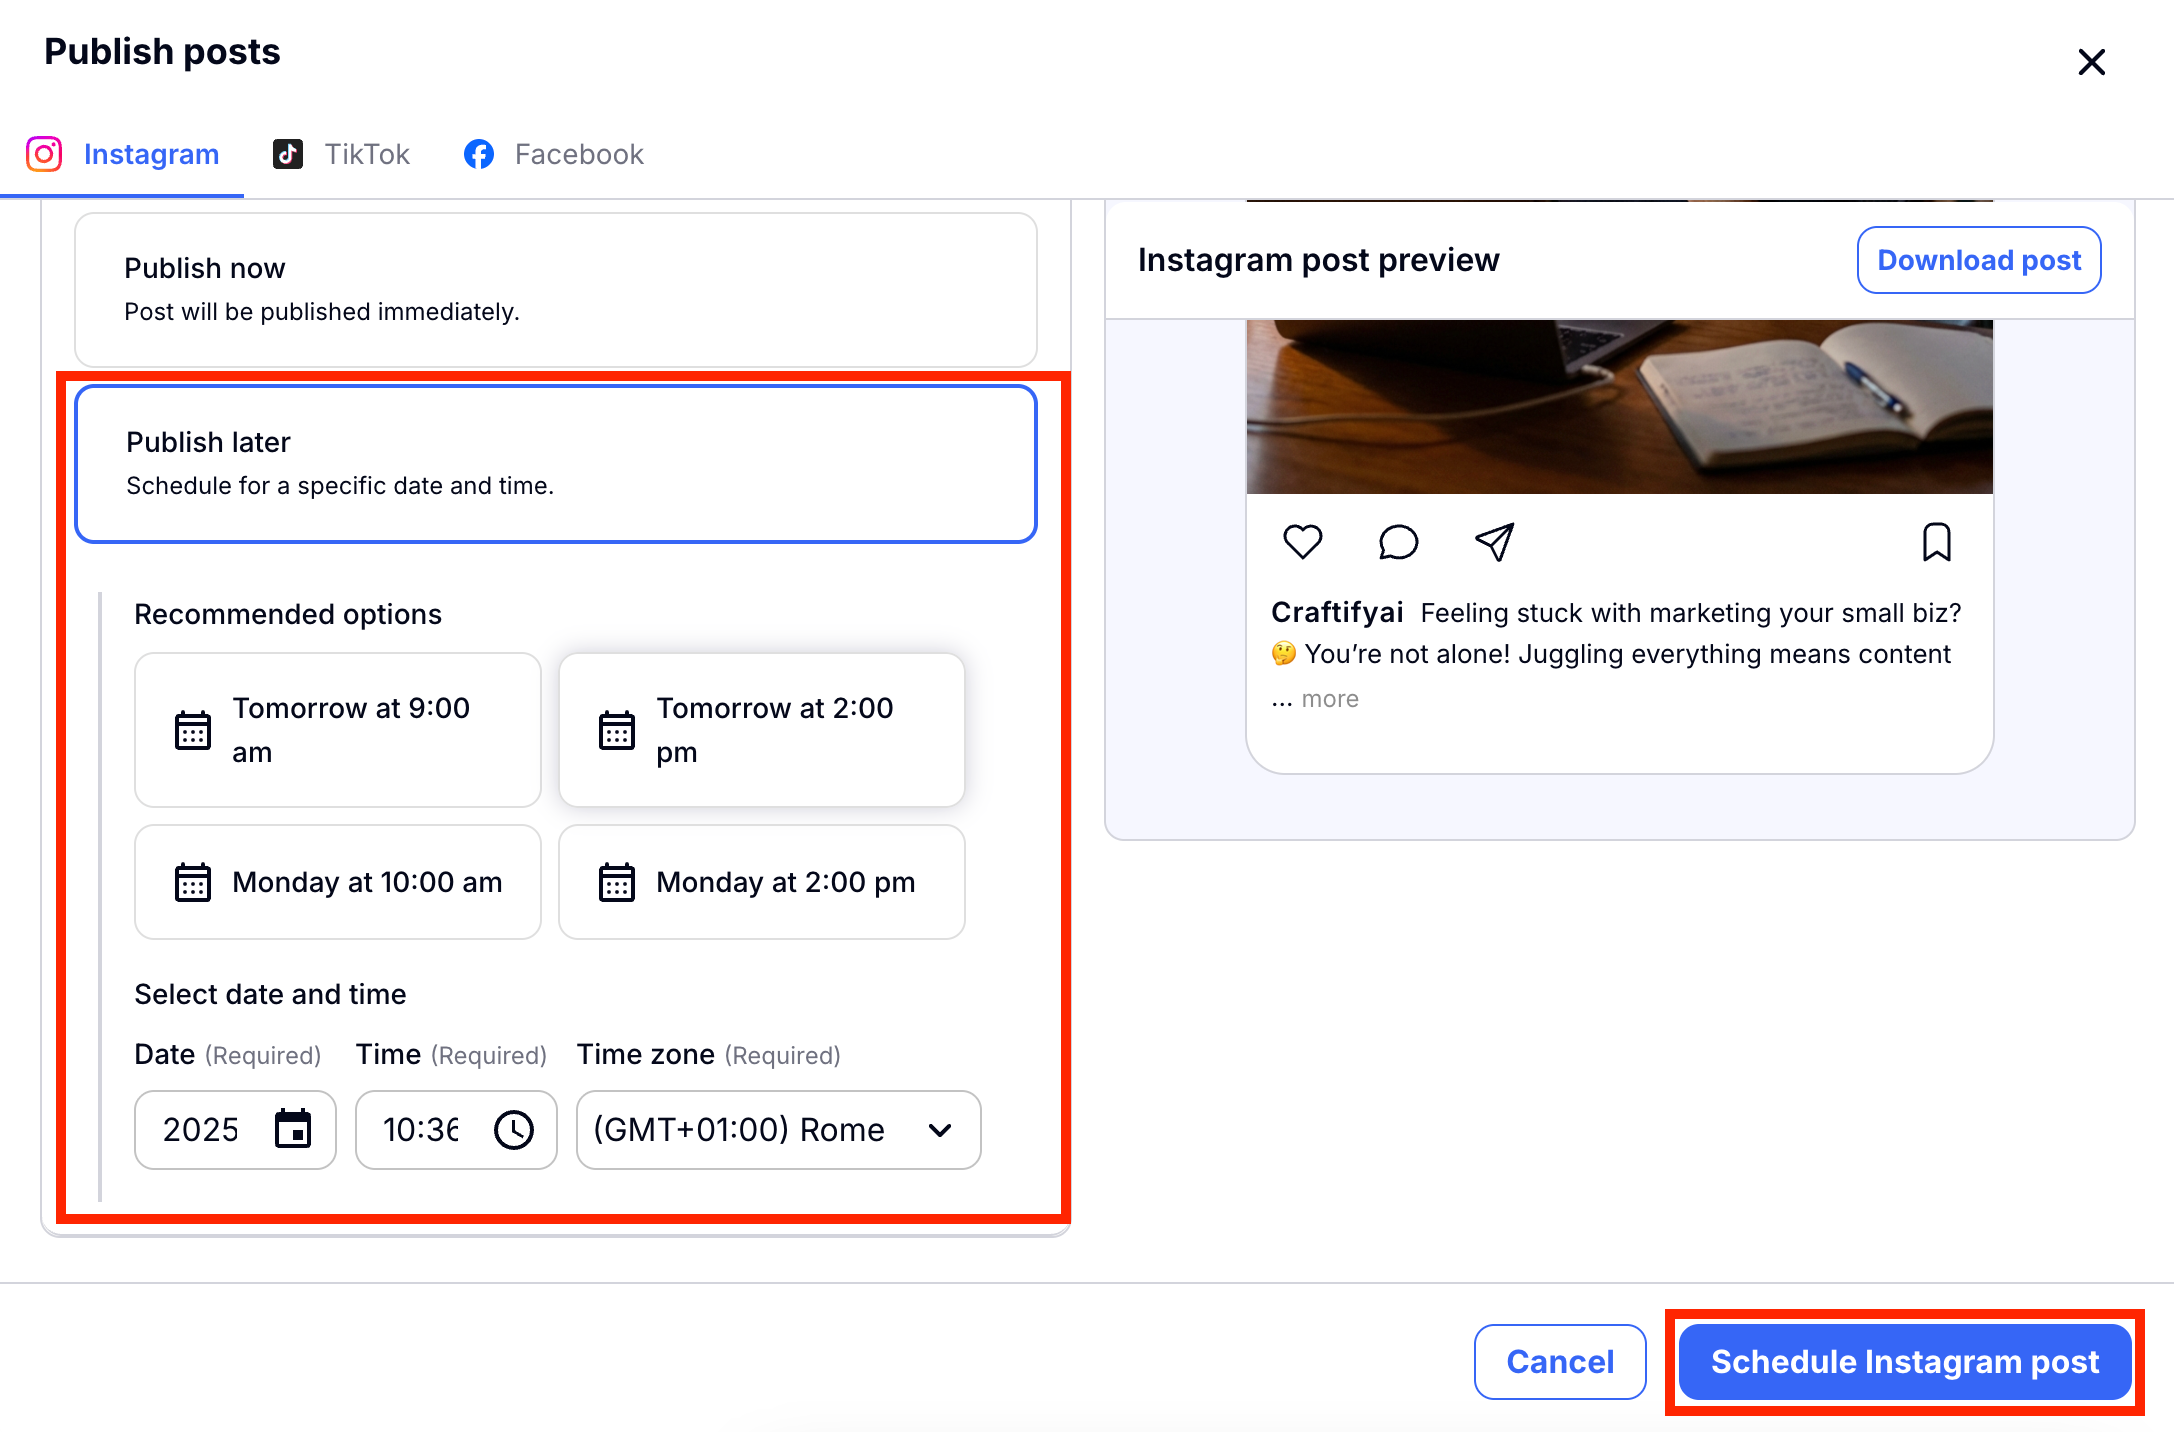
For this tutorial we decided to post directly but schedule it in the future. You can choose the popular options below, or choose from the calendar and choose the time you prefer directly here. When you're ready choose 'Schedule instagram post.'
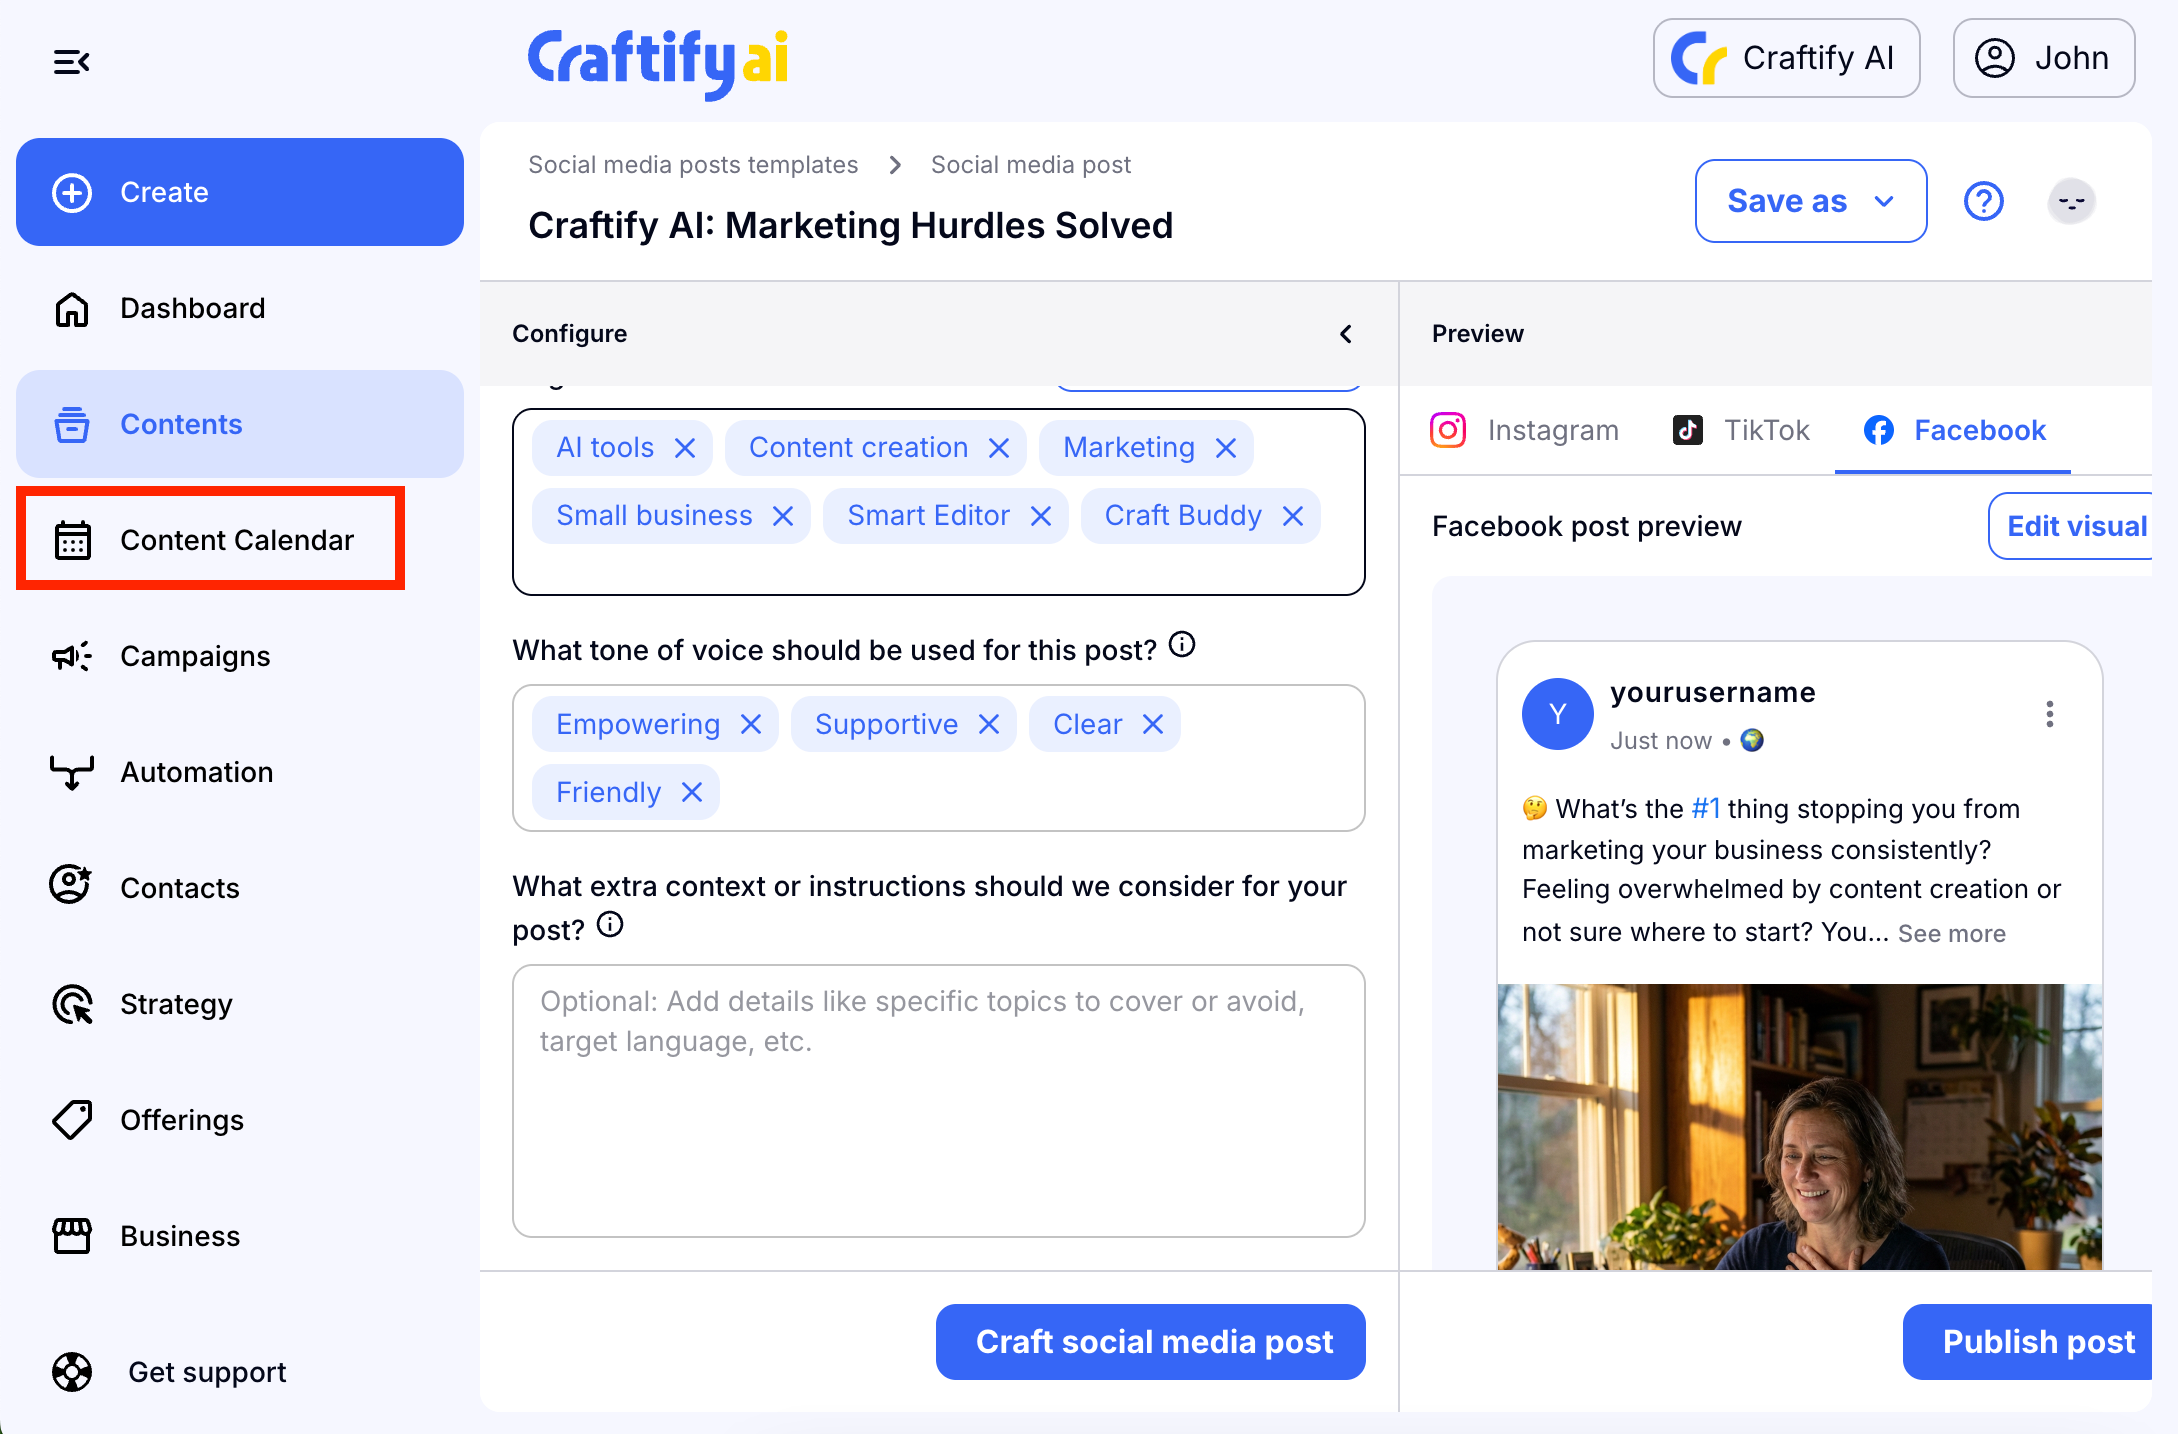
Step 7: Go to your Content Calendar
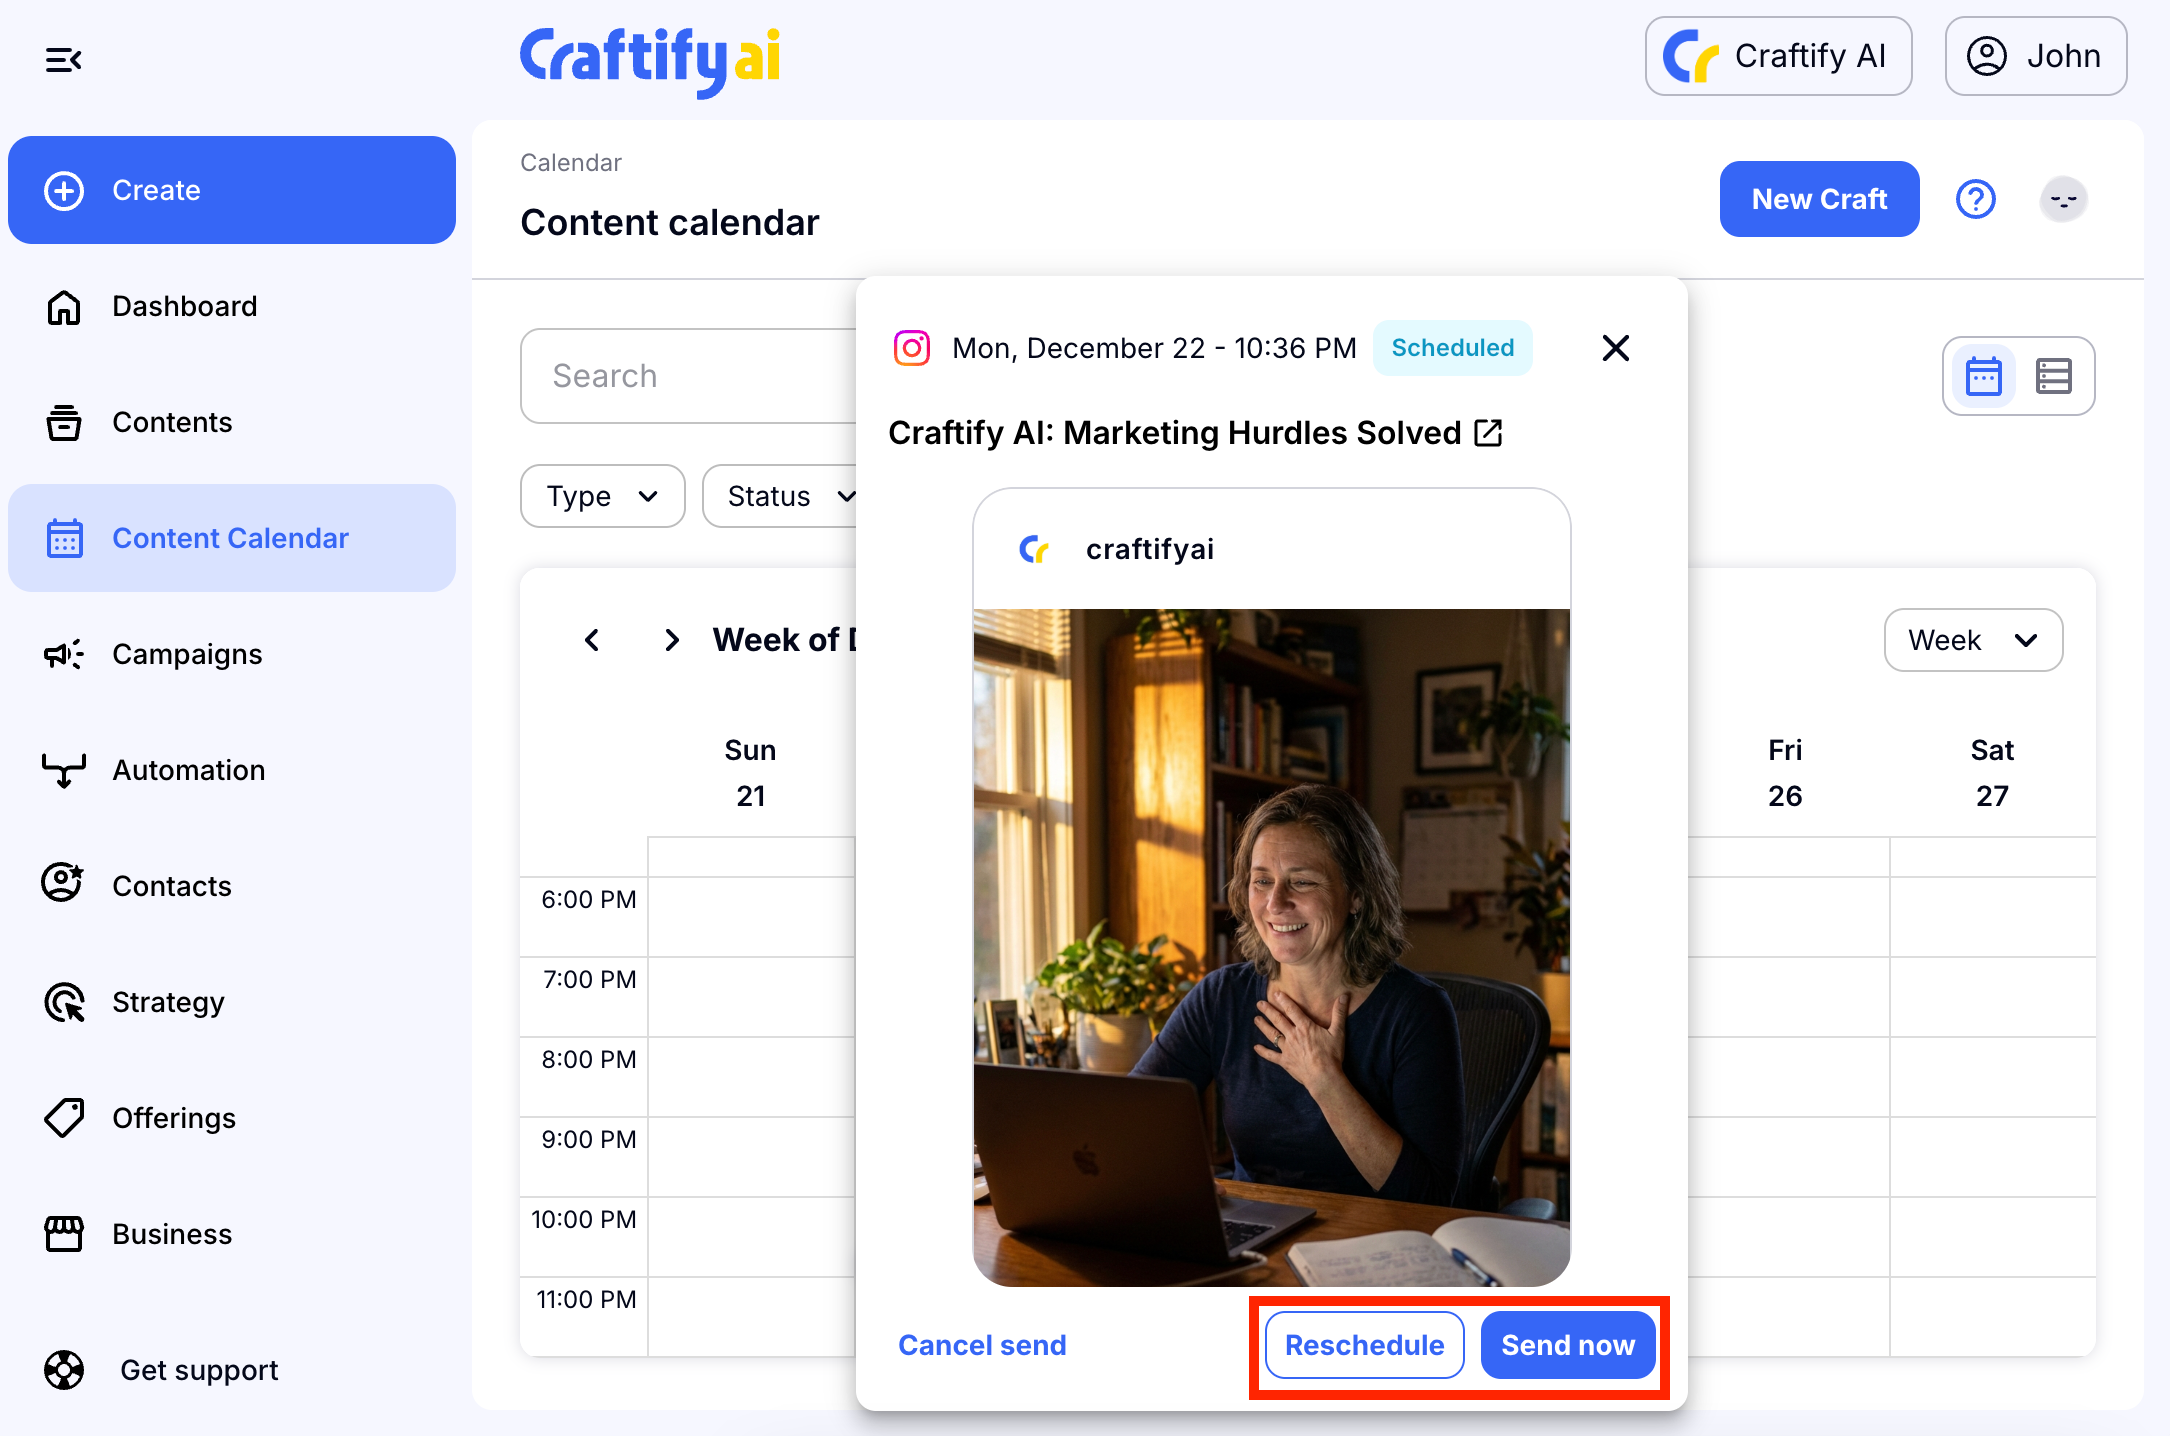
Choose the Content Calendar option in the menu on the left and then you will be directed to the calendar and what's coming up on your content schedule! You can click the post on the calendar and from there you can choose to 'Send now' or 'Reschedule' it for later.
Now that you're a pro with the Social Media Tool, how about learn about how to use the Email Writer Tool HERE.