How to Export Your Emails to Zapier in Craftify AI
Exporting an Email to Zapier Tutorial
Welcome to our guide which will demonstrate the process of exporting an email to Zapier. This proves to be a valuable resource as it empowers you to send emails directly from Craftify to your subscribers.
Let's get started!
Step 1: Select a Product/Services or Campaign
Initiate by choosing a Product, Service, or Campaign. This optimal workflow ensures your social media post is linked to one of these categories, facilitating tidy organization within Craftify. Additionally, it retrieves information previously entered into your product, service, and campaigns, thereby streamlining the process.
Once you've selected your product/service/campaign, you can move onto creating your craft.
Step 2: Select Email Writer
Begin with the Email Writer tool to set things in motion. We provide an array of guides that will navigate you through the process of utilizing the Email Writer tool.
For insights on how to operate the tool, refer to the following list:
- How to Write a Welcome Email
- How to Write a Promotional Email
- How to Write a Custom Email
- How to Write a Flash Sale/Limited Time Offer Email
- How to Write an Abandoned Cart Email
- How to Write a Cancellation Email
- How to Write a Confirmation Email
- How to Write a Newsletter Email
- How to Write a New Product Launch/Arrivals Email
- How to Write a Cold Outreach Email
- How to Write a Customer Support Email
Step 3: Exporting Email to Zapier
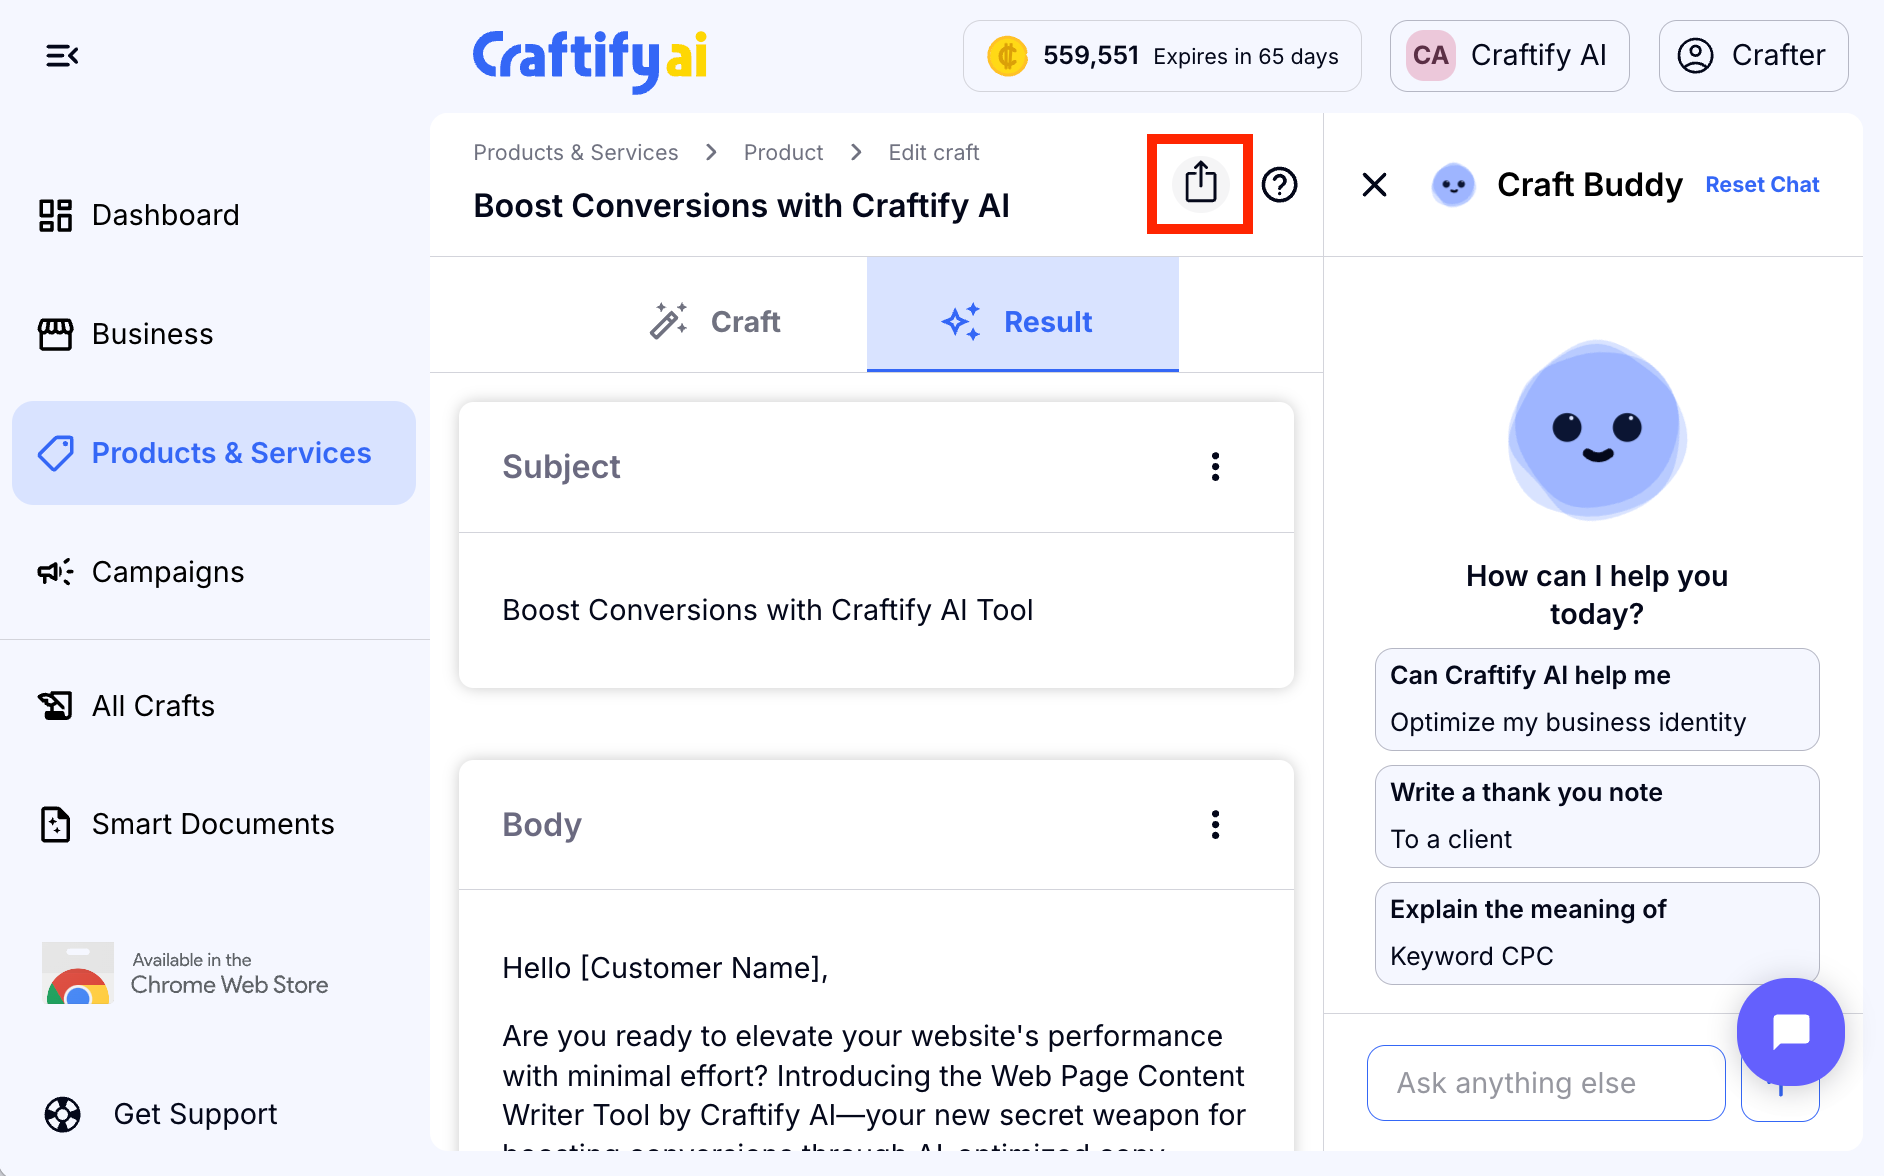
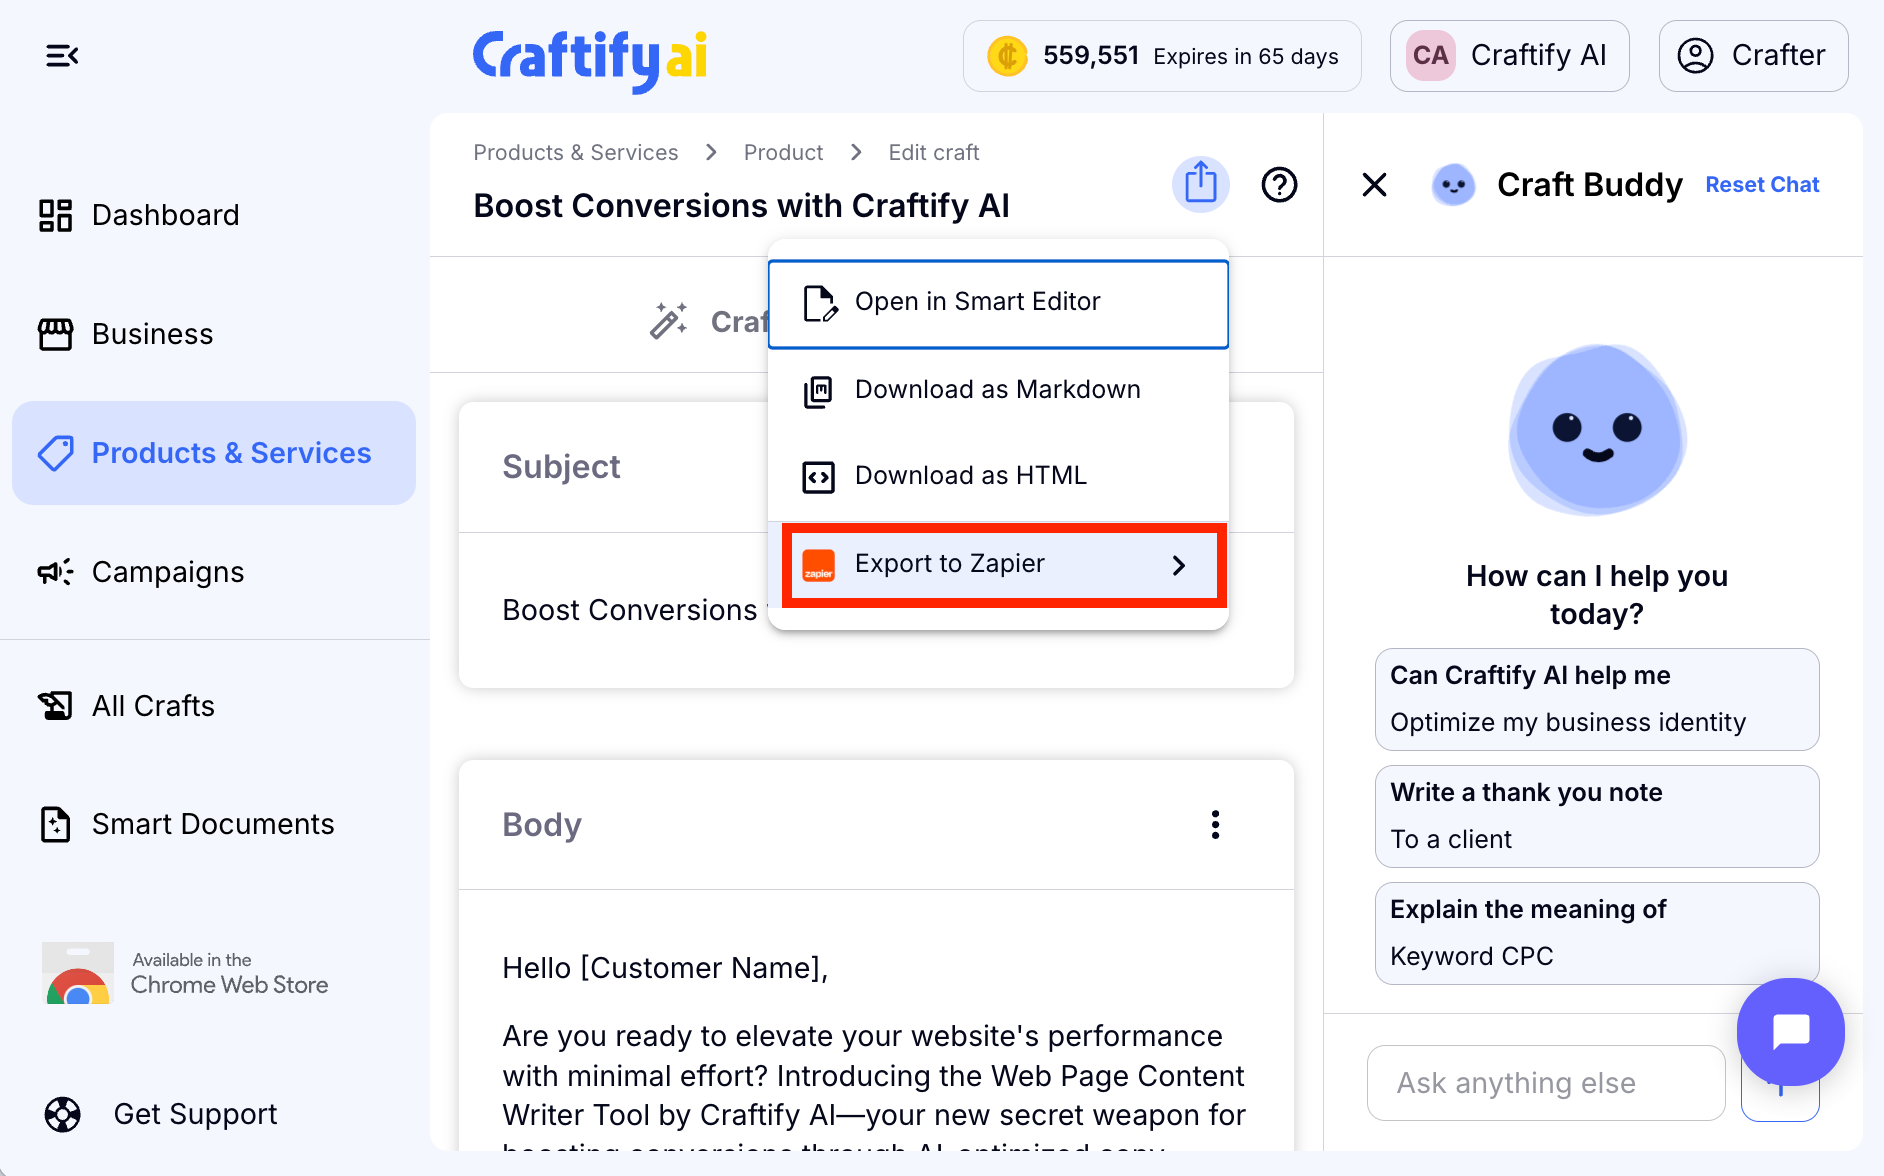
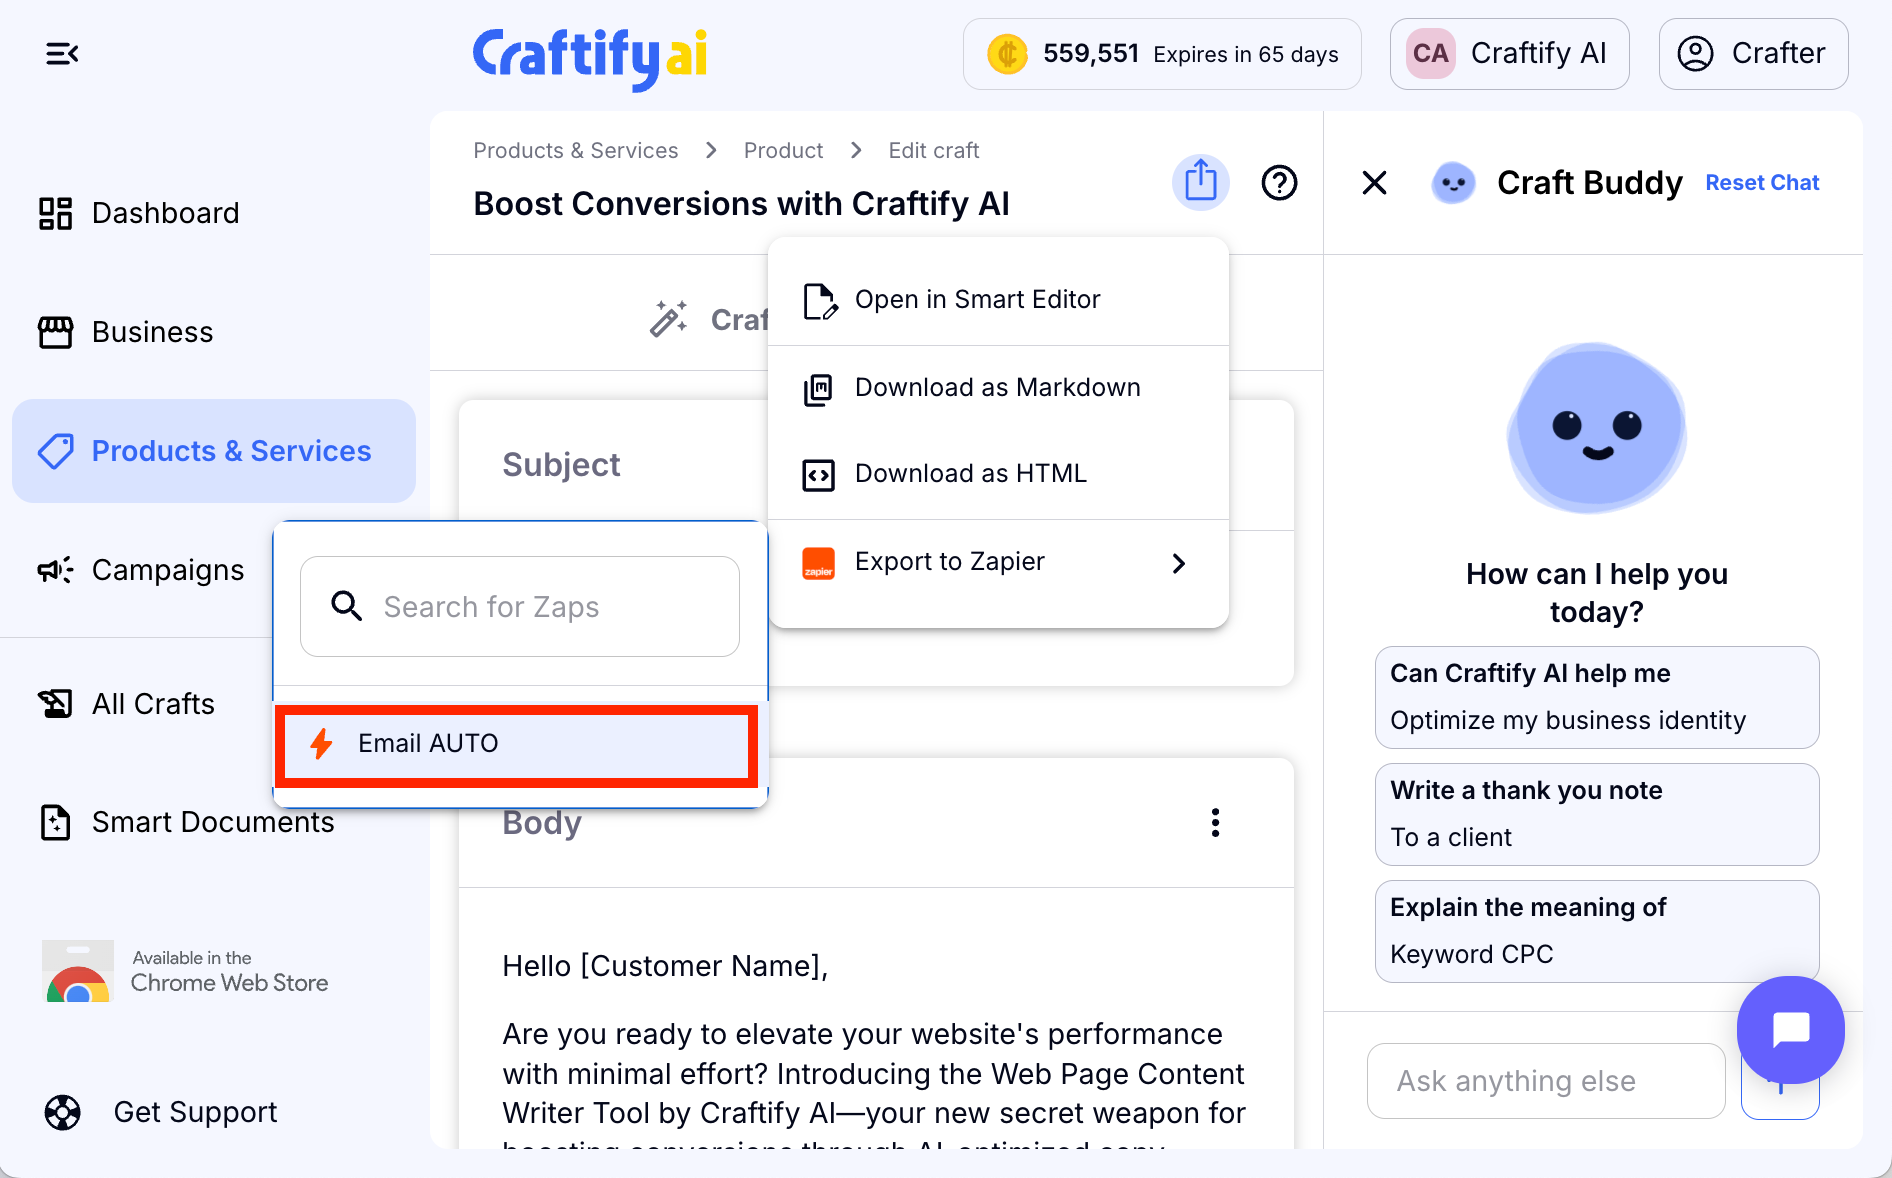
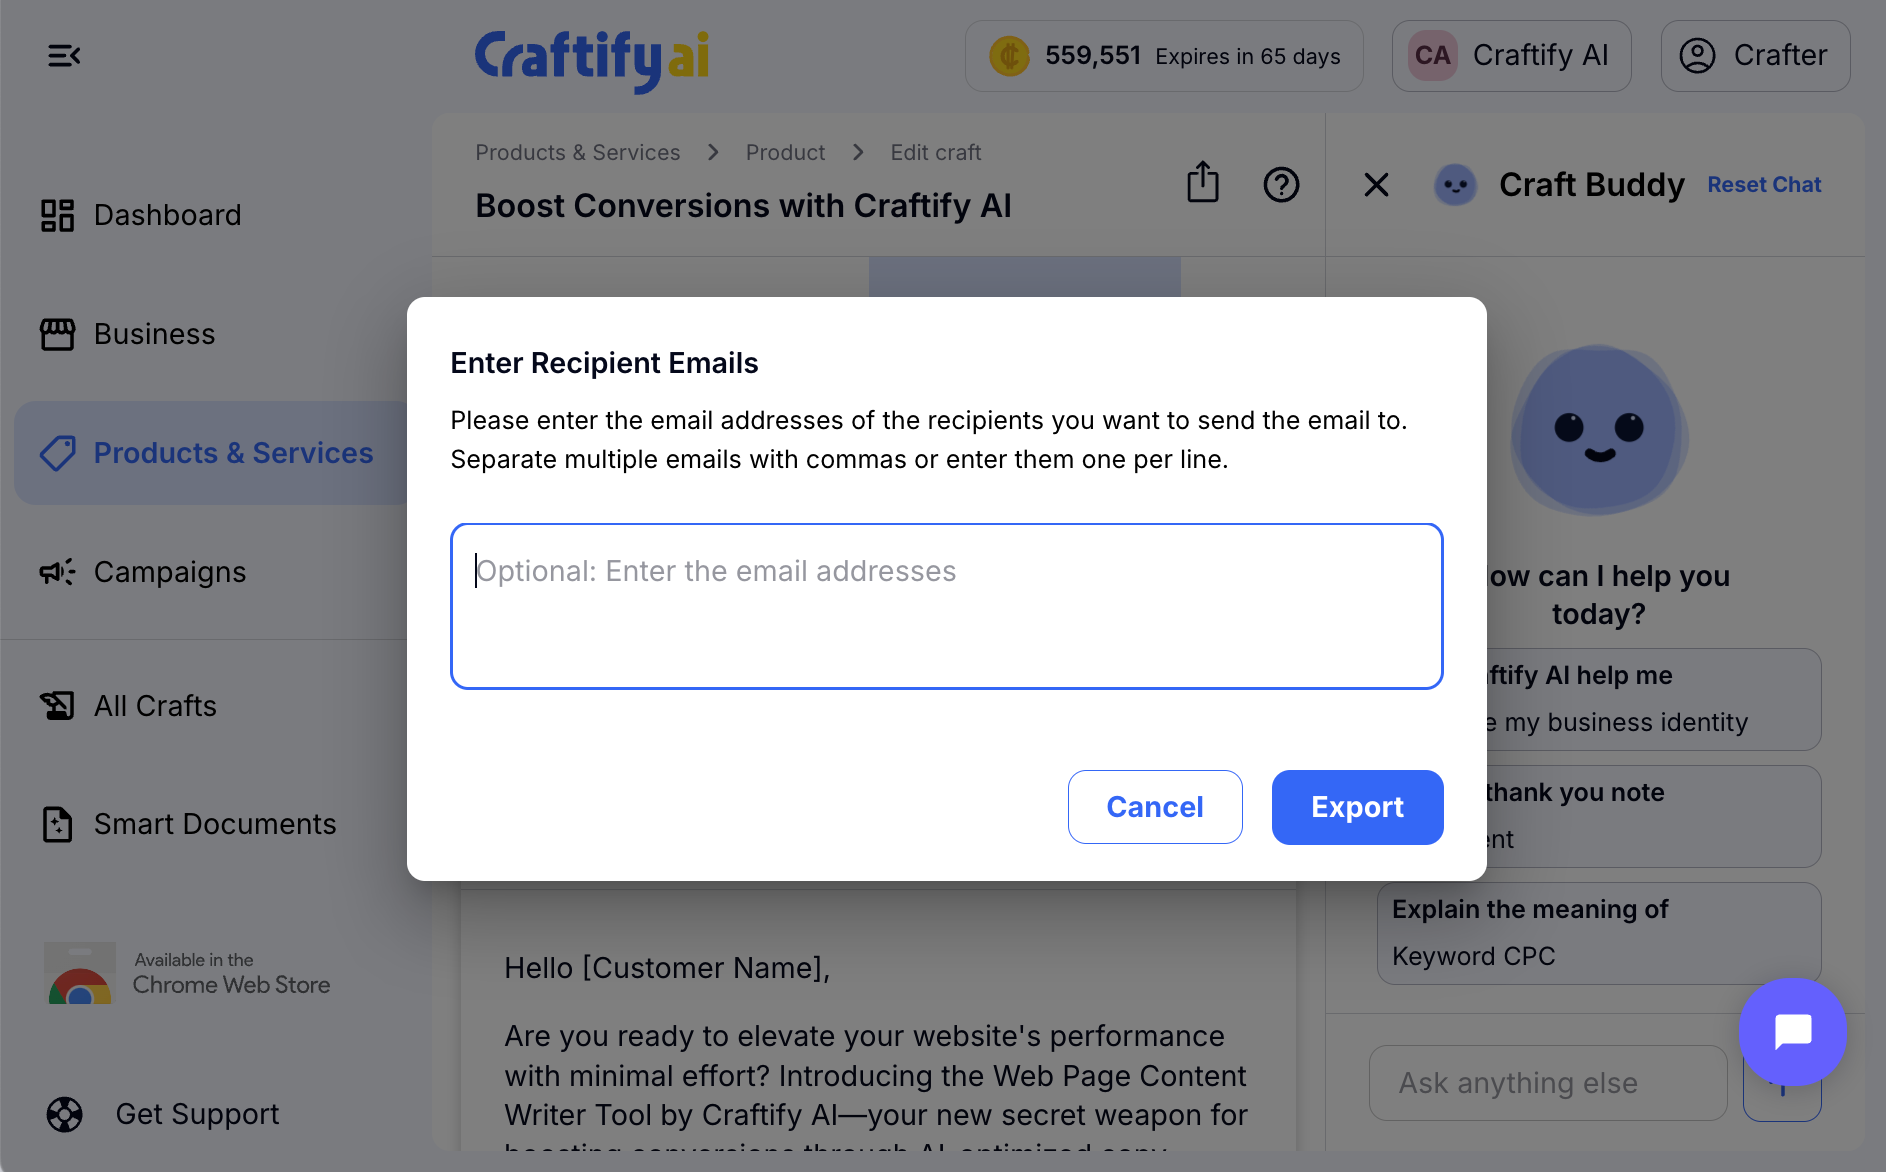
The next move involves sending the email outcome to Zapier.
However, before we proceed, kindly make it a point to go through our guide on integrating Zapier with your Craftify account.
After you've completed this, the option to forward to Zapier will be visible when you reach the results section of your email.


There you have it! You now know how to export your emails to Zapier, effectively cutting out your middle man, making your marketing efforts more efficient.
As always, please don't hesitate to reach out if you have any questions!