How to Create a Campaign with Craftify AI
Campaign Tutorial
Greetings! This guide is dedicated to demonstrating the process of campaign creation in Craftify and illustrating how it can aid in producing and structuring your promotional material.
Let's get started!
Step 1: Create a New Campaign
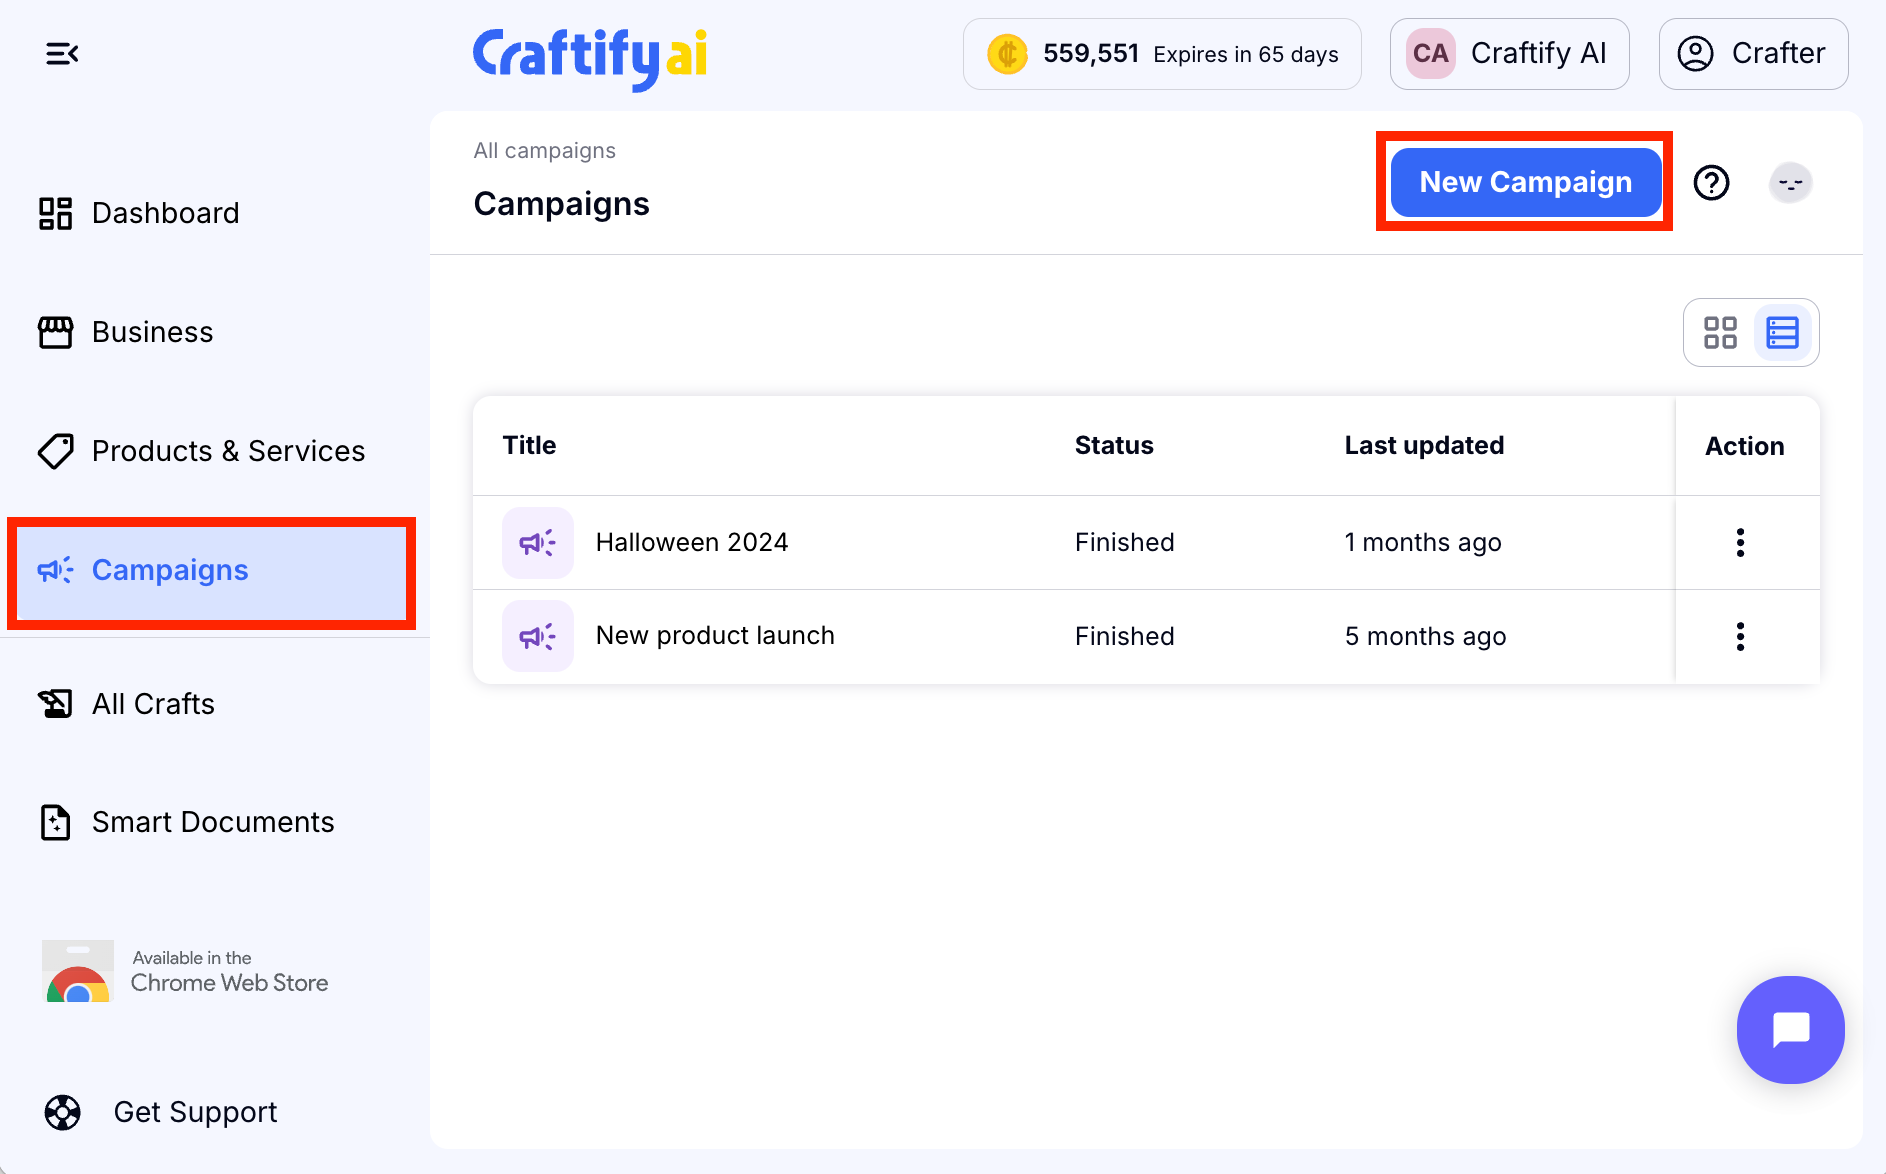
Begin by moving to the menu located on the left side, then choose Campaigns followed by New Campaign.
Step 2: Set Up Your Campaign
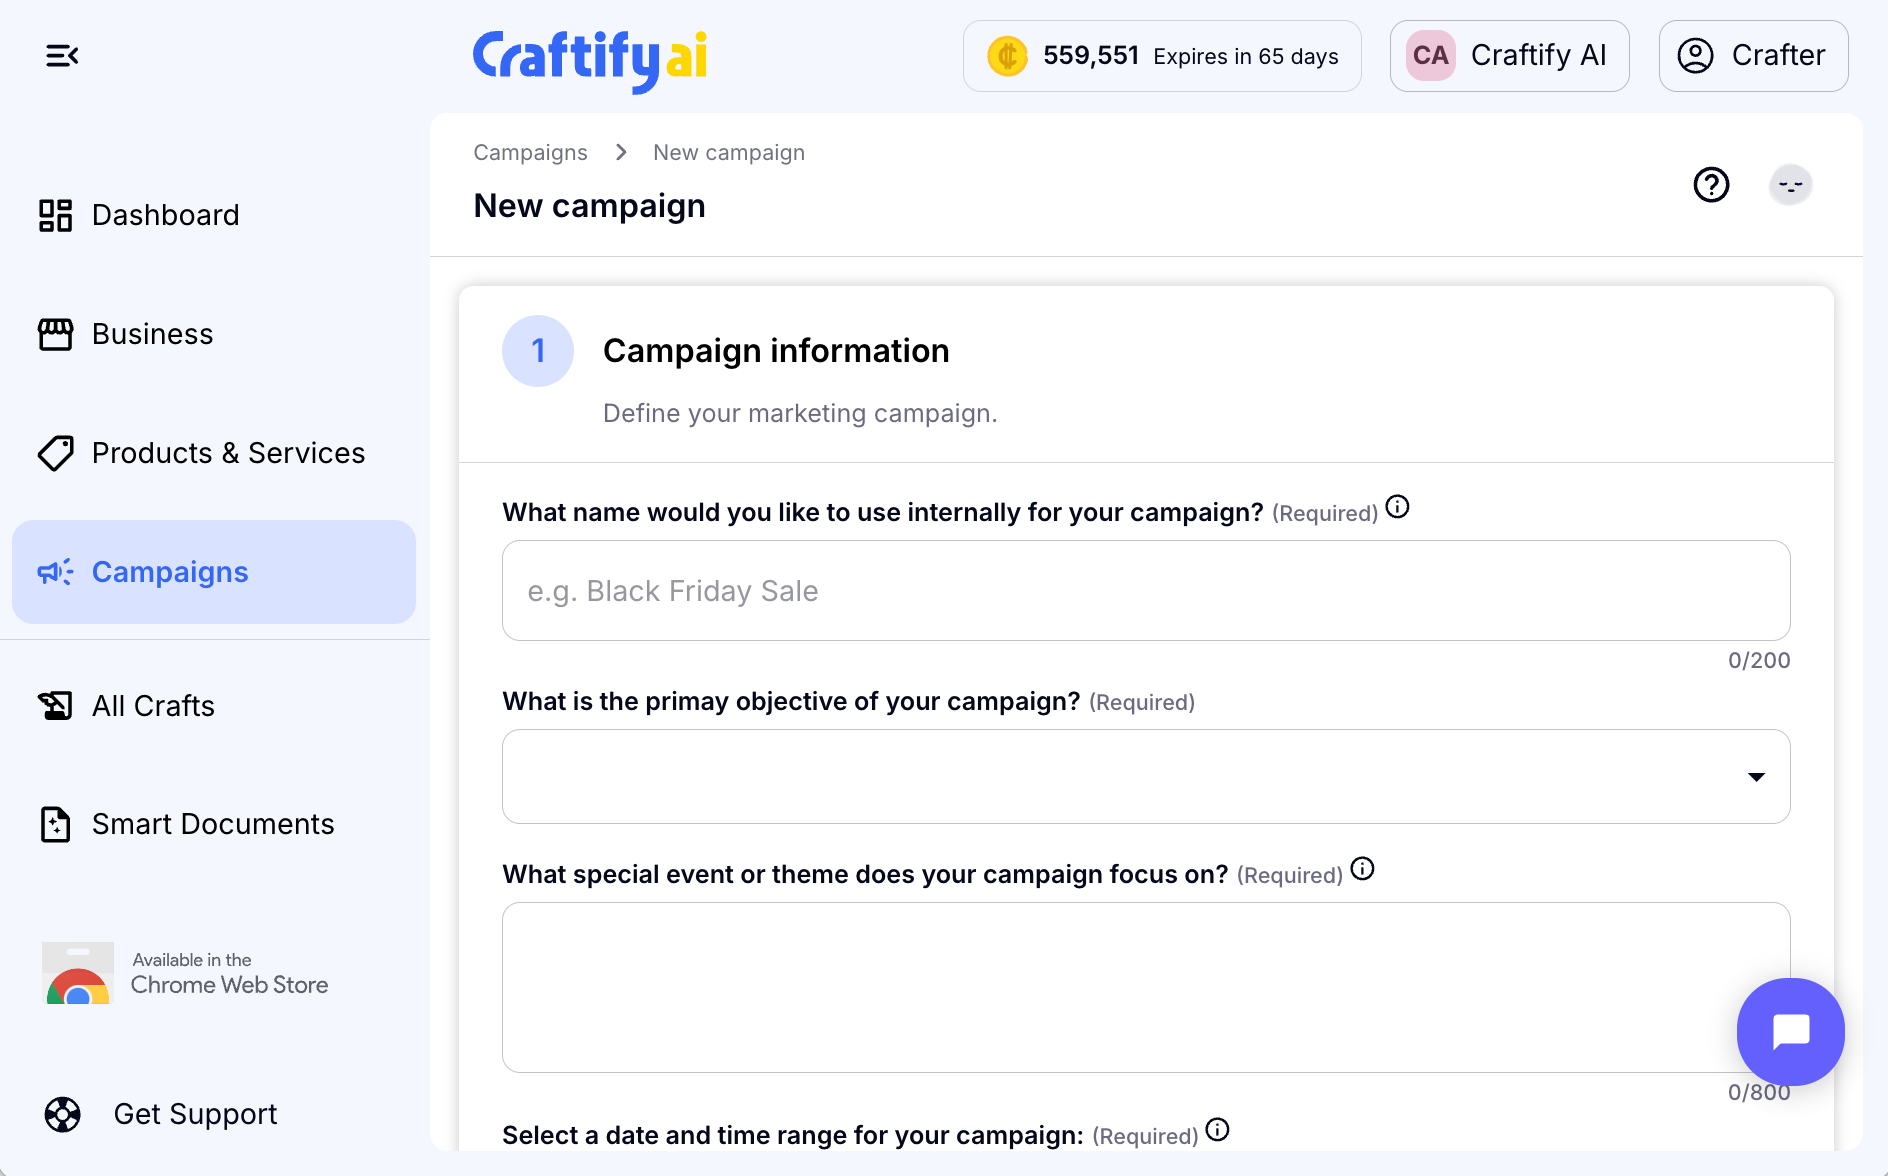
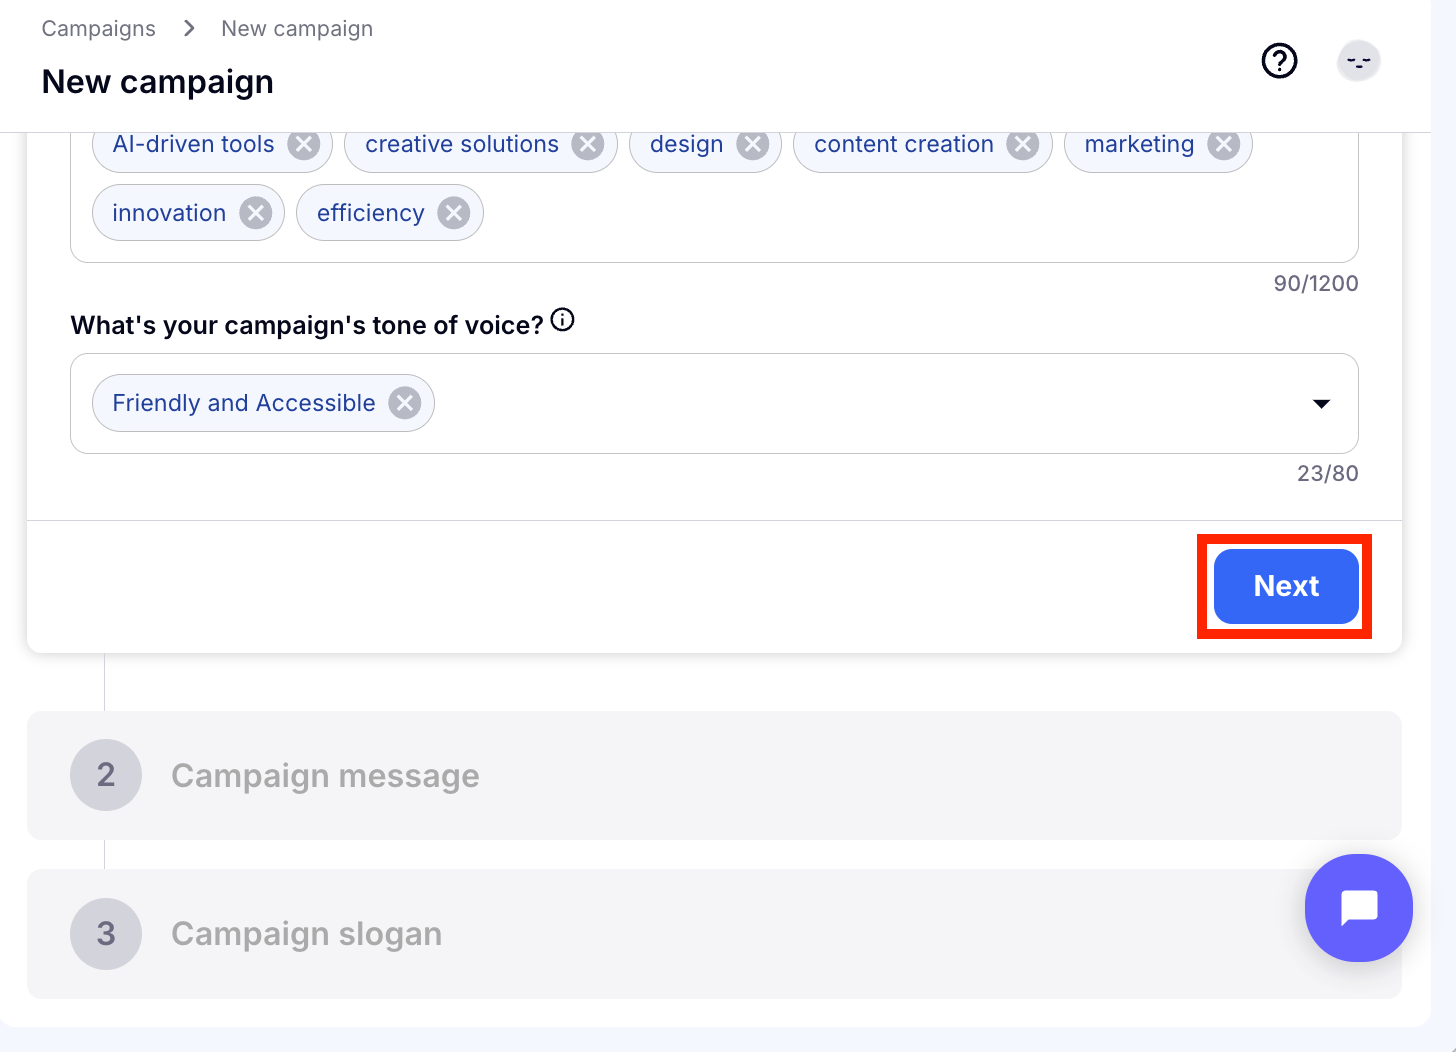
The next step is to fill out the campaign details. Craftify AI will extract data from your Business Profile to populate certain sections, such as primary target clientele, keywords, and communication style. Feel free to modify any section as per your requirements.

Step 3: Campaign Message
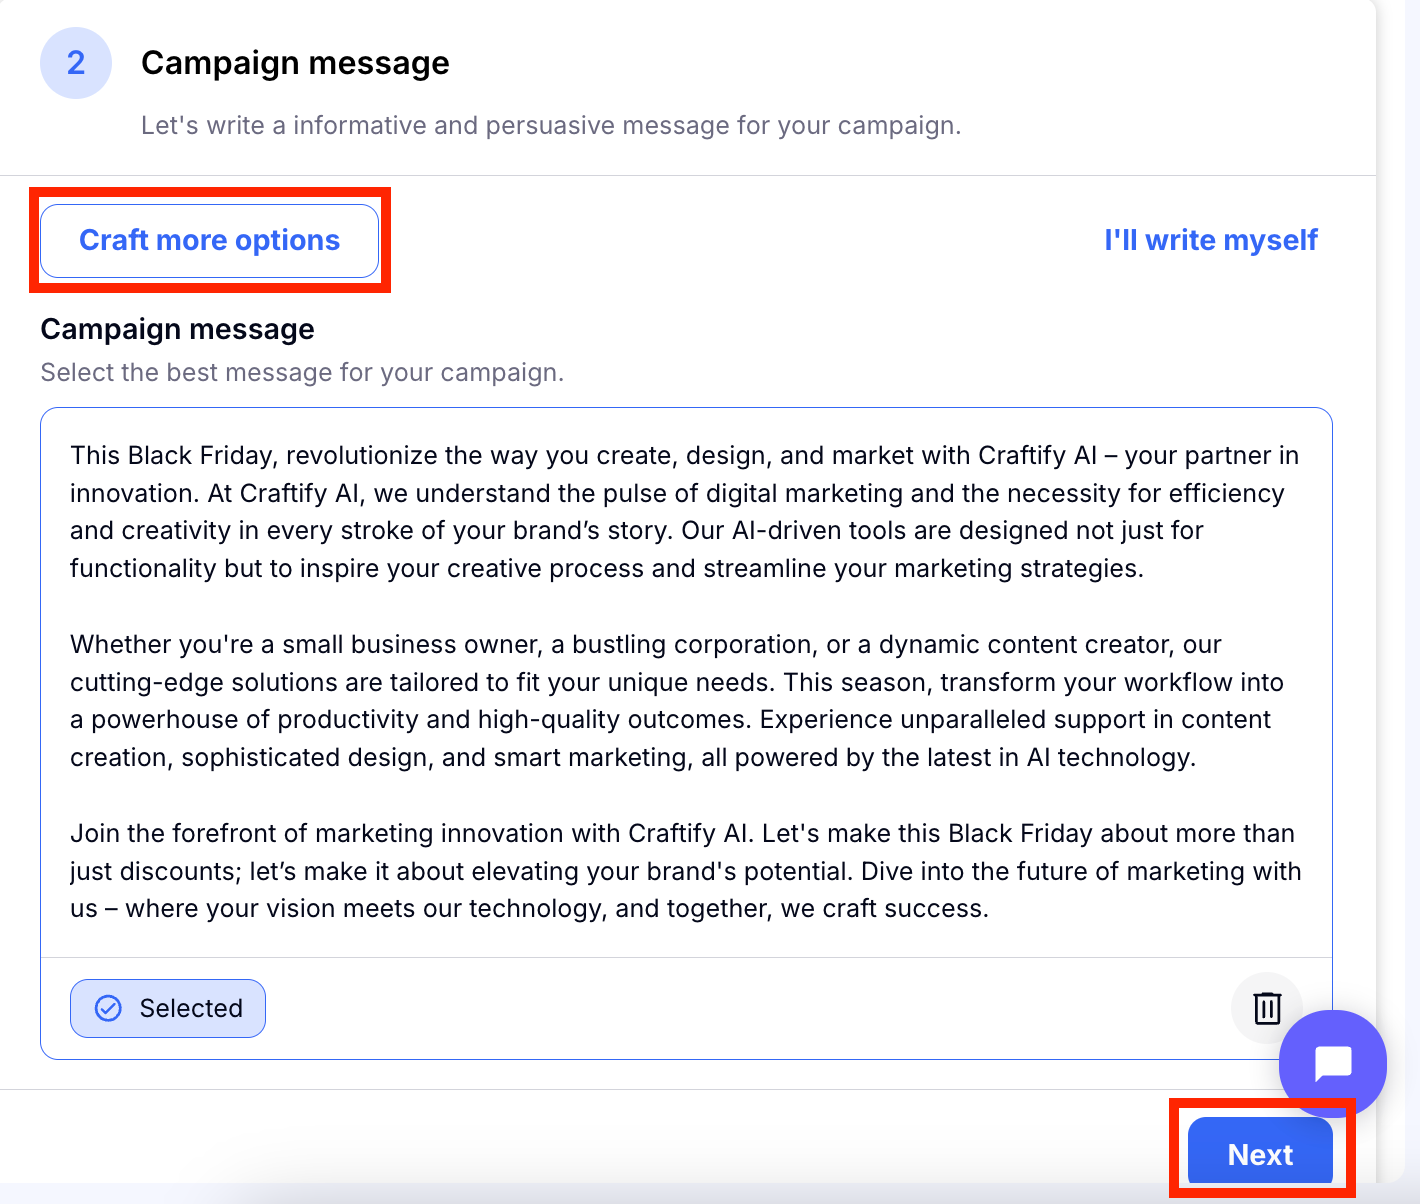
Leveraging the capabilities of AI, Craftify will generate your campaign message using the details supplied in the second step. If the outcome doesn't meet your satisfaction, you have the flexibility to prompt Craftify to produce additional alternatives, opt to compose it personally, or if you're content, proceed to the subsequent stage.
Step 4: Campaign Slogan
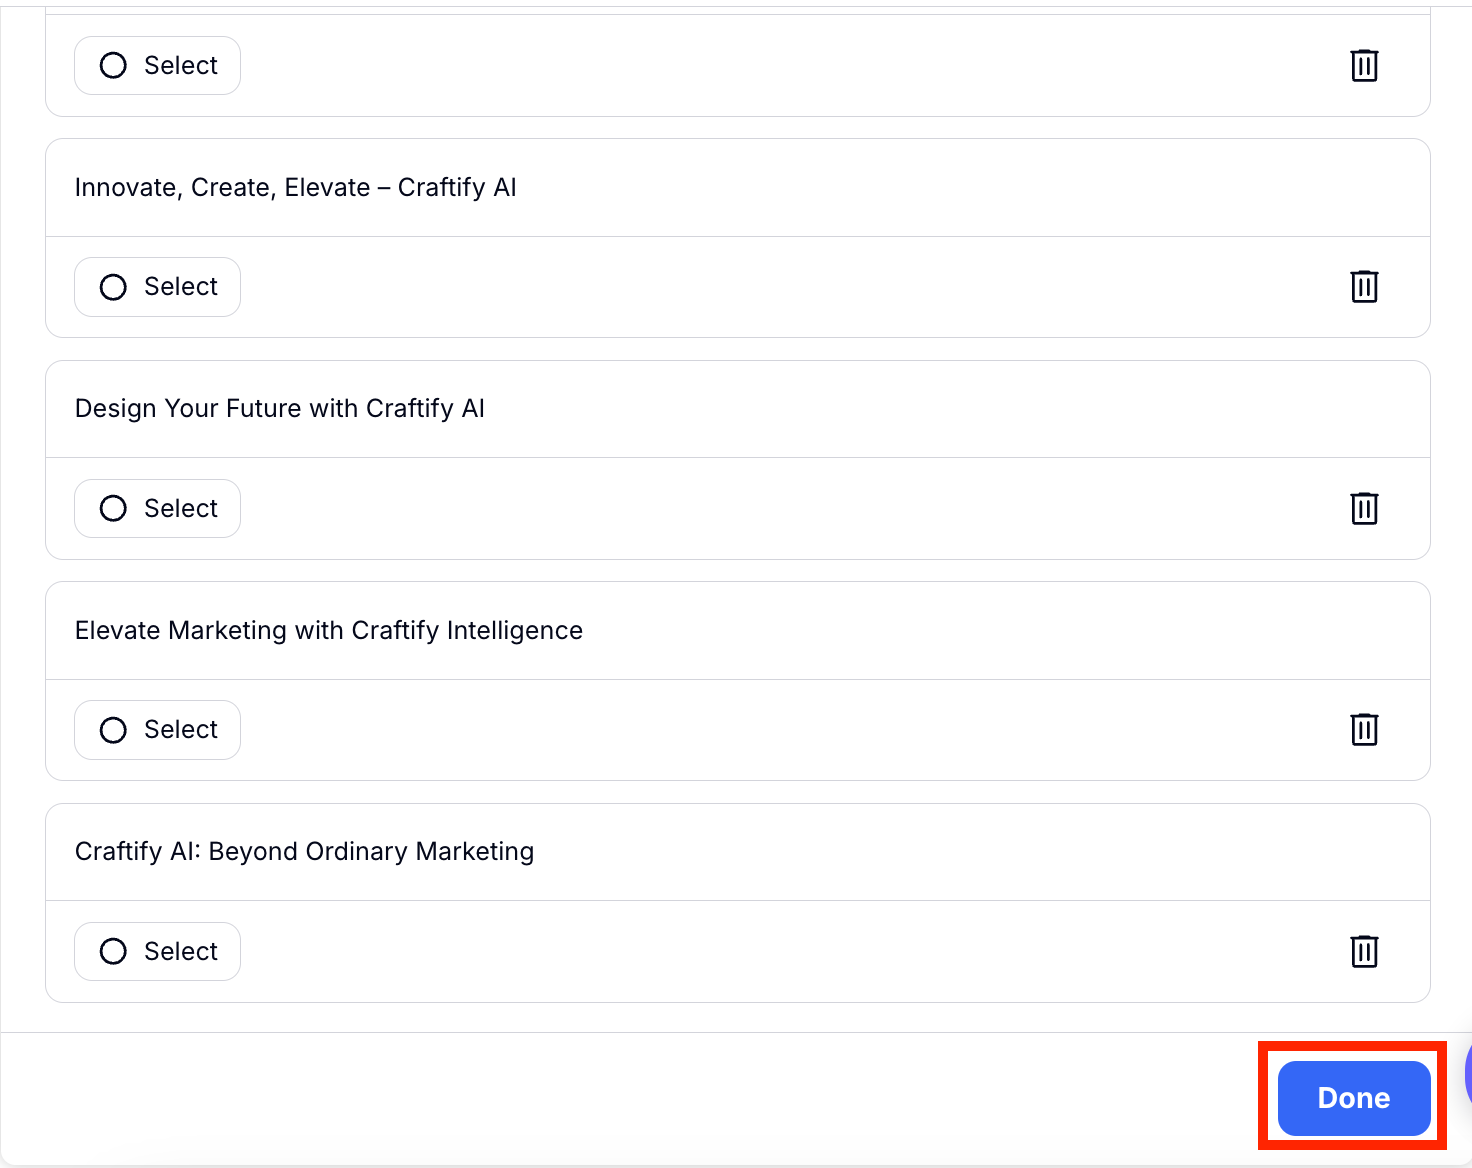
Multiple slogans will be generated for your selection. Similar to the campaign message, you have the flexibility to create additional choices, write it yourself, or pick the one that resonates with you the most and proceed to the subsequent phase step.
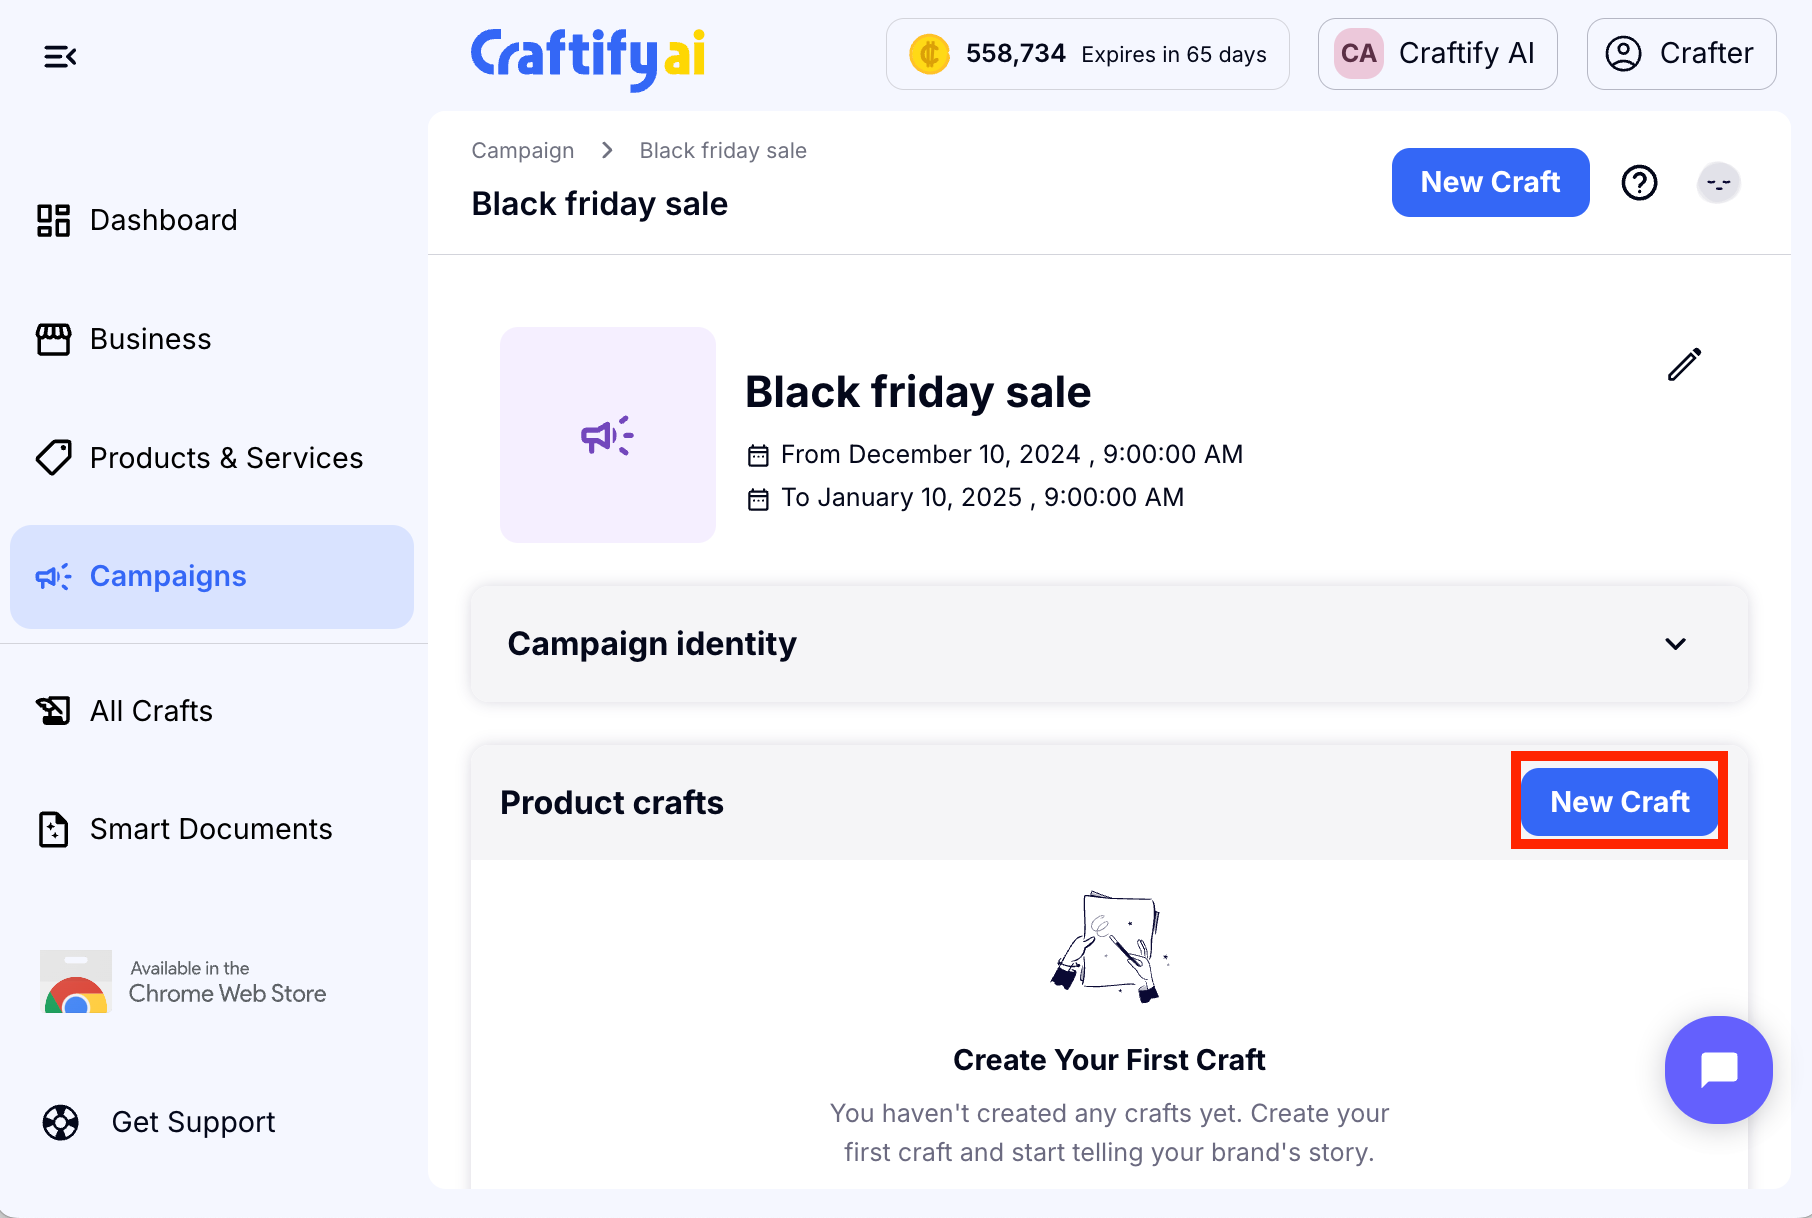
Step 5: Complete The Campaign & Craft
Congrats! You've successfully finished the campaign, which will now be visible in your profile. This allows you to generate a craft such as a blog post, email, social media post, etc. that will be exclusively located within this campaign. To start, simply select 'New Craft' and enjoy the process! Have fun!
