How to Connect Crafts with Zapier and Trigger Zaps
- How to Export Your Crafts to Zapier Tutorial
- Note: You need to set up your Zap in Zapier first using the tutorial on their website. If you have already done that, please continue reading.
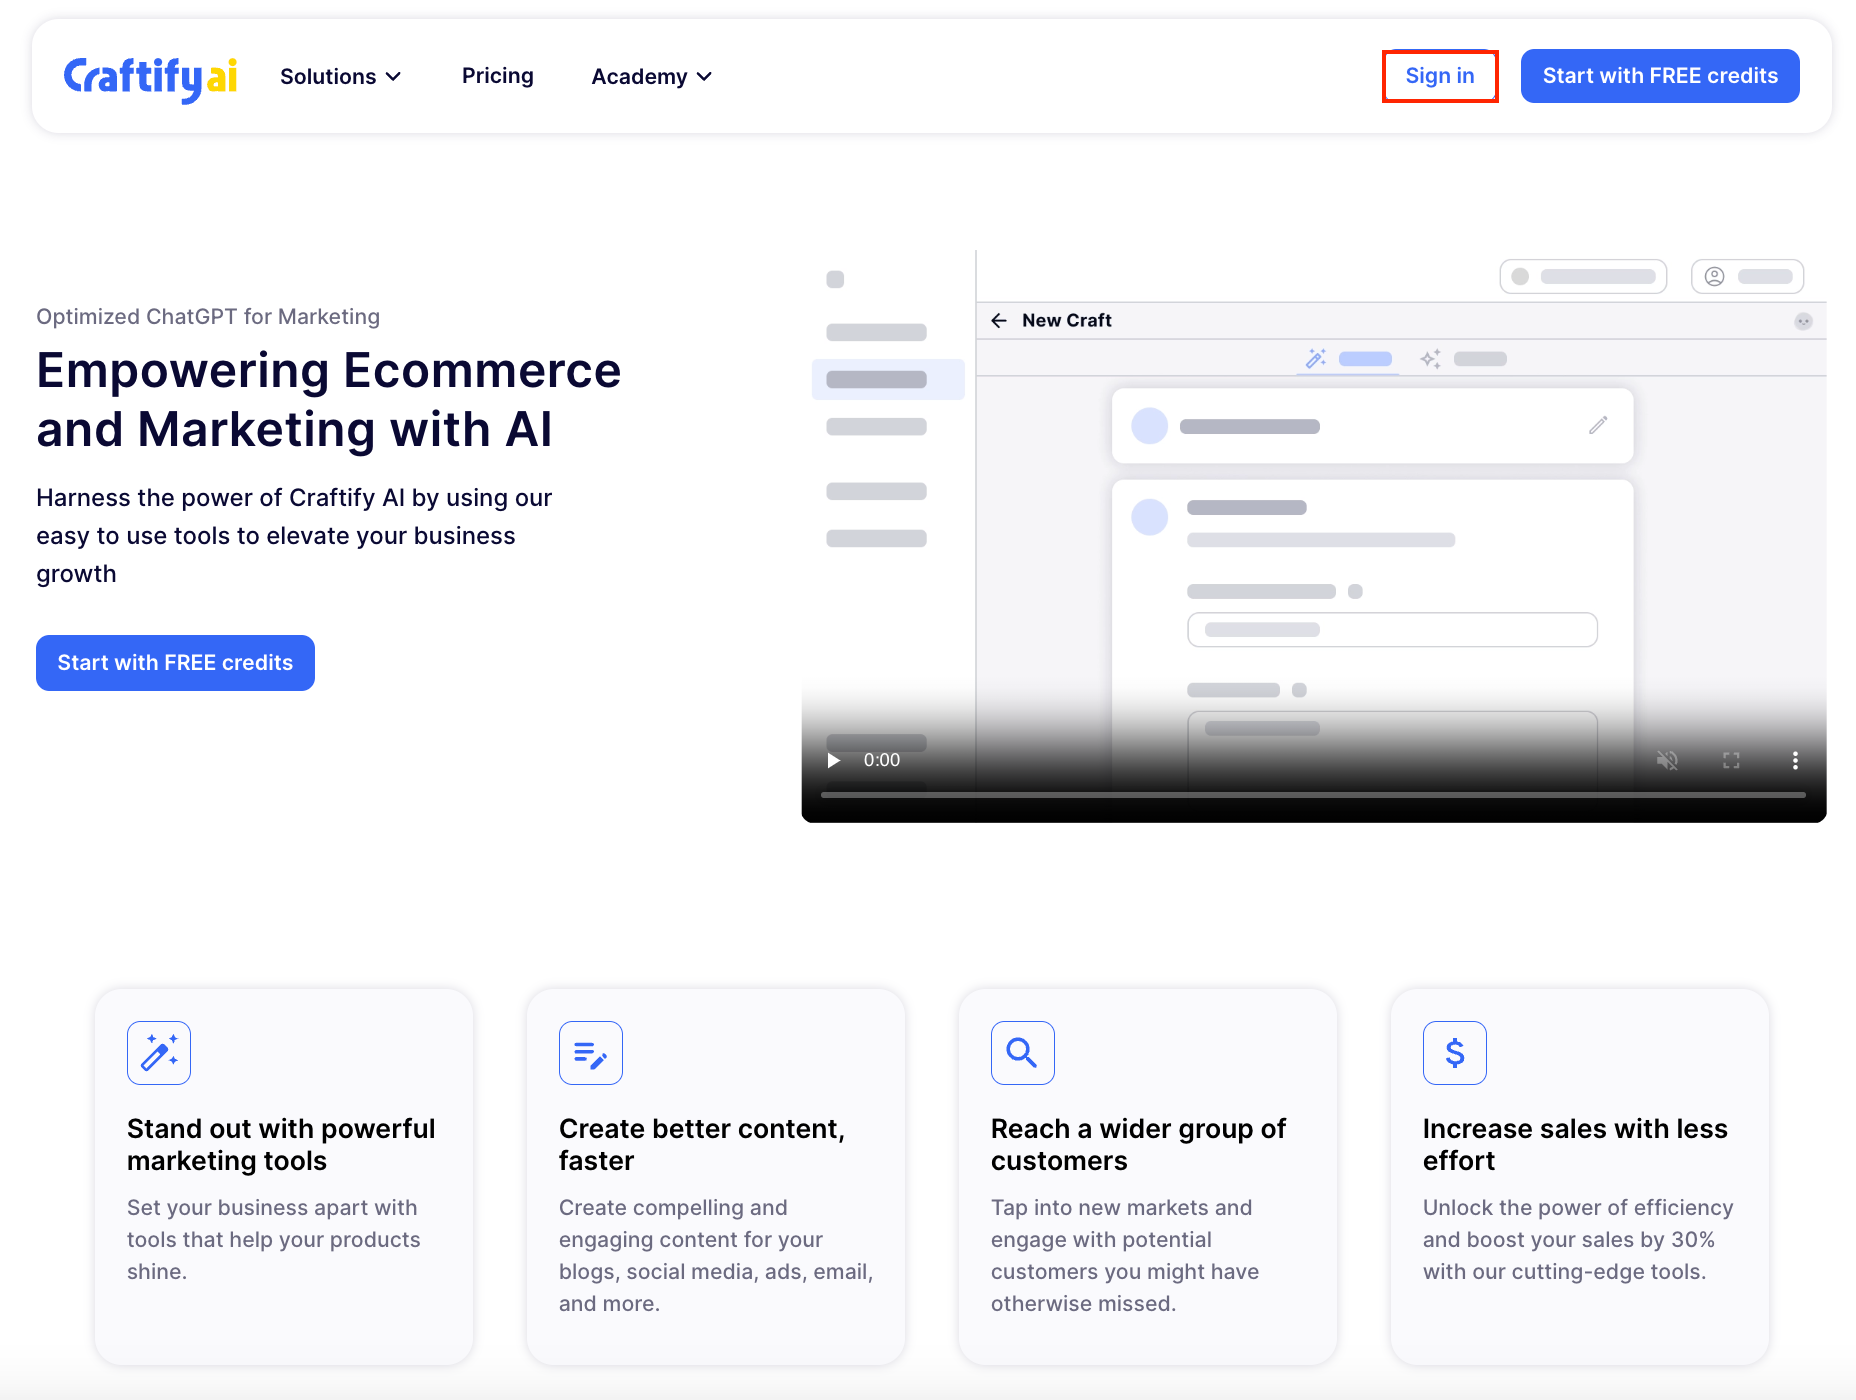
- Navigate to www.craftify.ai
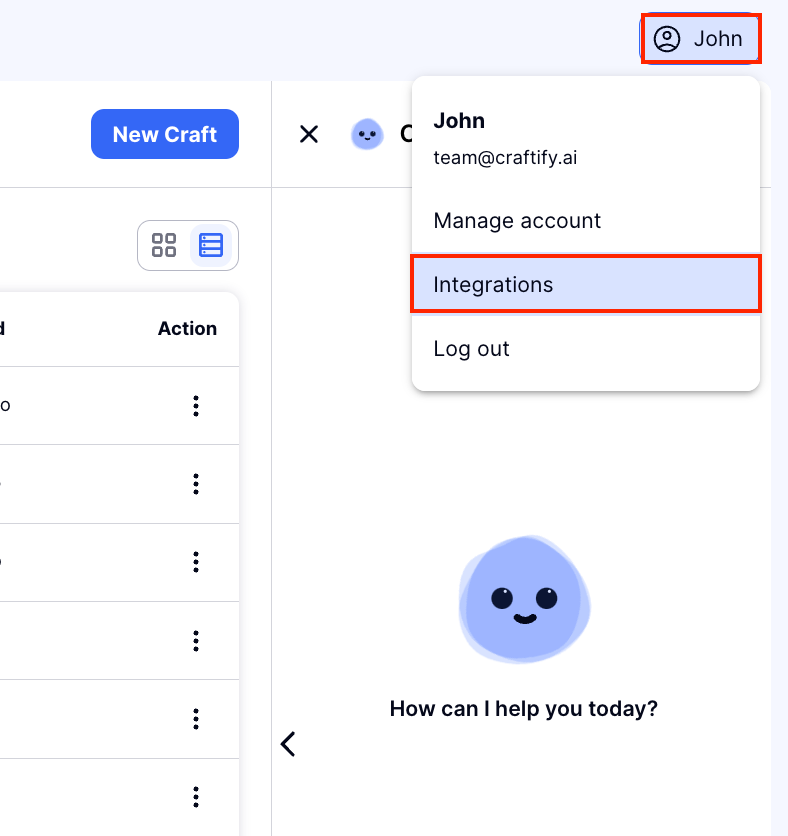
- Head to Integrations
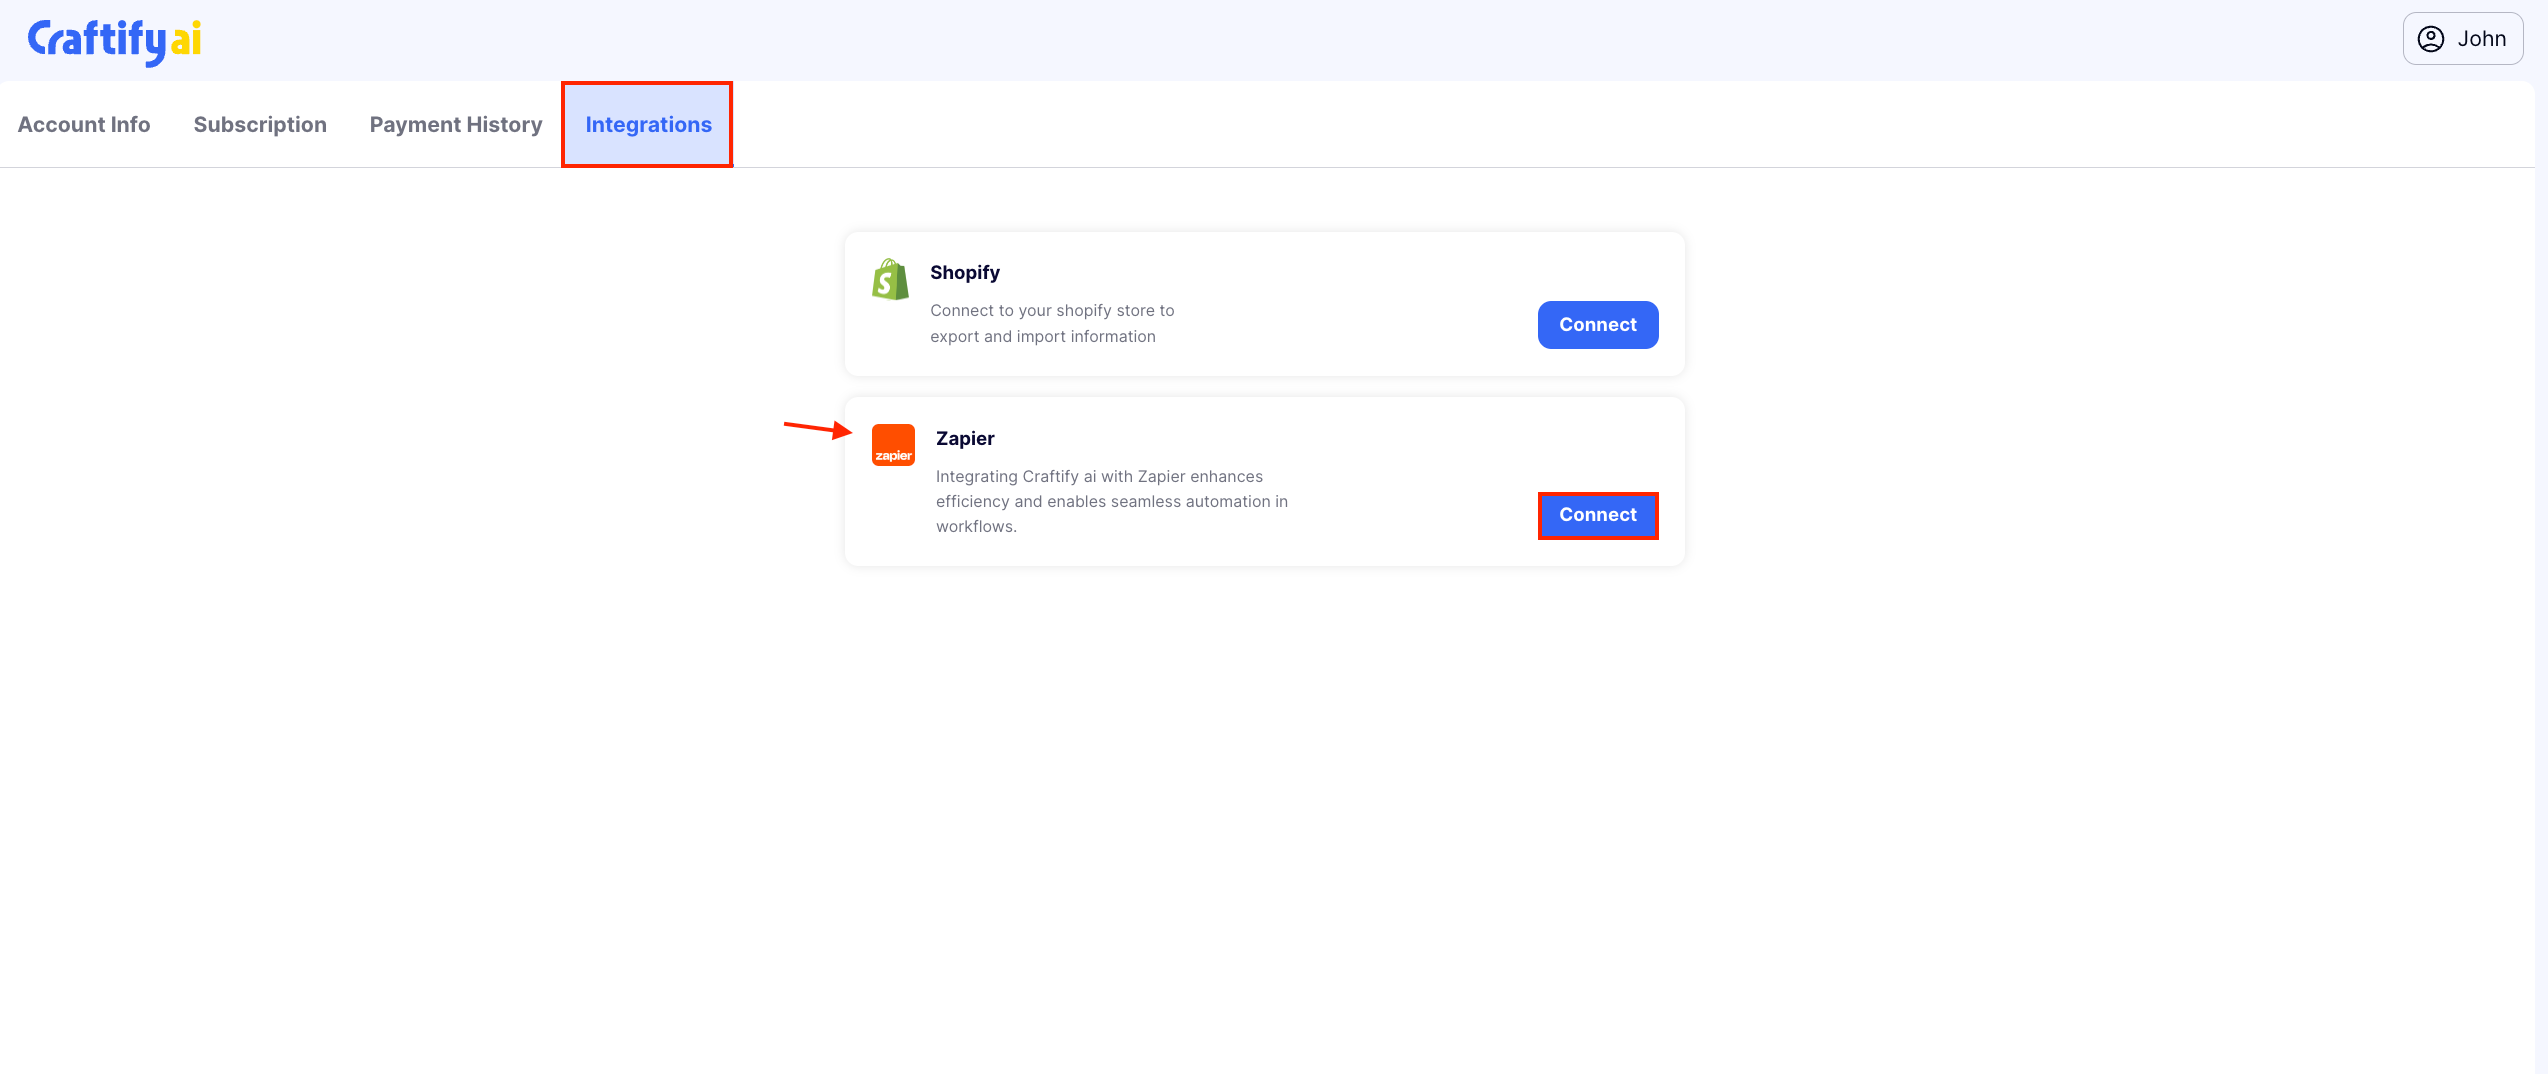
- Connect your Zapier Account
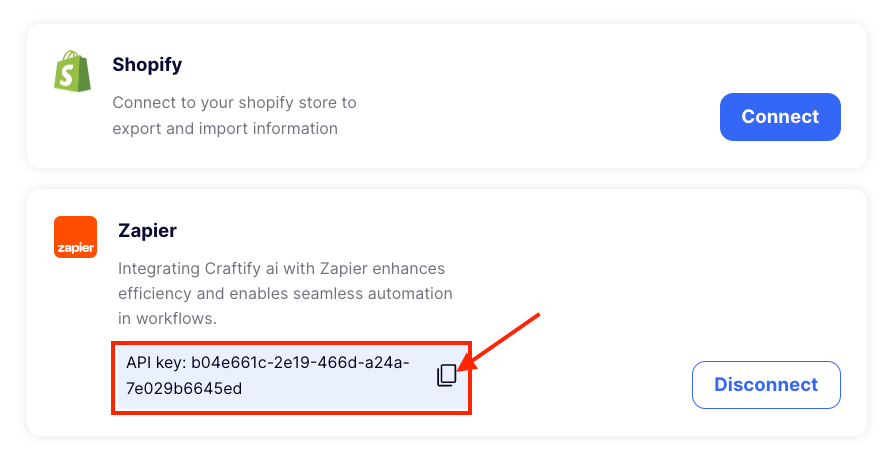
- Generate the API Key
- Head over to the API docs
How to Export Your Crafts to Zapier Tutorial
Note: You need to set up your Zap in Zapier first using the tutorial on their website. If you have already done that, please continue reading.
Navigate to www.craftify.ai
- Login to your Craftify AI account
Head to Integrations
- Click on your name in the top-right-hand corner and then select "Integrations." (Integrations page)
Connect your Zapier Account
- Select "Connect" on the Zapier integration
Generate the API Key
- Once you've clicked "Connect" the API Key for Zapier will appear and you can copy it/save it for to integrate to Zapier.
- Remember never to commit your keys to the public domain (e.g., public GitHub, BitBucket, GitLab repositories, public S3 buckets, etc.)
Head over to the API docs
- You are ready to start testing the Craftify AI API now.
- Login to your Craftify AI account
- Create a new email craft by going to Tools > Craft (Email Writer)
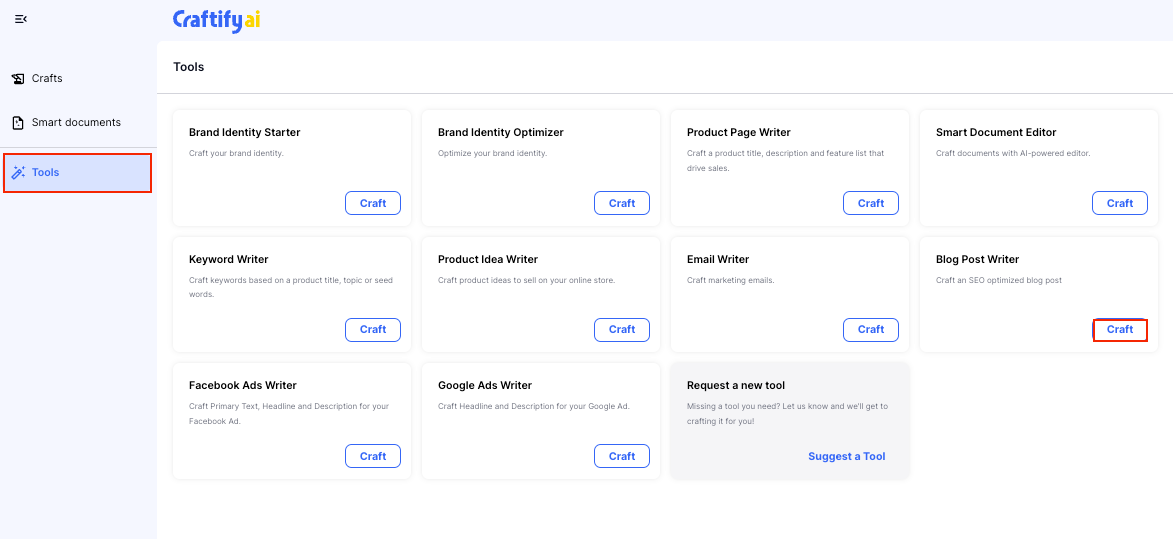
- Please see our tutorials on the many different types of emails you can create with our Email Writer tool.
- After completing your email, you click on the export button in the top right-hand corner > Export to Zapier
- Select your Zap from the list (Email to all customers in this case)
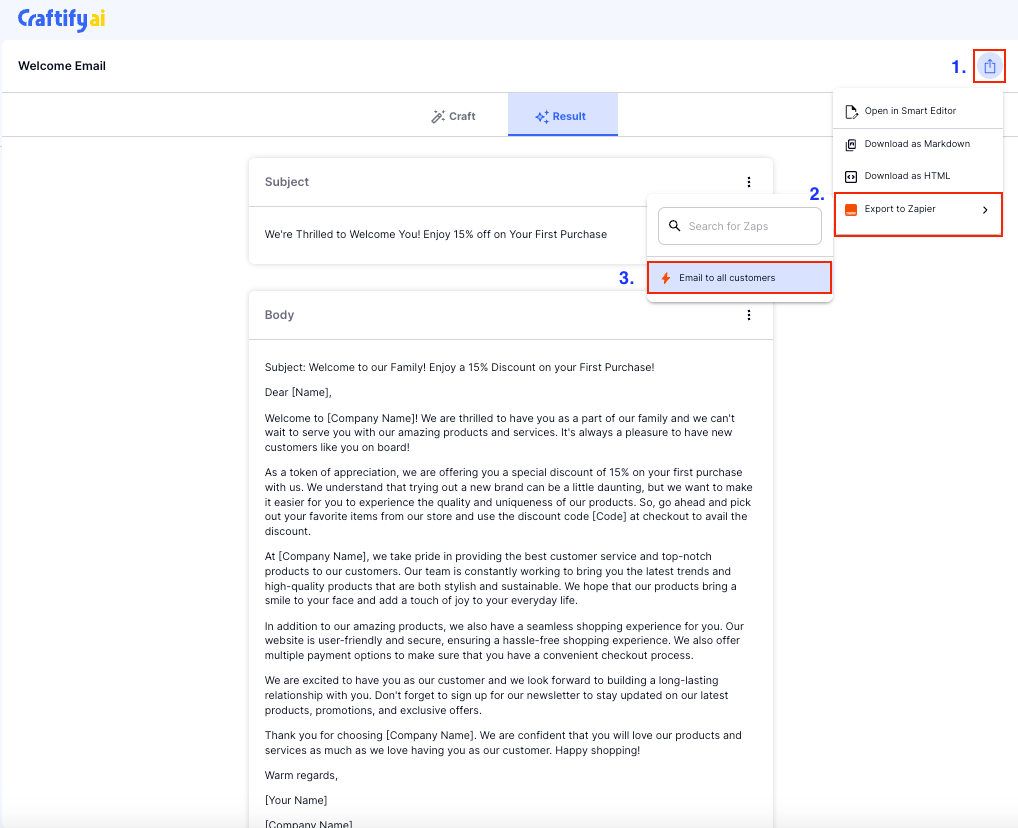
You have successfully triggered your Zap now!