How to Generate an AI Image in Smart Document Writer
Generating an AI Image in Smart Document Writer Tutorial
Welcome to our tutorial where we show you how to generate and add an AI Image into the Smart Document Writer!
Before we get started, please familiarize yourself with our Smart Editor Tutorial if you haven't yet!
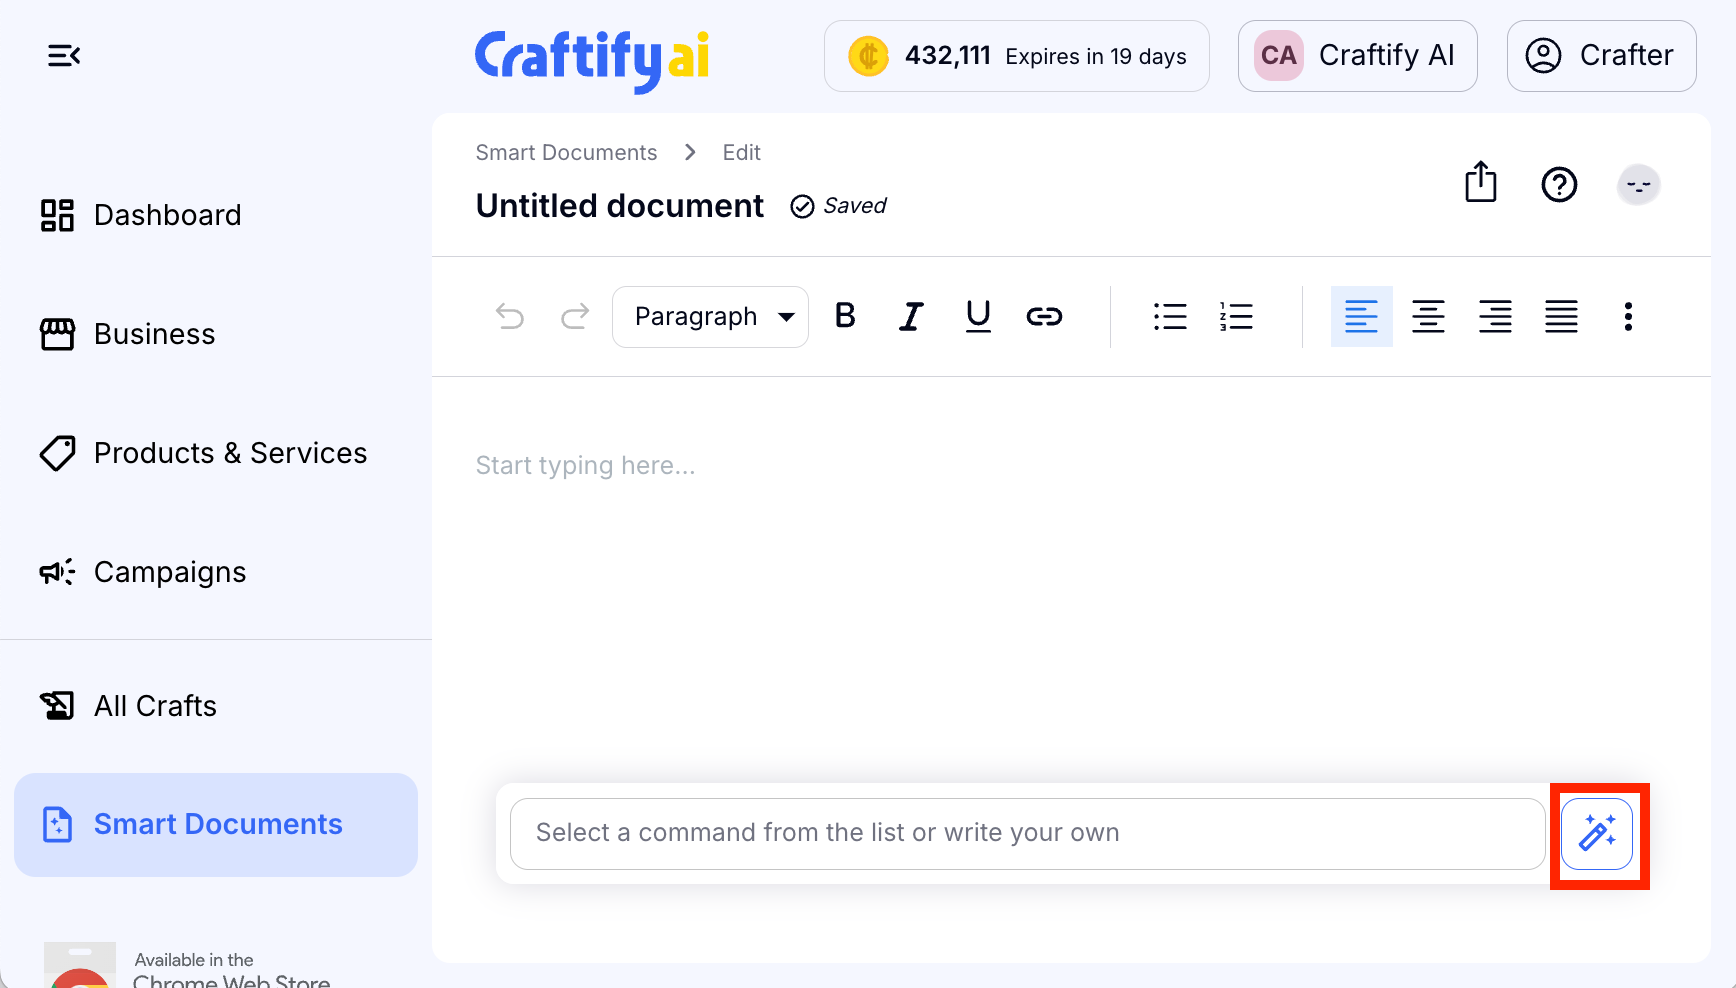
First, in the bottom of your Smart Document Writer, you can select "Select a command from the list or write your own" and then select "Add image."
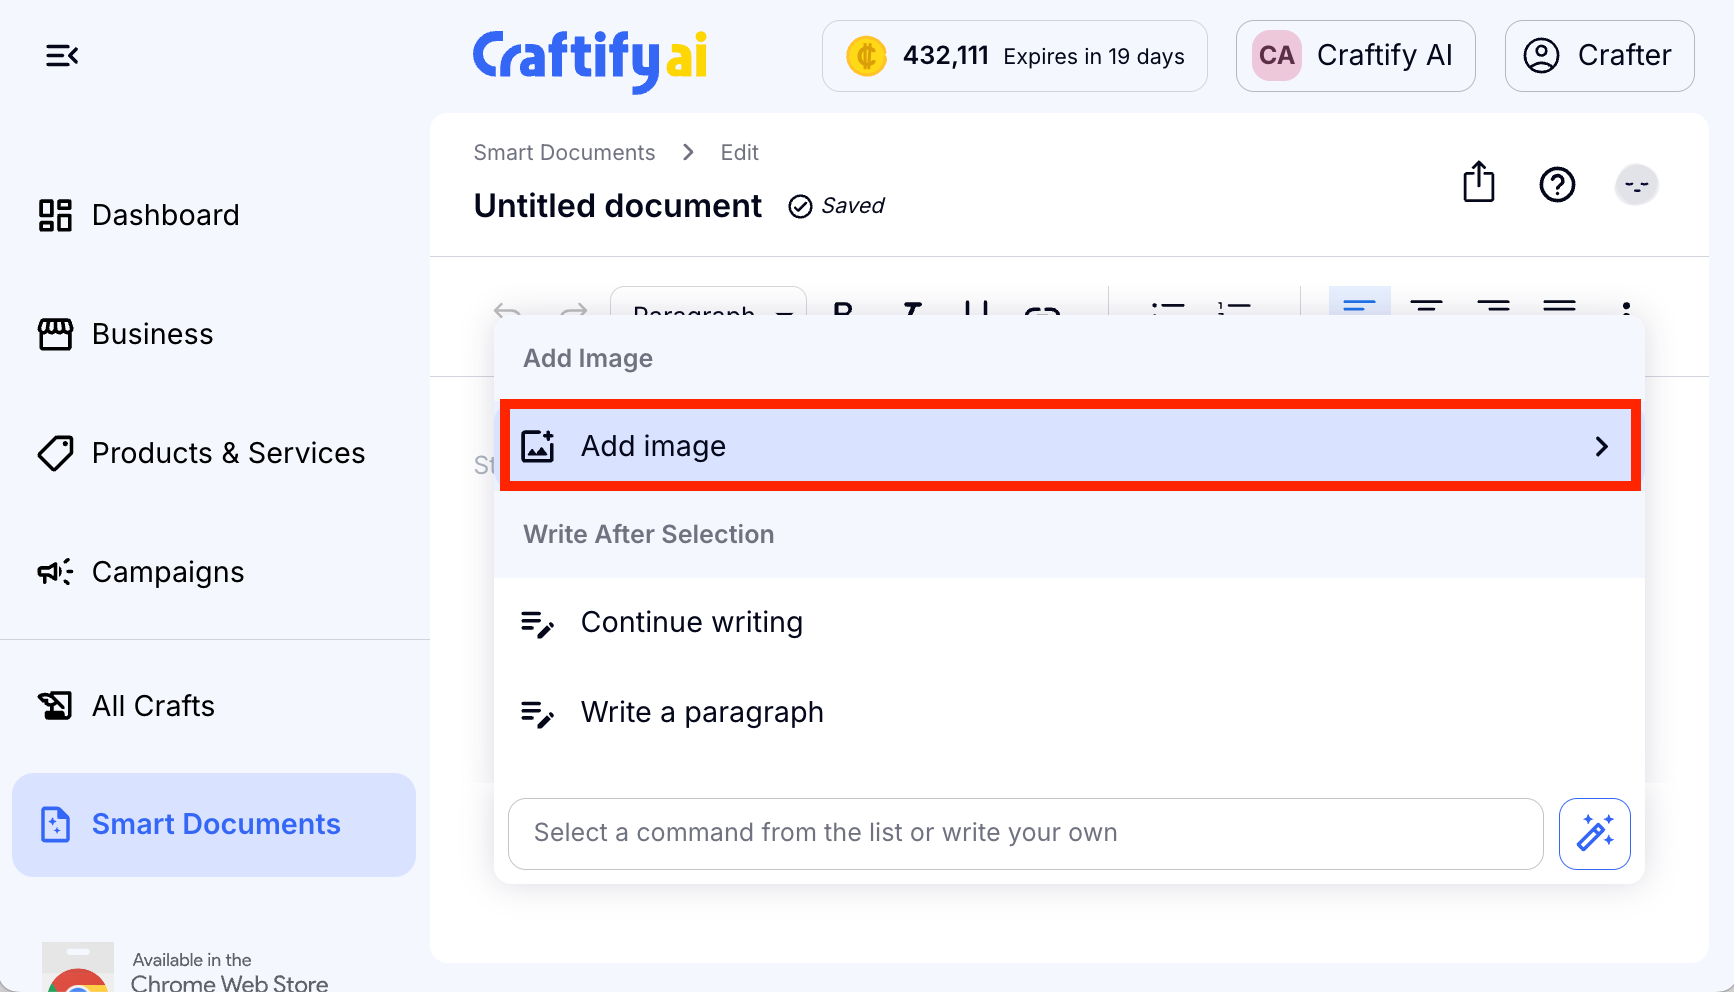
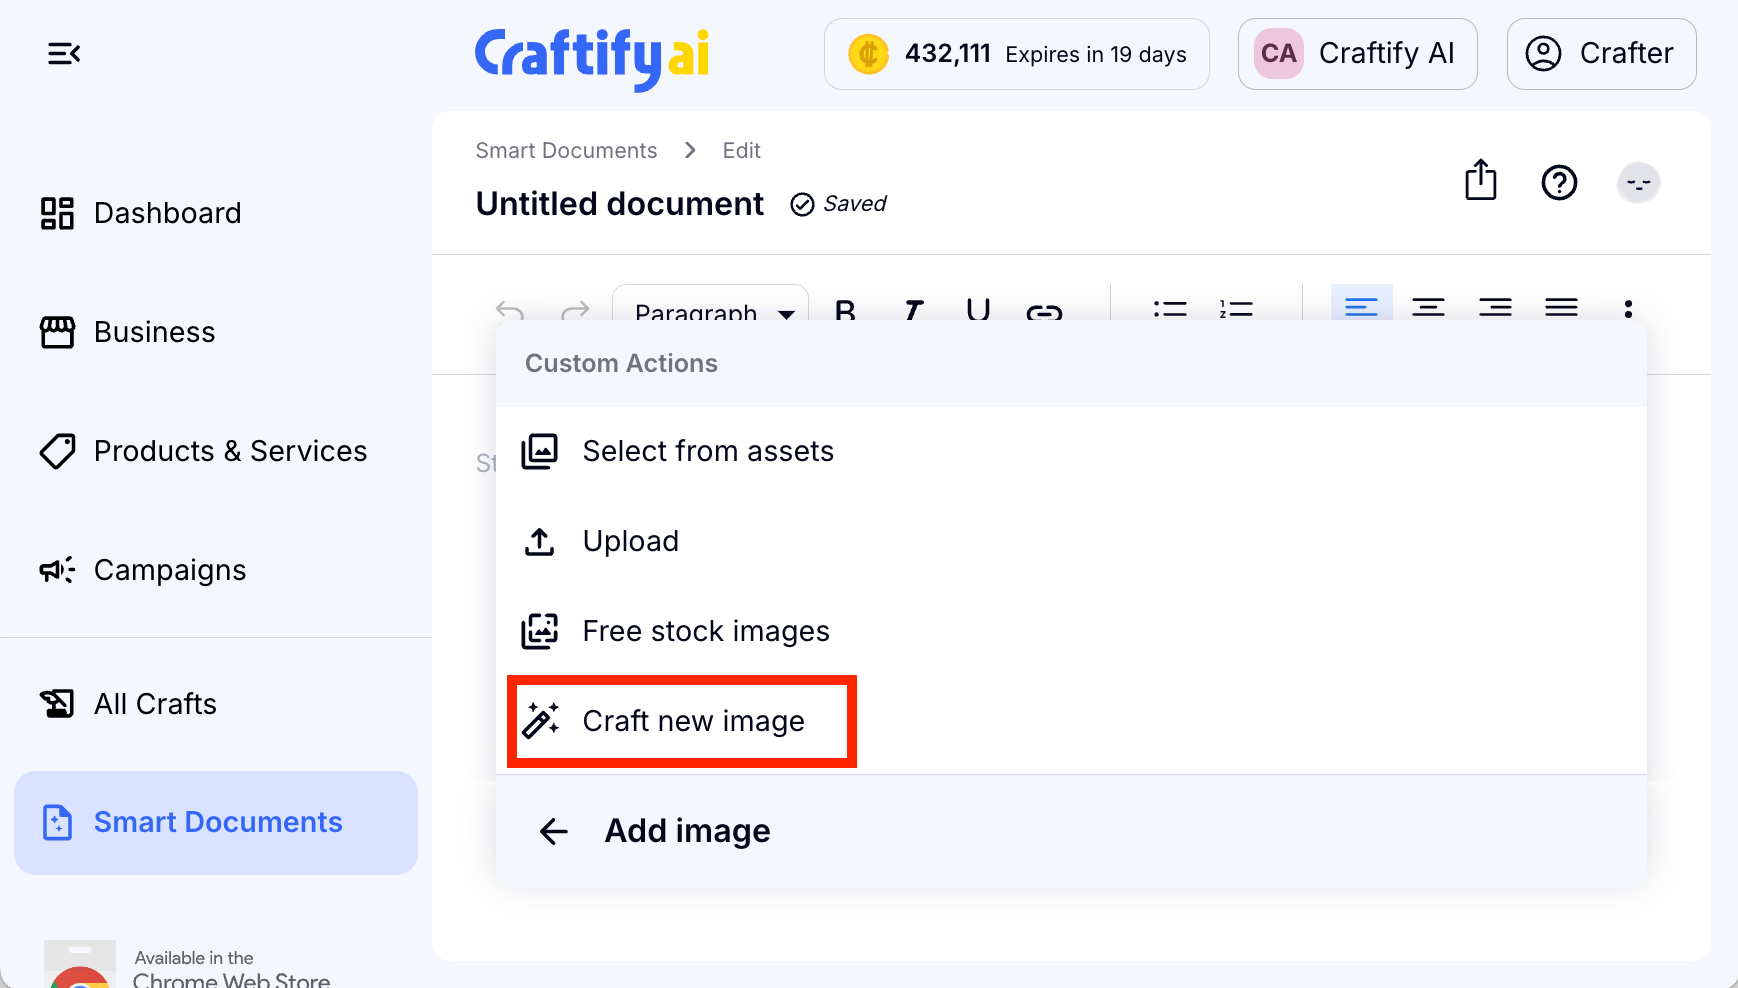
From here, you can select "Craft new image."
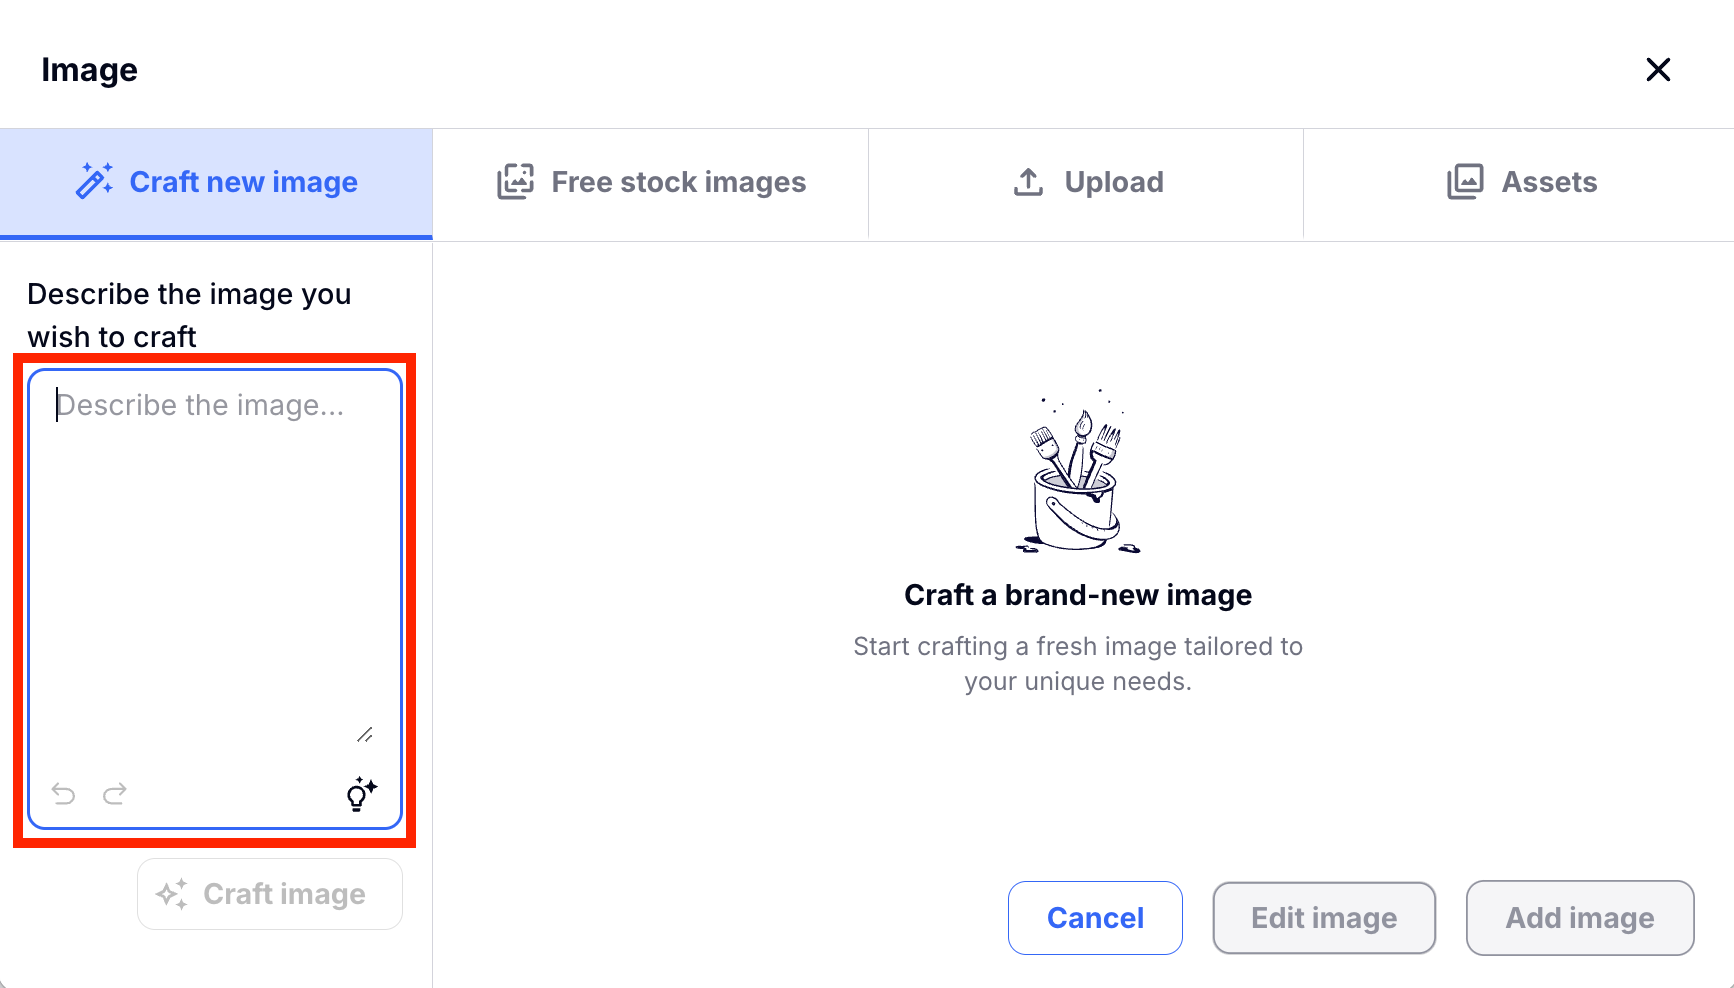
Simply type in the text box on the left-hand side of your screen your prompt for what you would like your image to look like. You can be as detailed as you like. The more details you provide the more accurate the image will be generated.
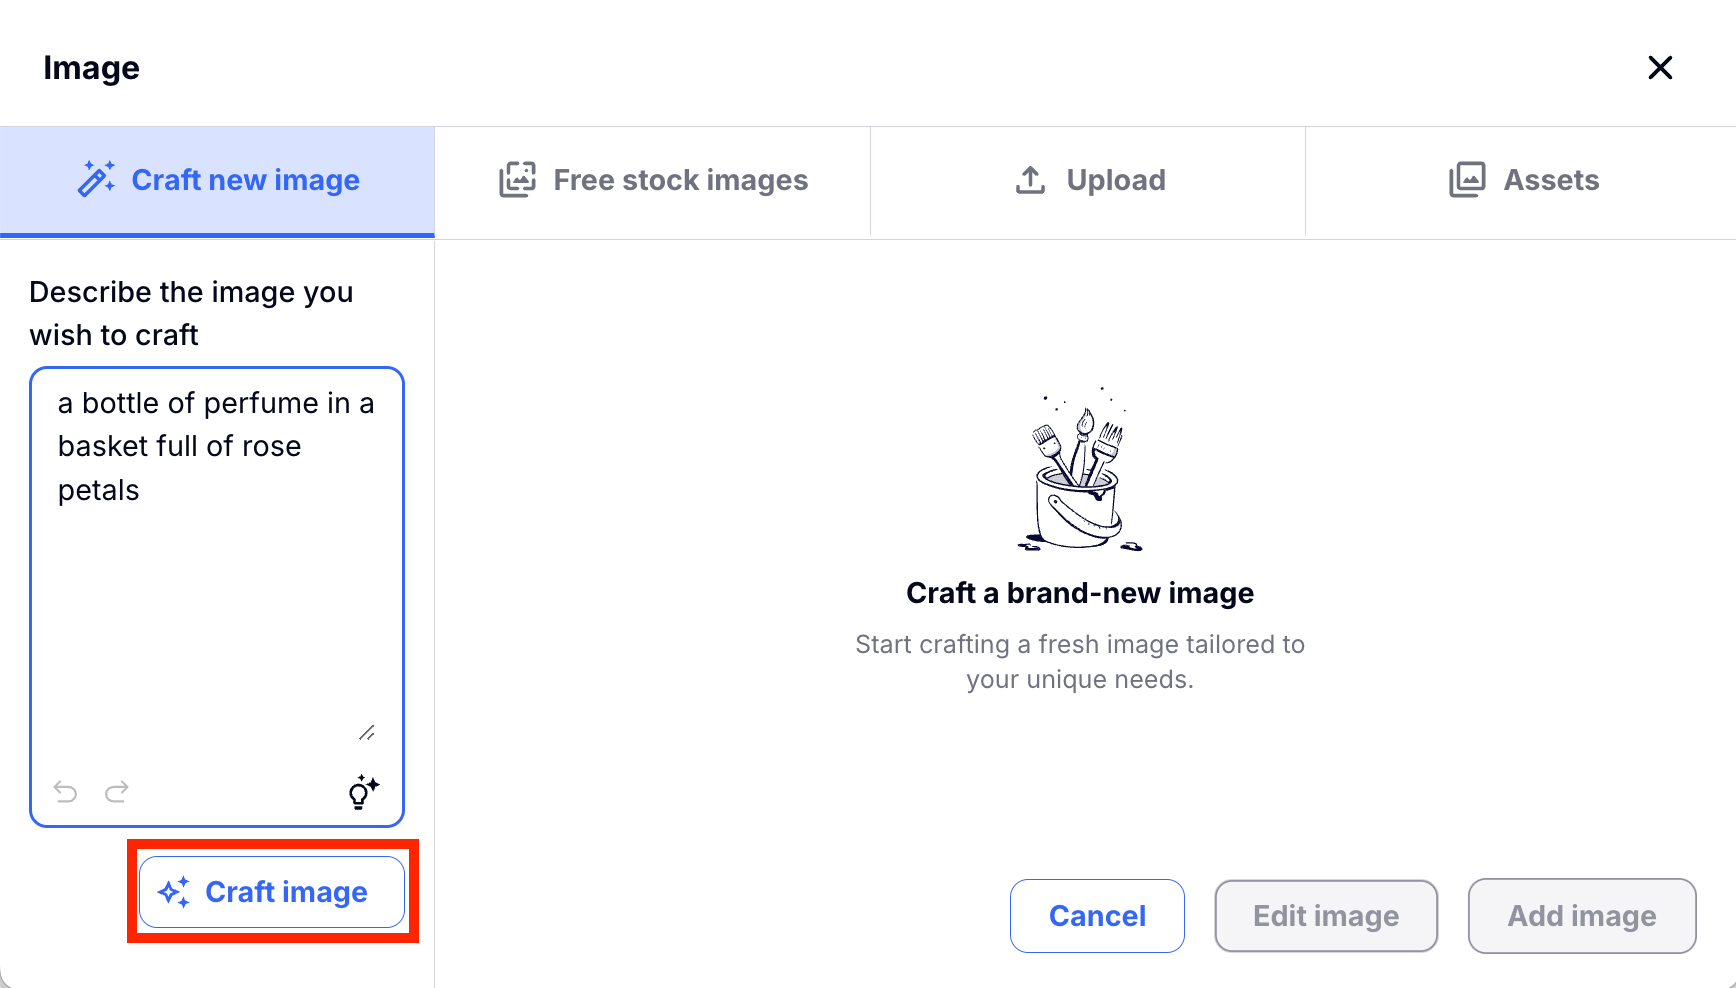
Next, you can click "Craft image" and let Craftify AI work it's magic and see what it produces.
From there, you can choose whether you want Craftify to craft another image, add image to the document, or you can cancel all together. If you would like to add an image from the Free Stock Images, Upload one from your computer, or use one from Assets you can also do that from here. Just look up at the top!
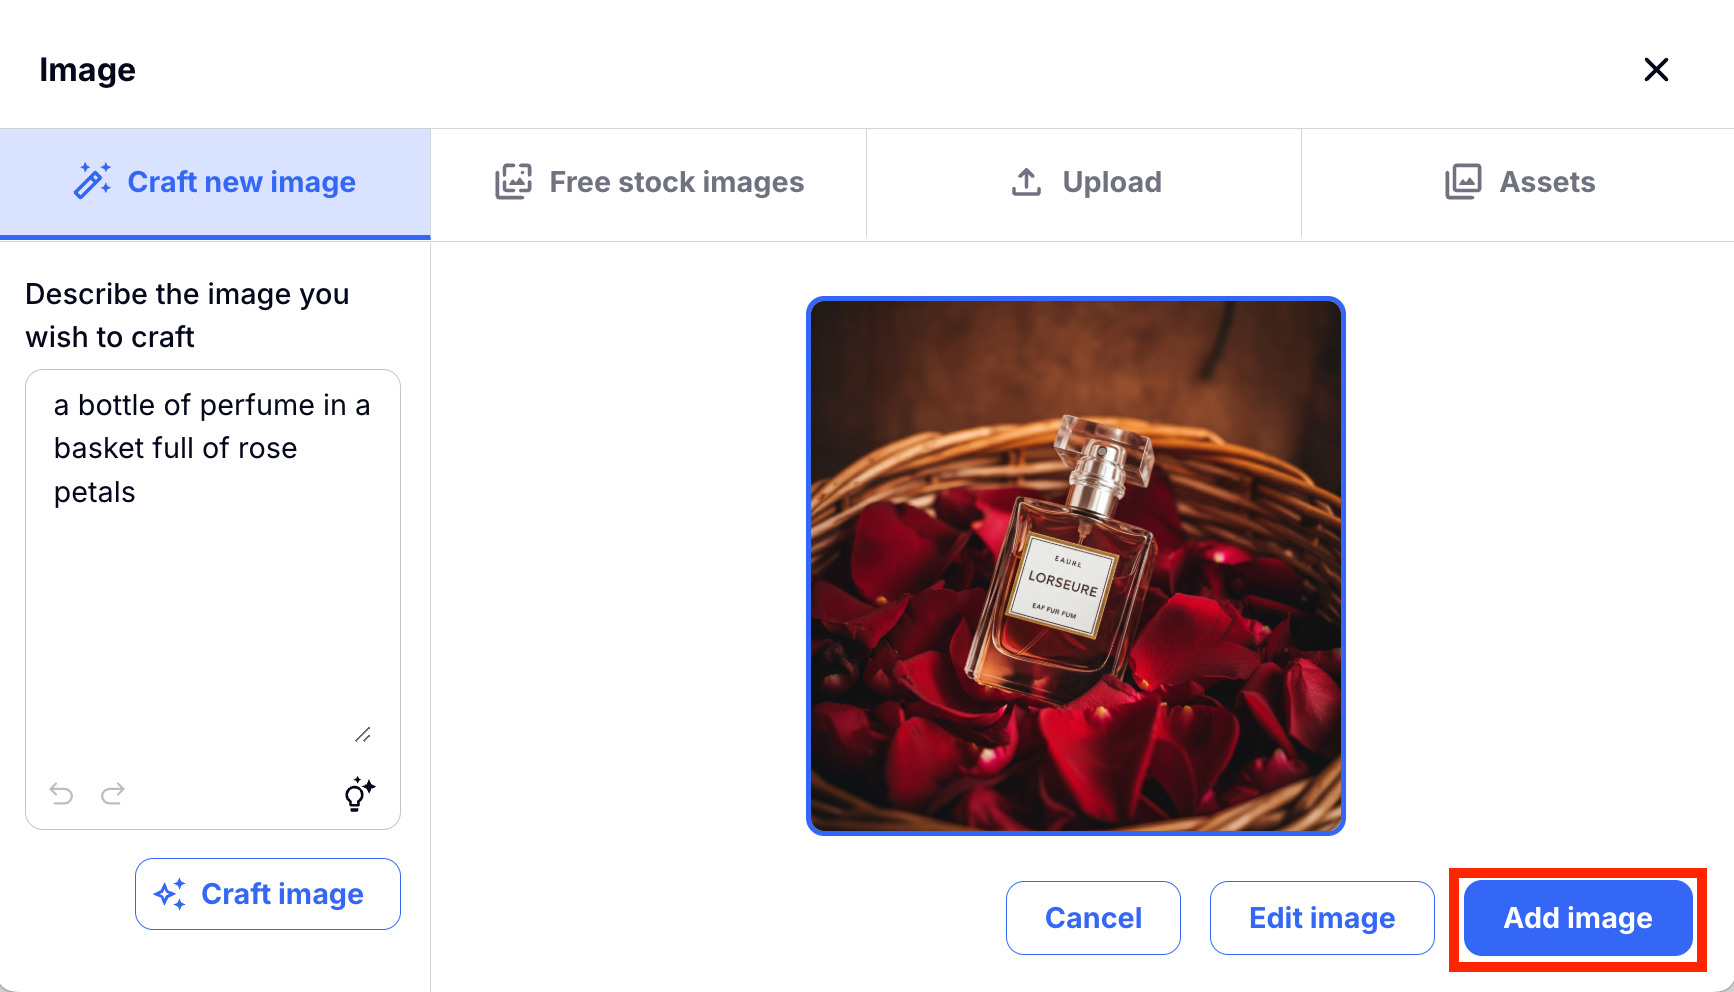
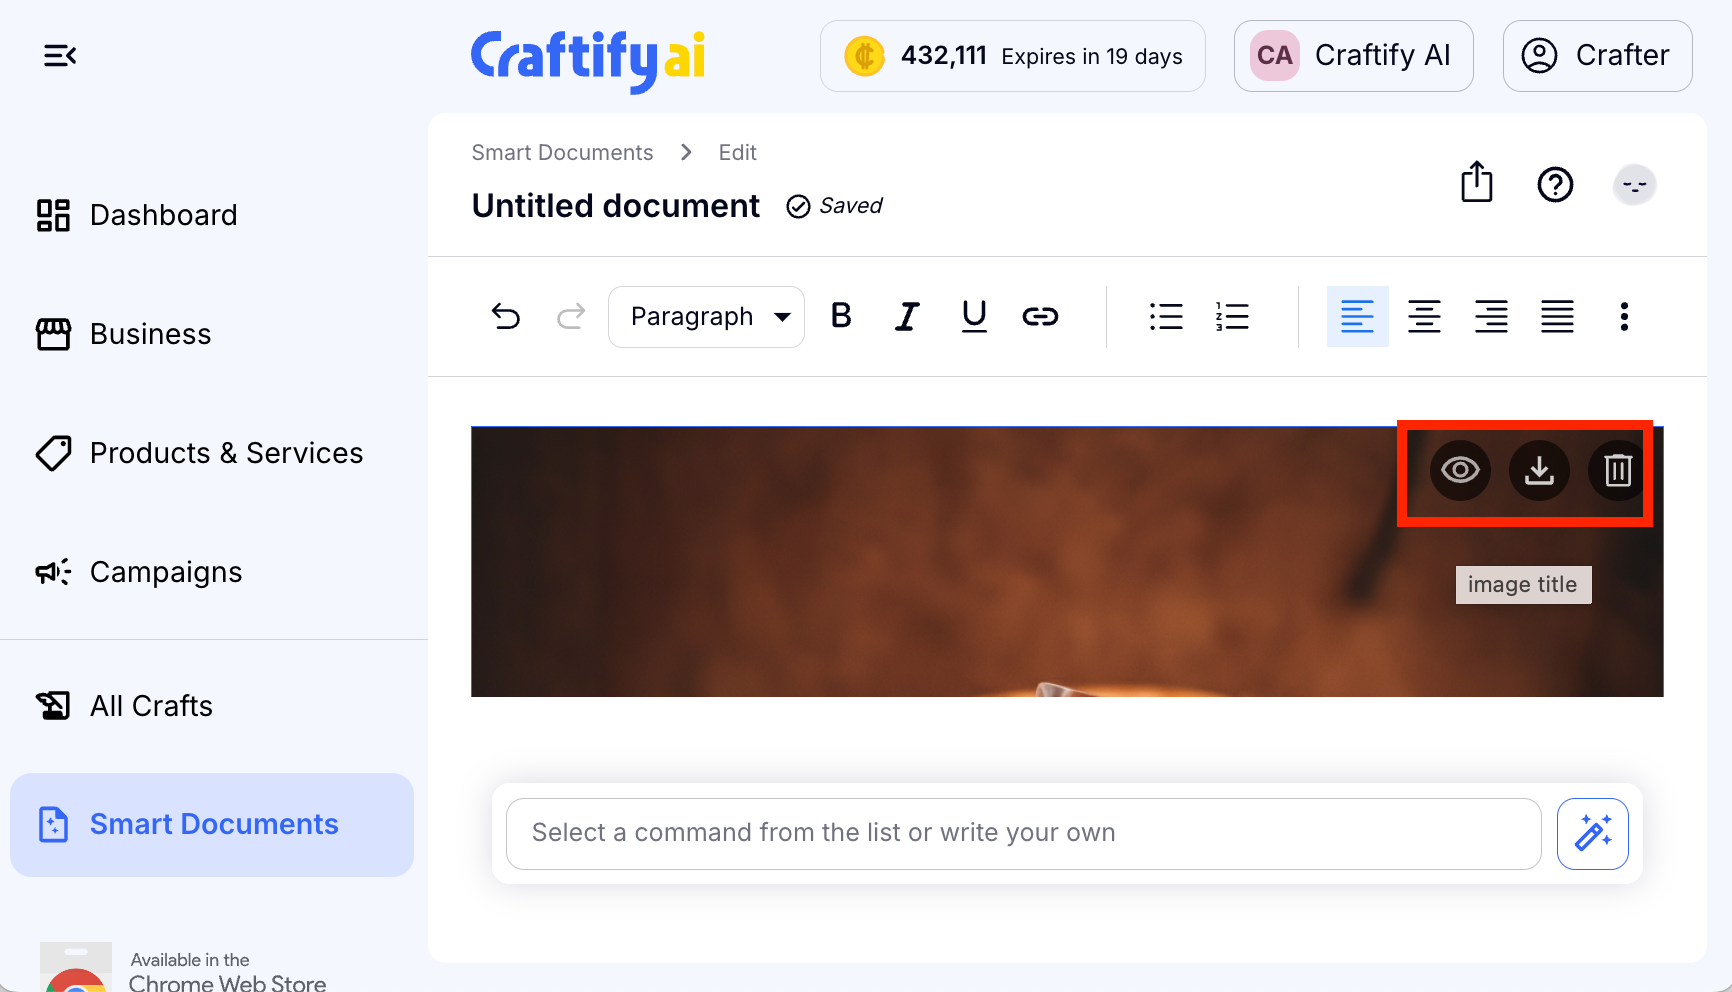
We selected Add image and now we can see the image in the Smart Document. From here, you can see the image in full screen, download the image directly to your device or you can delete the image from the document.
Now you know how to utilize Craftify AI to generate and add an AI image into your Smart Document Writer. PS, this can also be done in our Blog Writer Tool!